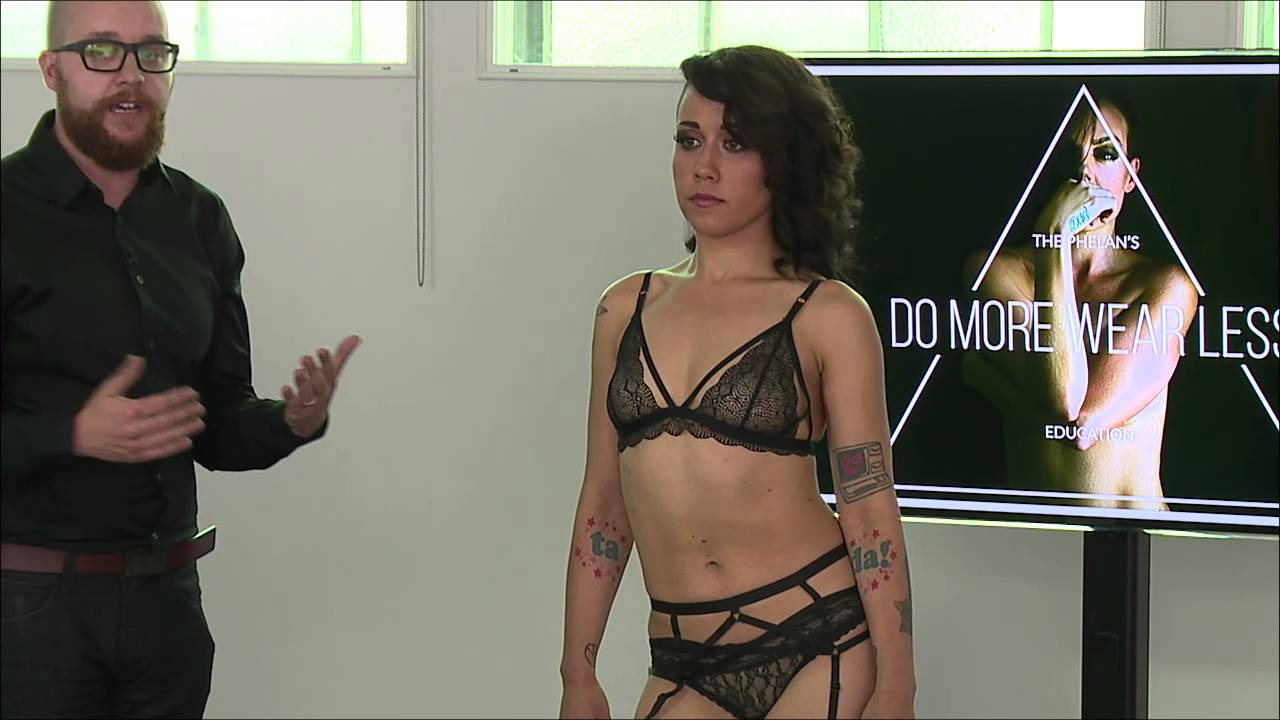
There is a gap between a client who looks stiff and self-conscious and one who looks like she owns the room. That gap is almost never fixed in post. It is fixed in the five minutes before you ever fire a shutter. I learned this the hard way early in my portrait career, spending entire sessions trying to coax natural-looking images out of clients who had no idea what their bodies were supposed to do. The work was exhausting and the results were inconsistent.
That is exactly why I keep coming back to this kind of foundational tutorial content. In this CreativeLive tutorial on preparing clients for a boudoir shoot, the photographer walks through the exact talk he gives every single client before the session starts. Watch the full tutorial on YouTube - it is worth your time even if boudoir is not your primary genre, because the principles apply to any shoot where a client needs to feel physically guided and emotionally safe.
The approach is methodical in a way I genuinely respect. Every technique has a reason behind it. Nothing is arbitrary. Here is how the prep talk breaks down.
Step 1: Establish the Foundational Body Position
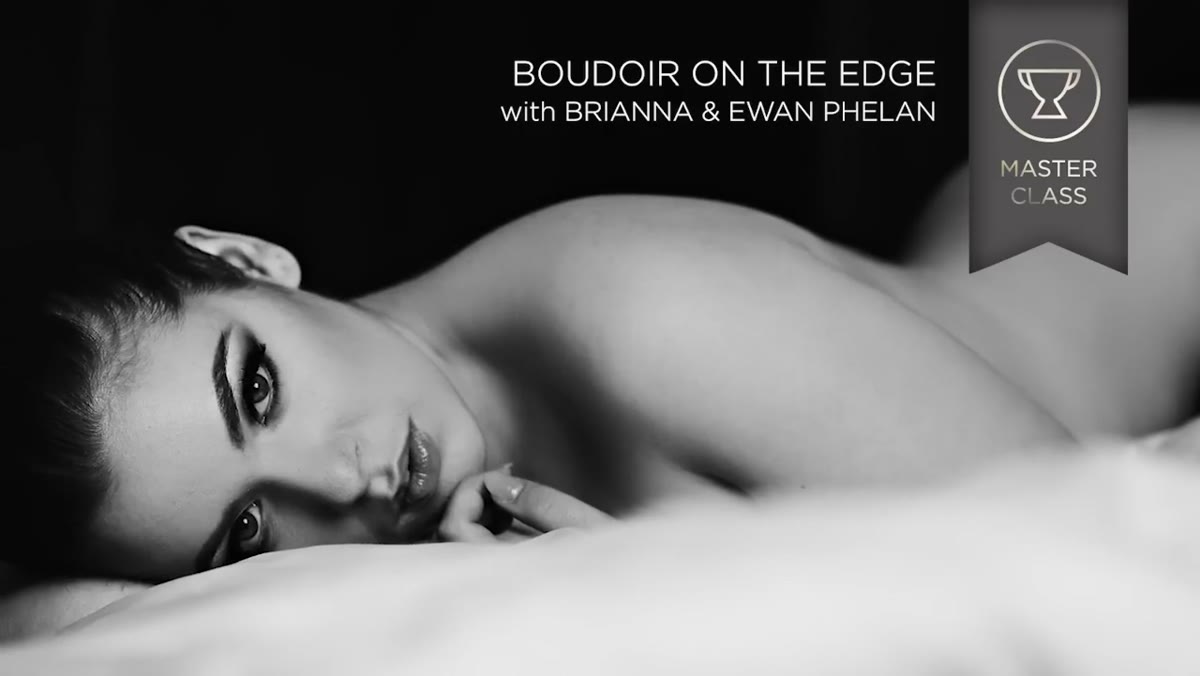 Photographer demonstrating the lower back arch posture
The very first thing covered is the base pose every shot builds from. The key is getting the client to arch the lower back by pushing the hips and glutes backward rather than thrusting the hips forward. This creates a natural curve through the spine. Shoulders go back and down to follow that line. What most people do not expect is that this position causes the stomach to move slightly forward, which is counterintuitive but actually looks better on camera because it lengthens the torso.
Photographer demonstrating the lower back arch posture
The very first thing covered is the base pose every shot builds from. The key is getting the client to arch the lower back by pushing the hips and glutes backward rather than thrusting the hips forward. This creates a natural curve through the spine. Shoulders go back and down to follow that line. What most people do not expect is that this position causes the stomach to move slightly forward, which is counterintuitive but actually looks better on camera because it lengthens the torso.
The language you use here matters enormously. Never ask a client to suck in. Asking someone to suck in implies there is something that needs to be hidden, which is the opposite of the emotional environment you are trying to create. Instead, cue them to think about pulling their core up and in, like tightening around a point rather than holding their breath. It is a subtle word swap with a real psychological difference.
Step 2: Direct the Toes and the Gaze Intentionally
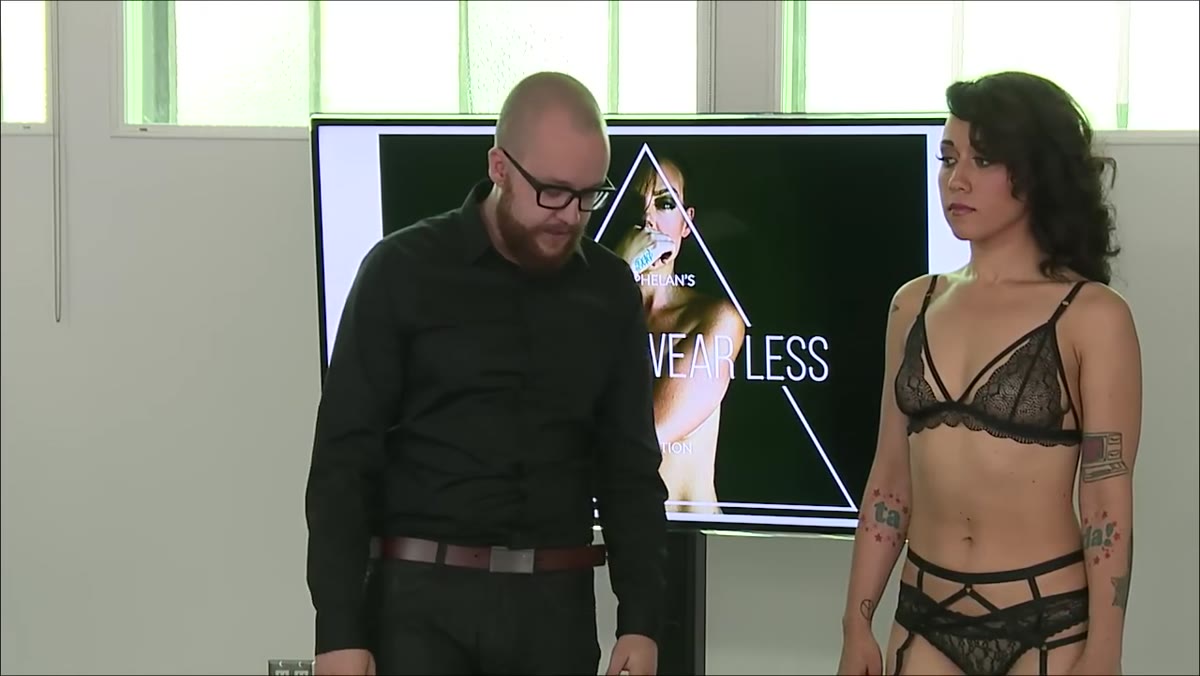 Photographer pointing toward correct toe direction
Two small details that get skipped all the time: toes and eyes. Toes should always point toward the camera, not away from it. It creates length in the leg and a cleaner line overall. This sounds minor until you look at your own archives and start noticing how often awkward foot angles are quietly ruining otherwise solid frames.
Photographer pointing toward correct toe direction
Two small details that get skipped all the time: toes and eyes. Toes should always point toward the camera, not away from it. It creates length in the leg and a cleaner line overall. This sounds minor until you look at your own archives and start noticing how often awkward foot angles are quietly ruining otherwise solid frames.
Eye direction is equally specific. If a client is looking into the lens, she should focus on the actual glass, not on one eye peeking around the camera body. When you ask her to look downward, give her a specific target. The cue he uses is to look toward their own lips while keeping the chin level rather than dropping it toward the chest. A dropped chin creates a completely different and usually unflattering look. Giving a concrete visual target keeps the eyes alive and the expression intentional.
Step 3: Address Implied Nudity Directly and Plainly
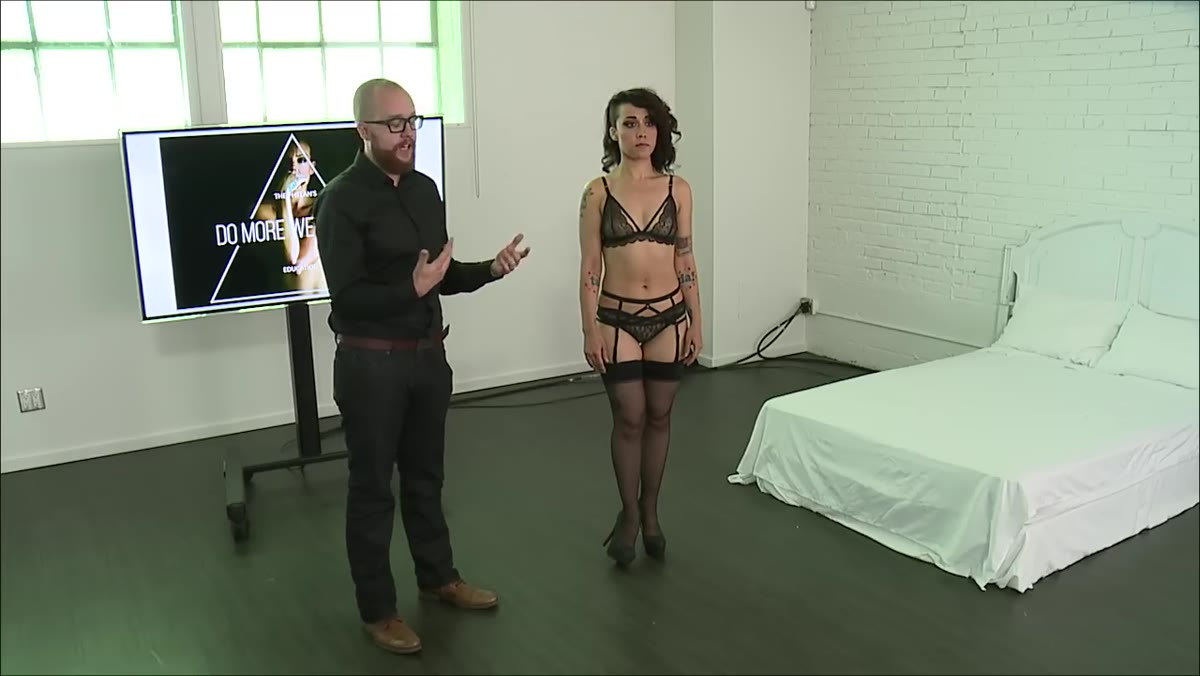 Photographer explaining implied nudity concept to client
Do not let the client spend the whole shoot in her head wondering what the camera is actually seeing. The tutorial makes this point clearly: explain before the shoot starts that implied nudity is a technique, not an accident. The shadows, the angles, the framing, all of it works together so that the final image reads as more revealing than it actually is.
Photographer explaining implied nudity concept to client
Do not let the client spend the whole shoot in her head wondering what the camera is actually seeing. The tutorial makes this point clearly: explain before the shoot starts that implied nudity is a technique, not an accident. The shadows, the angles, the framing, all of it works together so that the final image reads as more revealing than it actually is.
This conversation also covers where the client’s comfort boundaries are, specifically around nudity. Nothing is assumed. Nothing is pushed. The client makes the call and moves forward with full clarity on what the session will and will not include. Clients who feel in control of that decision relax faster and trust you more throughout the whole session.
Step 4: Get the Right Expression By Giving Her Something Real to Think About
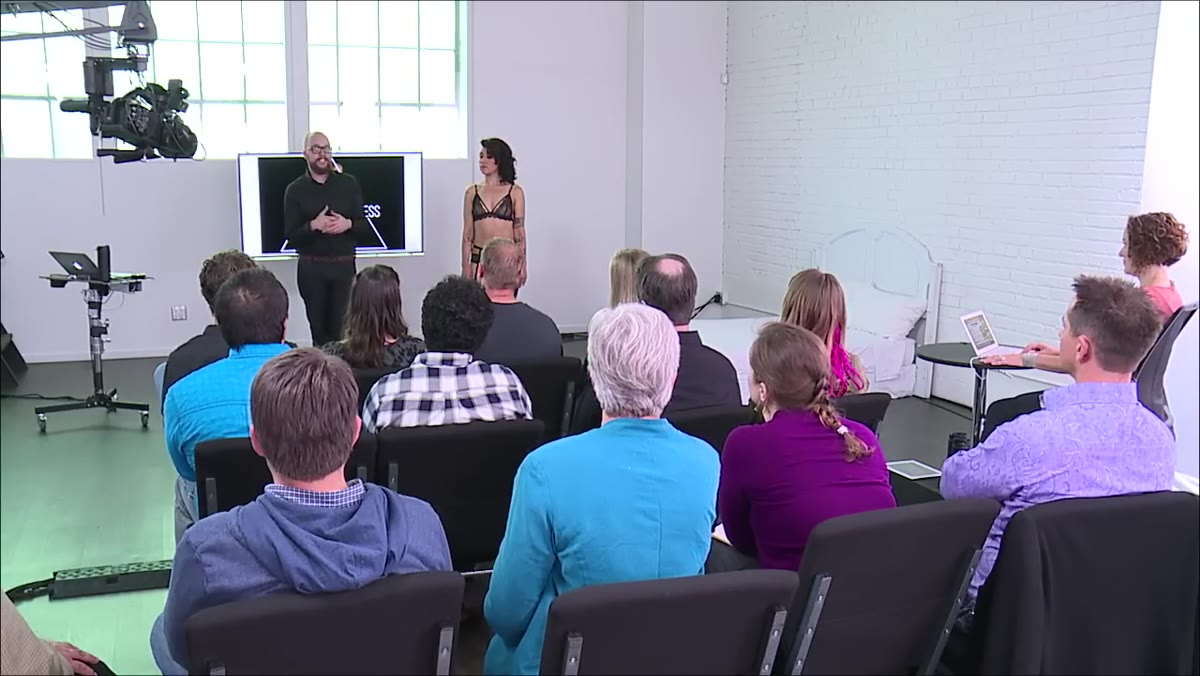 Photographer coaching client on where to direct her mental focus
This is the technique I wish someone had told me years ago. You cannot direct someone to look “sexy” and expect anything other than a self-conscious smirk. Instead, give the client a mental anchor: a partner, a celebrity crush, a specific memory. Something real that produces a real internal reaction. That reaction is what shows up in the eyes and it is what separates a genuine boudoir image from a costume photo.
Photographer coaching client on where to direct her mental focus
This is the technique I wish someone had told me years ago. You cannot direct someone to look “sexy” and expect anything other than a self-conscious smirk. Instead, give the client a mental anchor: a partner, a celebrity crush, a specific memory. Something real that produces a real internal reaction. That reaction is what shows up in the eyes and it is what separates a genuine boudoir image from a costume photo.
When a client is looking off-camera, the same rule applies. Give her a specific object or detail to trace with her eyes repeatedly. Letting the gaze go “soft” or unfocused produces flat, empty expressions. A moving eye, even slightly, creates life in the image.
Step 5: Coach Mouth Position and Head Tilt
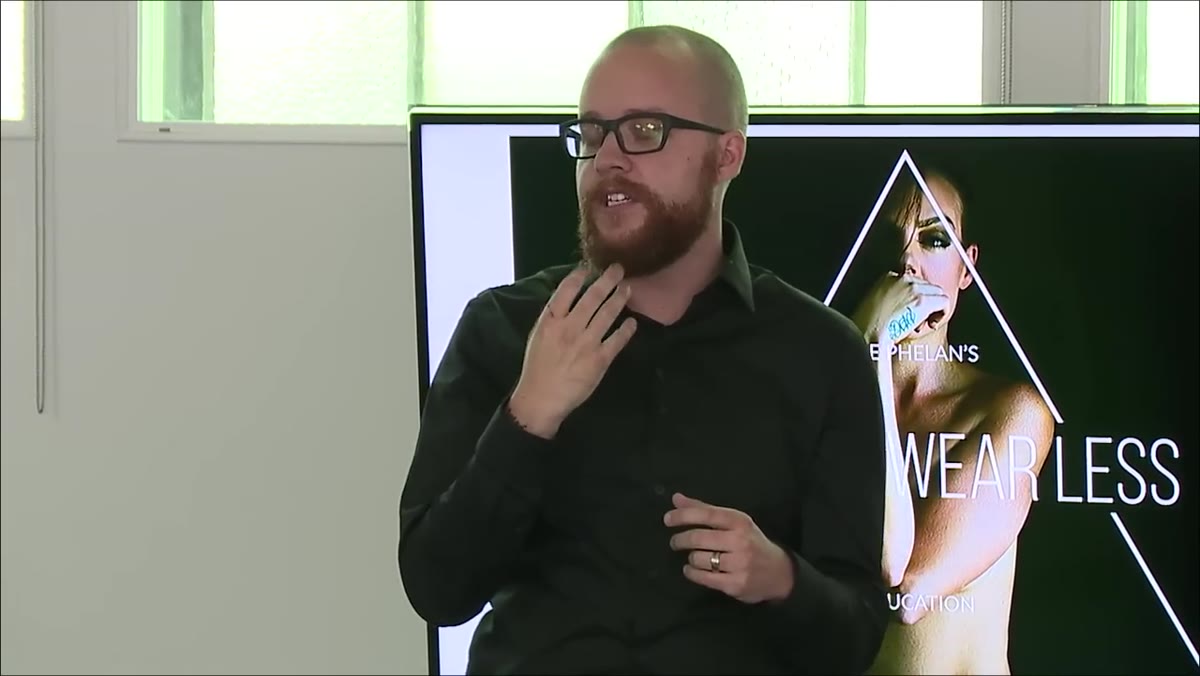 Photographer demonstrating slight head tilt and open mouth position
Two more quick but high-impact cues. First, mouth position: the photographer typically moves through a small range - no smile, closed lips, slight teeth, open mouth - and reads what works for each client. Asking a client to breathe through her mouth feels strange to her but consistently produces a more relaxed and open expression on camera. Tell her it feels weird. Tell her it works anyway. That honesty actually helps her commit to it.
Photographer demonstrating slight head tilt and open mouth position
Two more quick but high-impact cues. First, mouth position: the photographer typically moves through a small range - no smile, closed lips, slight teeth, open mouth - and reads what works for each client. Asking a client to breathe through her mouth feels strange to her but consistently produces a more relaxed and open expression on camera. Tell her it feels weird. Tell her it works anyway. That honesty actually helps her commit to it.
Second, head tilts. The mistake most clients make is tilting only the head at the crown, which creates visible tension in the neck muscles. The cue instead is to let the whole neck go, releasing from the base. The head simply follows. A small tilt done this way reads as confident and natural rather than strained.
Step 6: Pick the Lingerie Yourself, and Use It to Break the Ice
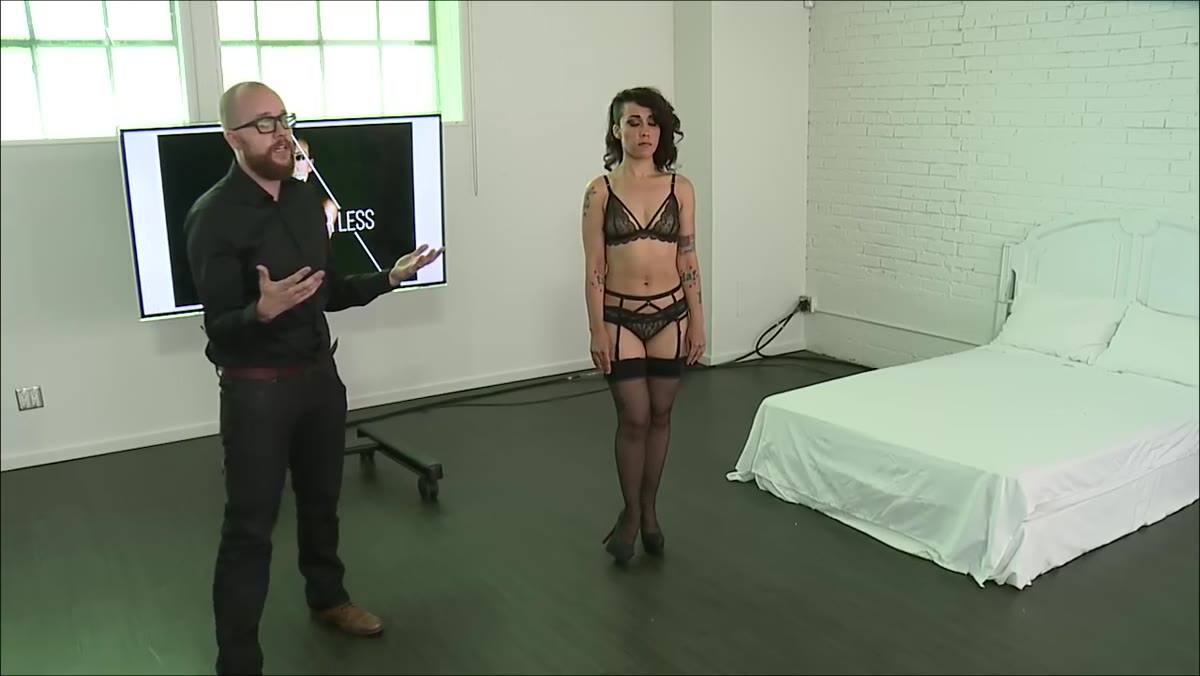 Photographer selecting lingerie from studio closet with client
The tutorial makes a point I think gets overlooked: the photographer selects the lingerie, not the client. With a studio closet of over 300 pieces, the client does not have to make a decision she is probably not equipped to make. You are the professional. You know what photographs well.
Photographer selecting lingerie from studio closet with client
The tutorial makes a point I think gets overlooked: the photographer selects the lingerie, not the client. With a studio closet of over 300 pieces, the client does not have to make a decision she is probably not equipped to make. You are the professional. You know what photographs well.
The second part of this is intentional and a little bold. Physically handling the client’s pieces, including the ones she brought herself, is a way of collapsing the distance very quickly. It is an intimate gesture in context, and it forces a moment of comfort that might otherwise take an hour to build naturally. It is not the right move for every photographer’s style, but the underlying principle is: find the action that signals trust and normalizes the physical reality of the shoot early, before the camera comes out.
What I Would Add From My Own Studio Practice
My client experience checklist has 47 line items on it, and about a third of them exist specifically to handle the anxiety that clients bring into a boudoir or intimate portrait session. One thing I layer on top of everything in this tutorial is a pre-session email that previews the prep talk. Clients who have already read the body position cues and understand what implied nudity means arrive with their questions already answered. The in-person talk then becomes a quick confirmation rather than new information delivered cold.
It cuts session setup time and it visibly changes how clients carry themselves walking through the door. The shoot itself starts with momentum instead of having to build it from scratch.
The single most important idea in this tutorial is that client preparation is not a courtesy, it is a core part of your technical process. The pose, the expression, the emotional safety of the client, all of it gets built in the minutes before the camera is raised. If you skip that work or rush through it, no amount of editing will recover what the image never captured.
Watch the full tutorial on YouTube and pay attention to how the photographer’s language stays specific and neutral throughout. The way he talks to clients is as much a teachable skill as any posing technique he demonstrates.
Comments (6)
This should be required reading for anyone starting out.
Wow, I had no idea you could do this. Mind blown.
Clear and practical. No fluff. Appreciate that.
I keep coming back to this article. It's that useful.
Been doing this wrong for years apparently. Thanks for the wake-up call.
Couldn't agree more. I've seen this make a huge difference in lighting work specifically.
Leave a Comment