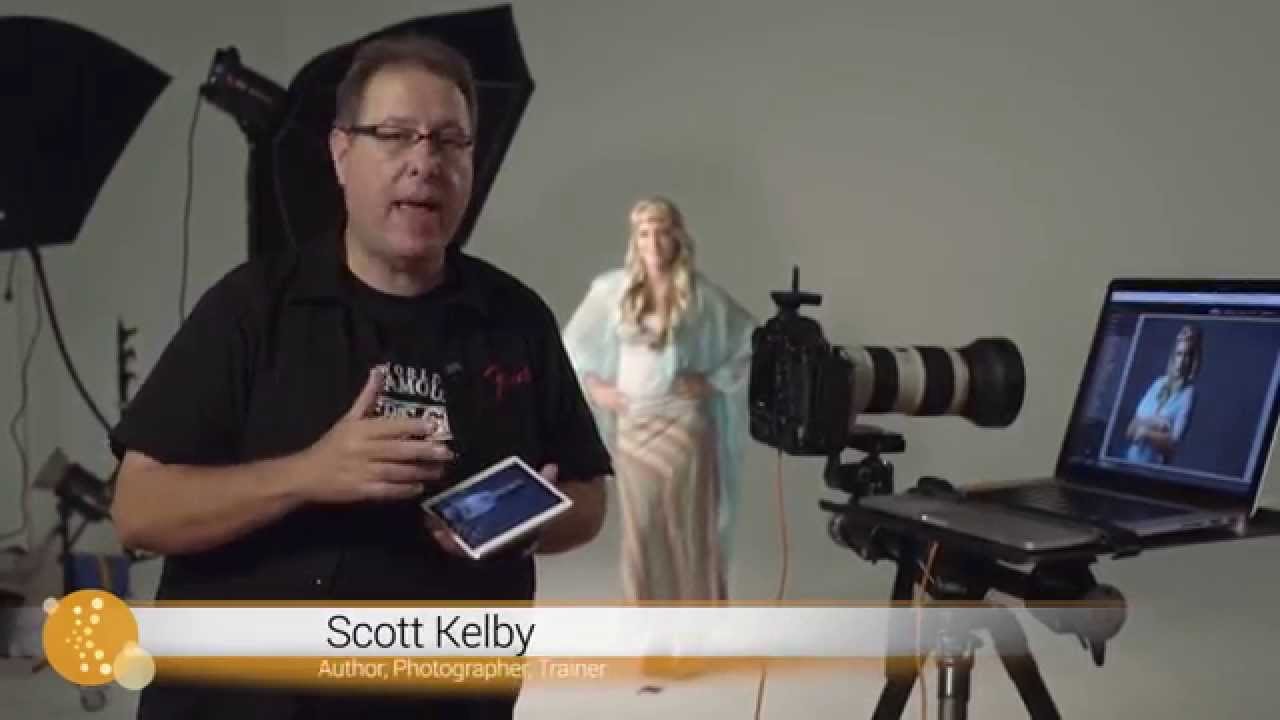
My client experience checklist has 47 items on it. I built it over years of small failures, and one of the biggest early ones was the proofing process. I used to finish a shoot, spend a day culling, upload a gallery, then wait. The client waited. The excitement from the session cooled off completely by the time they were clicking through images. That gap between shoot and first look costs you sales momentum, and it costs you referrals because the emotional high of the session is gone.
What I do now is show selects to clients in real time, right on an iPad sitting next to them on set. If they’re remote, they get a live web link and watch images appear as I shoot. The energy stays high, the client feels involved, and I close more sales because the enthusiasm is still warm. This exact workflow is what Scott Kelby demonstrates in a KelbyOne tutorial that I keep coming back to as a reference. Watch the full tutorial on YouTube – it’s a live studio demonstration that shows the whole system from camera to iPad to web browser in one take.
Here’s how the workflow actually runs, step by step.
Step 1: Tether Your Camera Into Lightroom
 Lightroom open on laptop with tethered camera feed active
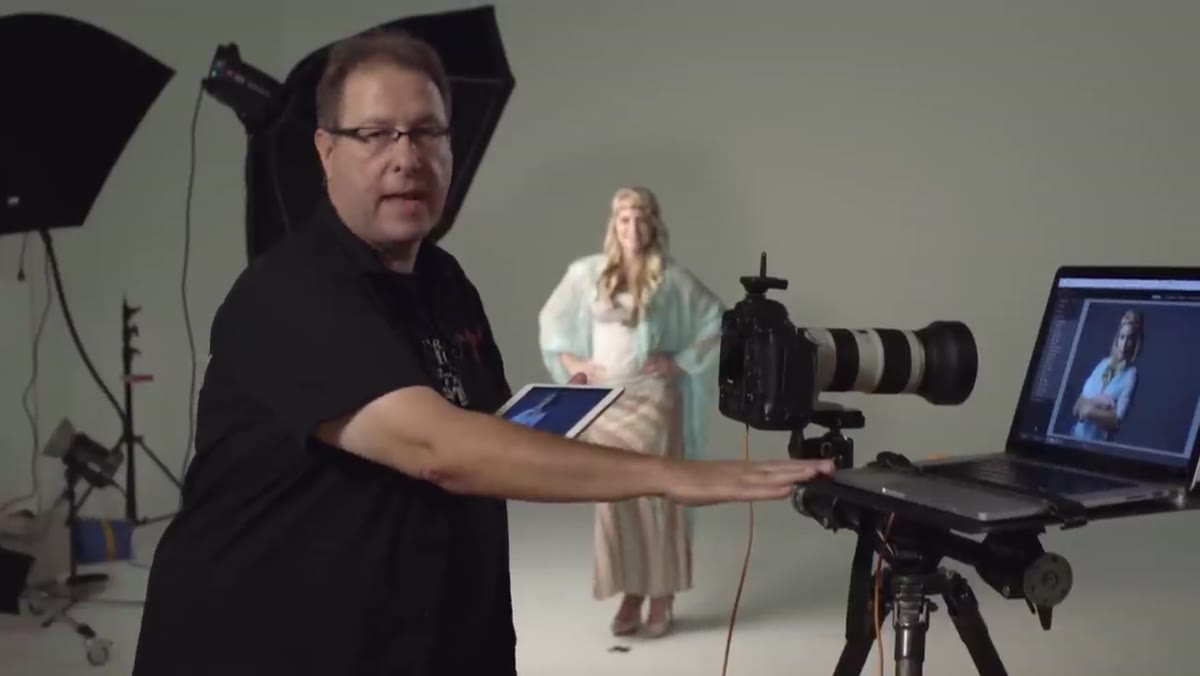
The foundation of this whole system is a tethered connection from your camera directly into Lightroom on your laptop. When you fire the shutter, the image lands in Lightroom automatically. No card pulling, no importing mid-session. If you haven’t set up tethering before, go to File > Tethered Capture > Start Tethered Capture in Lightroom and follow the prompts for your camera model. Most Canon and Nikon bodies are supported natively. Once your camera is recognized, every shot populates your filmstrip the moment it’s taken.
Lightroom open on laptop with tethered camera feed active
The foundation of this whole system is a tethered connection from your camera directly into Lightroom on your laptop. When you fire the shutter, the image lands in Lightroom automatically. No card pulling, no importing mid-session. If you haven’t set up tethering before, go to File > Tethered Capture > Start Tethered Capture in Lightroom and follow the prompts for your camera model. Most Canon and Nikon bodies are supported natively. Once your camera is recognized, every shot populates your filmstrip the moment it’s taken.
Step 2: Create a New Collection and Set It as Your Target Collection
 New Collection dialog open in Lightroom with name field and Target Collection checkbox
In the Collections panel on the left side of Lightroom, click the plus icon and choose “Create Collection.” Name it after your client or your session – something like “Haley Session” or “Rivera Portrait Oct.” Before you click Create, look for the checkbox that reads “Set as Target Collection” and make sure it’s checked. This one checkbox is the hinge the entire workflow swings on. Setting a collection as the Target Collection means Lightroom is listening for a specific keyboard shortcut. When you press it, the currently selected image gets added to that collection instantly, with no drag and drop required.
New Collection dialog open in Lightroom with name field and Target Collection checkbox
In the Collections panel on the left side of Lightroom, click the plus icon and choose “Create Collection.” Name it after your client or your session – something like “Haley Session” or “Rivera Portrait Oct.” Before you click Create, look for the checkbox that reads “Set as Target Collection” and make sure it’s checked. This one checkbox is the hinge the entire workflow swings on. Setting a collection as the Target Collection means Lightroom is listening for a specific keyboard shortcut. When you press it, the currently selected image gets added to that collection instantly, with no drag and drop required.
Step 3: Sync That Collection with Lightroom Mobile
 Right-click context menu on collection showing Sync with Lightroom Mobile option
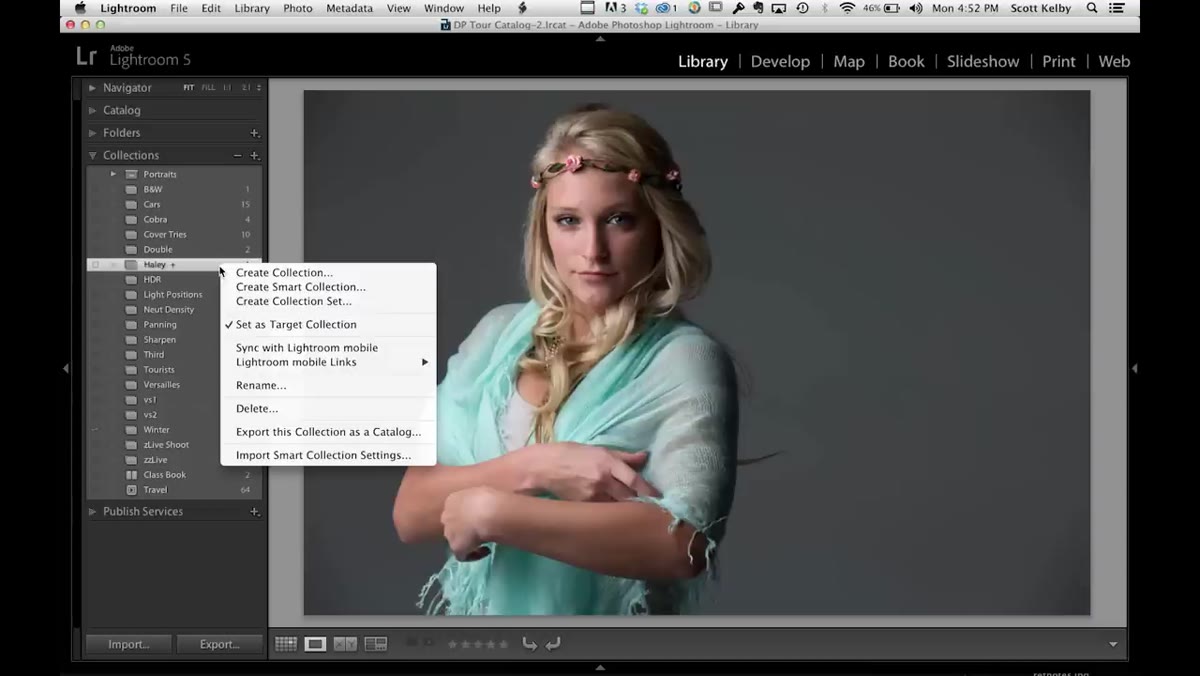
Right-click on the collection you just created. You’ll see an option that says “Sync with Lightroom Mobile.” Click it. A small sync icon – a pair of arrows – will appear next to the collection name, confirming it’s active. Before this works, you need to have Lightroom sync enabled in your preferences under Lightroom > Preferences > Lightroom Sync, and the Lightroom Mobile app needs to be installed and logged in with the same Adobe ID on your iPad. Once those are in place, anything added to this collection will push wirelessly to the iPad in real time.
Right-click context menu on collection showing Sync with Lightroom Mobile option
Right-click on the collection you just created. You’ll see an option that says “Sync with Lightroom Mobile.” Click it. A small sync icon – a pair of arrows – will appear next to the collection name, confirming it’s active. Before this works, you need to have Lightroom sync enabled in your preferences under Lightroom > Preferences > Lightroom Sync, and the Lightroom Mobile app needs to be installed and logged in with the same Adobe ID on your iPad. Once those are in place, anything added to this collection will push wirelessly to the iPad in real time.
Step 4: Use the “B” Key to Curate on the Fly
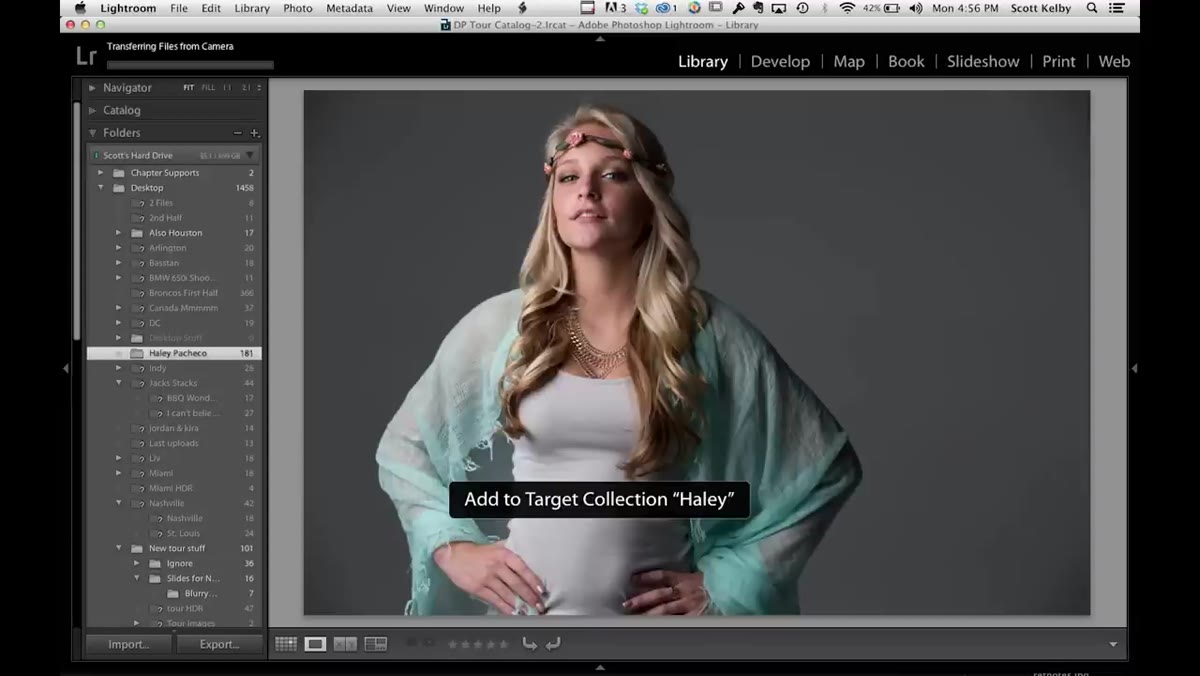 Lightroom filmstrip with image selected and on-screen confirmation of “Add to Target Collection”
Here’s where the speed comes in. As images land in your filmstrip during the shoot, you glance at them quickly. If a shot is a keeper, you press the letter B on your keyboard. You’ll see a small confirmation badge on screen that reads “Added to Target Collection.” That image is now queued for sync to the iPad. If a shot has a lighting problem, a closed eye, or a bad expression, you simply don’t press anything. It never goes to the client. This is the part of the workflow I value most. Clients don’t need to see test frames, misfires, or the three attempts it took to get the catch light right. They see only what you choose, and that curated view protects the quality impression you’re building with them.
Lightroom filmstrip with image selected and on-screen confirmation of “Add to Target Collection”
Here’s where the speed comes in. As images land in your filmstrip during the shoot, you glance at them quickly. If a shot is a keeper, you press the letter B on your keyboard. You’ll see a small confirmation badge on screen that reads “Added to Target Collection.” That image is now queued for sync to the iPad. If a shot has a lighting problem, a closed eye, or a bad expression, you simply don’t press anything. It never goes to the client. This is the part of the workflow I value most. Clients don’t need to see test frames, misfires, or the three attempts it took to get the catch light right. They see only what you choose, and that curated view protects the quality impression you’re building with them.
Step 5: Review the Feed on the iPad in Real Time
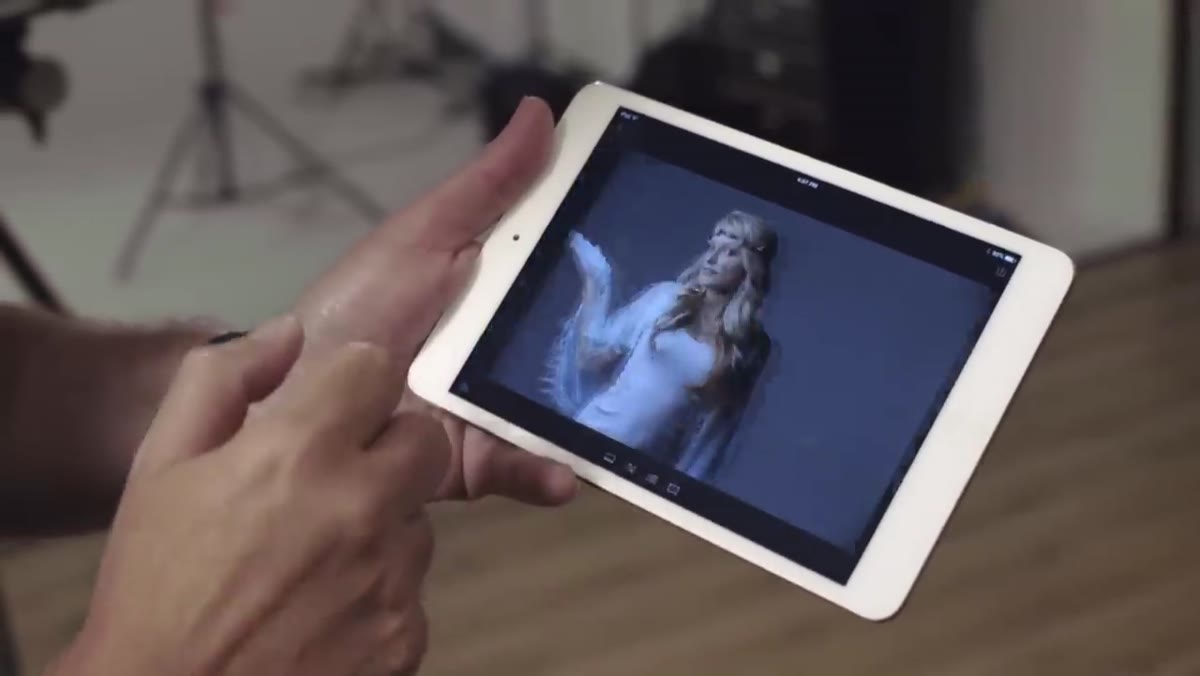 iPad screen showing Lightroom Mobile gallery with session images populating
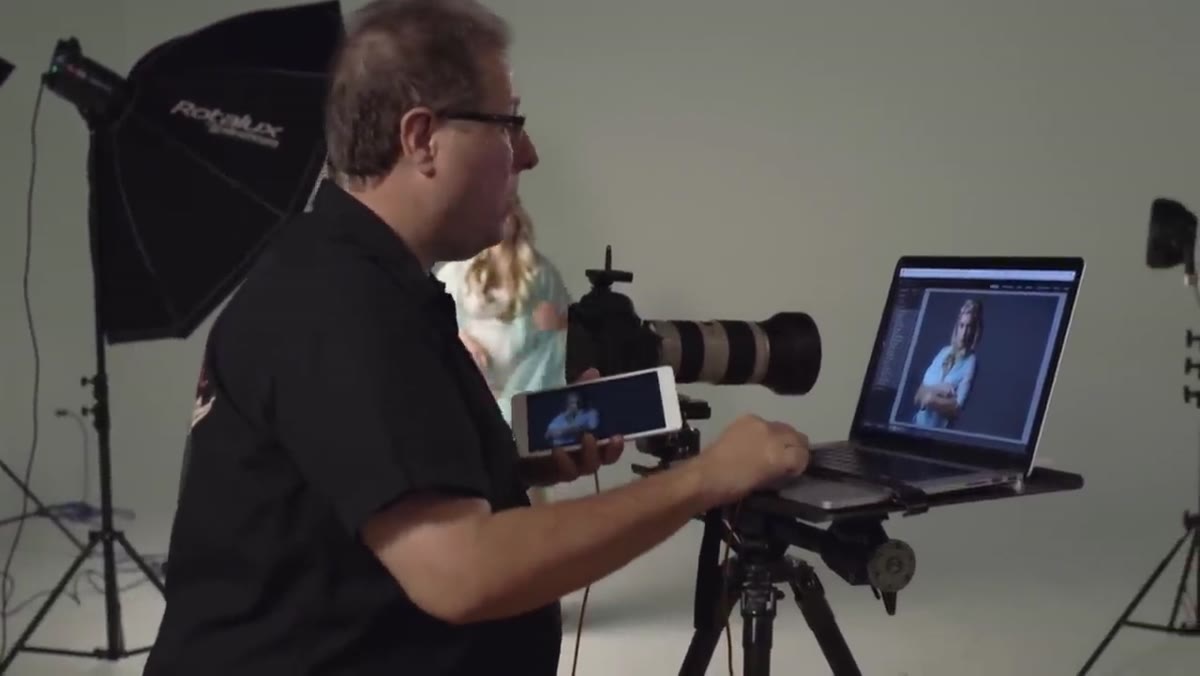
While you’re shooting, your client can be seated a few feet away with the iPad in their hands, watching their selects appear one by one. The Lightroom Mobile app on the iPad pulls the synced images as they arrive. There’s a slight delay depending on your Wi-Fi strength, but in a typical studio environment with a solid router it’s fast enough to feel live. Your client gets an experience that feels modern and high-touch without you having to stop shooting to show them a laptop screen.
iPad screen showing Lightroom Mobile gallery with session images populating
While you’re shooting, your client can be seated a few feet away with the iPad in their hands, watching their selects appear one by one. The Lightroom Mobile app on the iPad pulls the synced images as they arrive. There’s a slight delay depending on your Wi-Fi strength, but in a typical studio environment with a solid router it’s fast enough to feel live. Your client gets an experience that feels modern and high-touch without you having to stop shooting to show them a laptop screen.
Step 6: Share a Live Web Link for Remote Clients
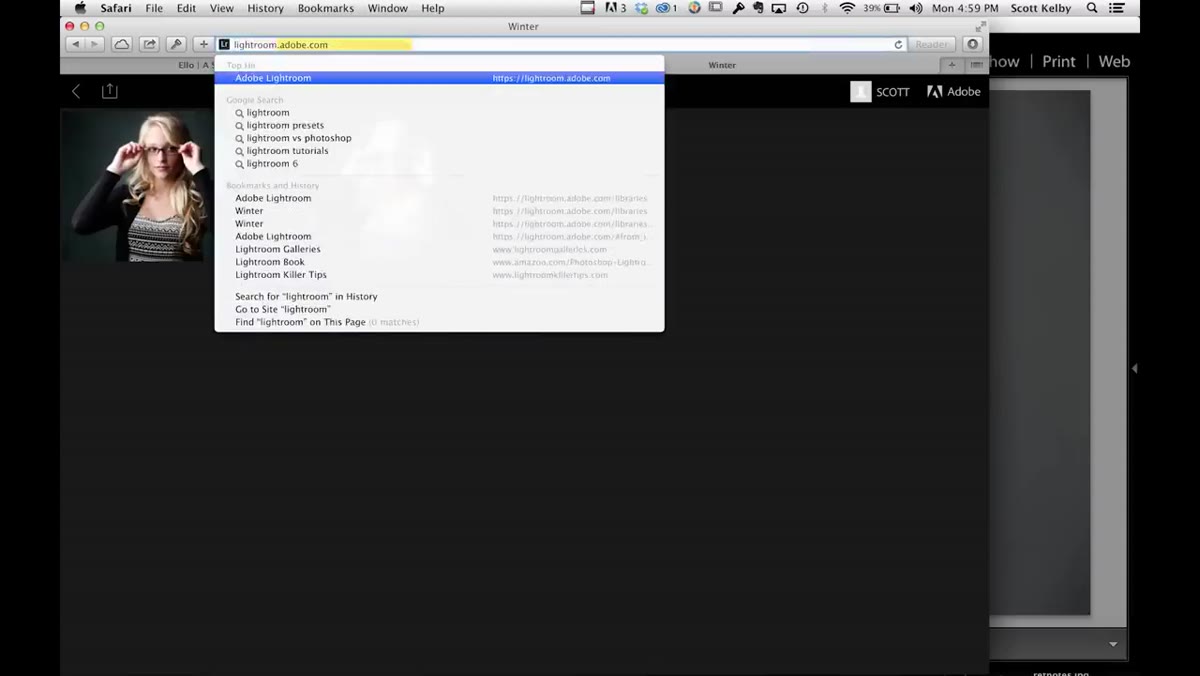 Browser open at lightroom.adobe.com showing synced gallery with Share button visible
Open a browser and go to lightroom.adobe.com. Log in with your Adobe ID and you’ll see your synced collection already there, populated with the same images that went to the iPad. Click the Share button in the upper right. Lightroom gives you the option to create a private link or a shareable link you can copy and paste. Send that URL to a client in another city or another country, and they watch images appear in their browser as you shoot. Kelby demonstrates this with a colleague in a separate office receiving the link and viewing the gallery live, double-clicking images to see them full screen and navigating with arrow keys. No special software on their end, no account required. Just a link.
Browser open at lightroom.adobe.com showing synced gallery with Share button visible
Open a browser and go to lightroom.adobe.com. Log in with your Adobe ID and you’ll see your synced collection already there, populated with the same images that went to the iPad. Click the Share button in the upper right. Lightroom gives you the option to create a private link or a shareable link you can copy and paste. Send that URL to a client in another city or another country, and they watch images appear in their browser as you shoot. Kelby demonstrates this with a colleague in a separate office receiving the link and viewing the gallery live, double-clicking images to see them full screen and navigating with arrow keys. No special software on their end, no account required. Just a link.
What I’d Add From My Own Studio Experience
This workflow changed how I structure my shoots, but I added one layer that Kelby doesn’t cover in the tutorial: I send the web link to the client 10 minutes before we start shooting. I tell them, “You’ll see a few images start to appear once we’re rolling – this is your live gallery.” By the time I’m picking up my camera, they’re already watching the link on their phone. That anticipation shifts the energy before we even start. On the back end, I also duplicate the Target Collection after the session so the original synced gallery stays clean. I cull further from the duplicate for my final delivery gallery. It keeps the client-facing set intact as a record of what they saw on set.
The single most important thing this tutorial taught me is that client proofing doesn’t have to be a separate event from the shoot. When you collapse that gap, you’re not just saving time – you’re selling while the emotion is at its peak. Clients who see their images the moment they’re taken are already invested by the time you talk about packages.
Watch the full tutorial on YouTube to see the complete live demonstration, including how the web gallery updates in real time.
Comments
Leave a Comment