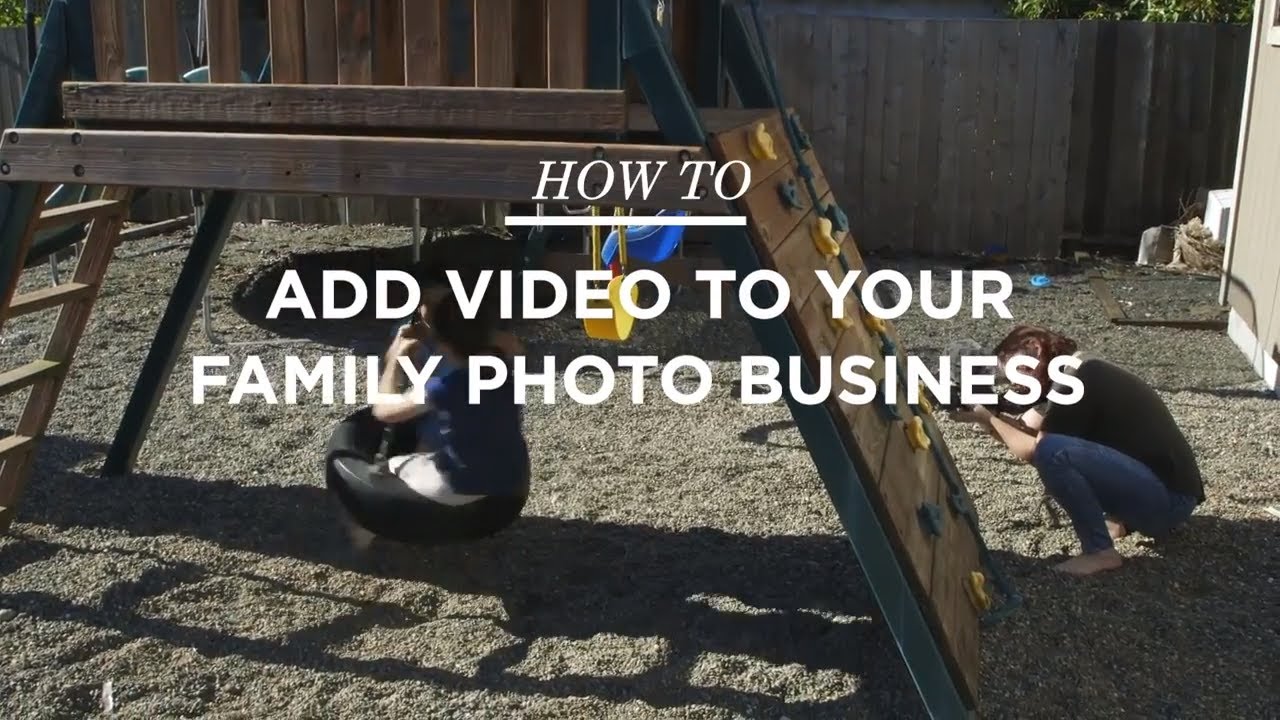
Every year around January, I pull up my studio’s revenue spreadsheet and look for patterns. For three years running, my highest-margin sessions were the ones where clients came back. Not referrals. Not new inquiries. The same families, booking again because they trusted me and wanted more. The problem was I kept offering them the same thing, and eventually “more of the same” stops feeling like a reason to rebook.
Adding video to a portrait business sounds intimidating, and I put it off longer than I should have. It felt like a separate career, not an extension of what I already do. Then I watched Courtney Holmes walk through her entire approach in this CreativeLive tutorial, and something clicked. Watch the full tutorial on YouTube. What she’s built isn’t a video production company grafted onto a photography business. It’s a natural expansion of the client relationship she already has, using gear she already owns.
What follows is my breakdown of her method, step by step, with the details you need to actually implement it.
Step 1: Reframe What You’re Selling
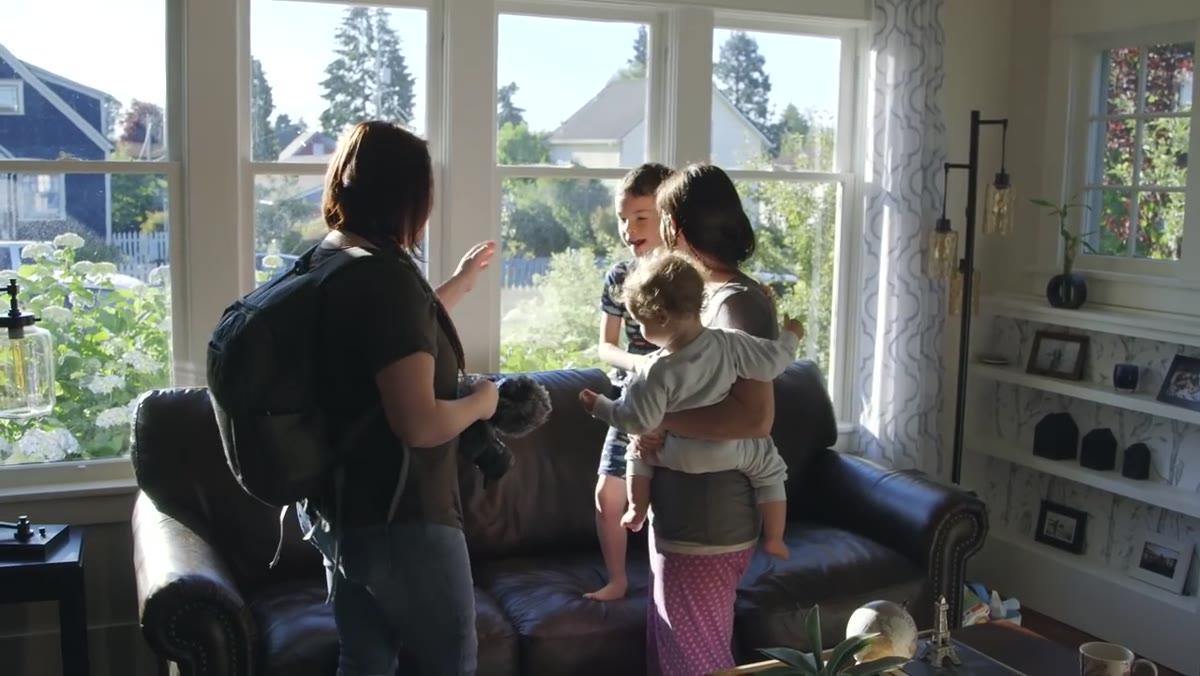 Client returning year after year for video keepsakes
Before you touch a camera setting, you need to sell this to yourself first. Holmes frames family video not as a product category but as a keepsake format, something like an annual family album but moving. That framing matters because it’s not a hard pitch to a client who already loves their photos. You’re not asking them to replace anything. You’re offering them something they didn’t know they could have.
Client returning year after year for video keepsakes
Before you touch a camera setting, you need to sell this to yourself first. Holmes frames family video not as a product category but as a keepsake format, something like an annual family album but moving. That framing matters because it’s not a hard pitch to a client who already loves their photos. You’re not asking them to replace anything. You’re offering them something they didn’t know they could have.
When you position it this way, the conversation with existing clients becomes easy. “You’ve been getting portraits every year. This year, would you want a short film to go with them?” That’s a very different ask than “I’m now doing video, want to book a session?”
Step 2: Stop Thinking All-or-Nothing
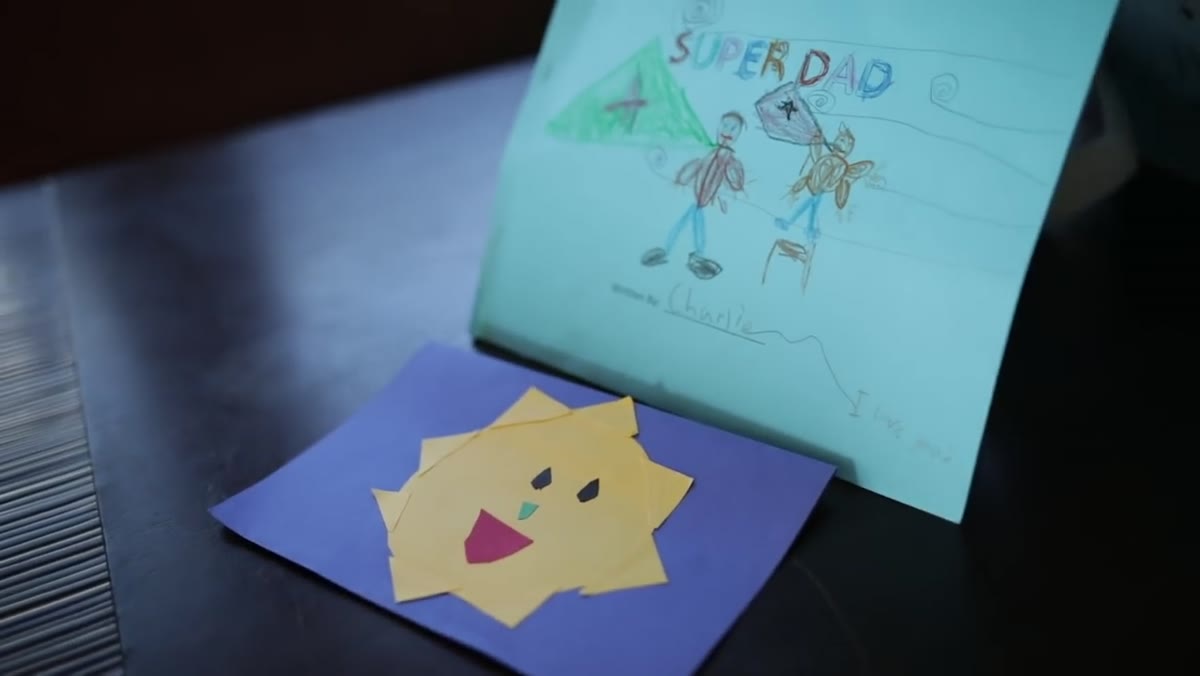 Explaining combined photo and video session approach
Holmes makes a point that I think trips up a lot of photographers considering video: the assumption that you have to choose. Either you’re a photographer or you’re a videographer. Her sessions are hybrid. She shoots video as the primary format and pulls stills from the same session, toggling between modes on her DSLR.
Explaining combined photo and video session approach
Holmes makes a point that I think trips up a lot of photographers considering video: the assumption that you have to choose. Either you’re a photographer or you’re a videographer. Her sessions are hybrid. She shoots video as the primary format and pulls stills from the same session, toggling between modes on her DSLR.
This is the insight that made it click for me practically. You don’t need to book a separate video-only session. You can offer a session that delivers both, which actually makes it easier to sell because clients aren’t giving anything up. They still get photos. They also get something more.
Step 3: Keep the Gear Minimal and Intentional
 Canon 5D Mark IV with Sigma 35mm lens and Rode microphone
Holmes shoots with a Canon 5D Mark IV, a Sigma 35mm f/1.4 lens, and a Rode Stereo VideoMic. That’s it. No rig, no monopod, no follow focus. The reason this matters isn’t just budget, it’s mobility. In a home session with kids, you need to move fast. A heavy rig means you’re always one step behind the moment.
Canon 5D Mark IV with Sigma 35mm lens and Rode microphone
Holmes shoots with a Canon 5D Mark IV, a Sigma 35mm f/1.4 lens, and a Rode Stereo VideoMic. That’s it. No rig, no monopod, no follow focus. The reason this matters isn’t just budget, it’s mobility. In a home session with kids, you need to move fast. A heavy rig means you’re always one step behind the moment.
If you already shoot with a full-frame DSLR or mirrorless camera, check whether it shoots 4K or at least high-quality 1080p. For audio, the Rode VideoMic Pro or the Stereo VideoMic X that Holmes uses will run you roughly $150 to $300 and mounts directly to your hot shoe. That’s the one piece of gear you might actually need to buy. Everything else is probably already in your bag.
Step 4: Shoot for Feeling, Not Coverage
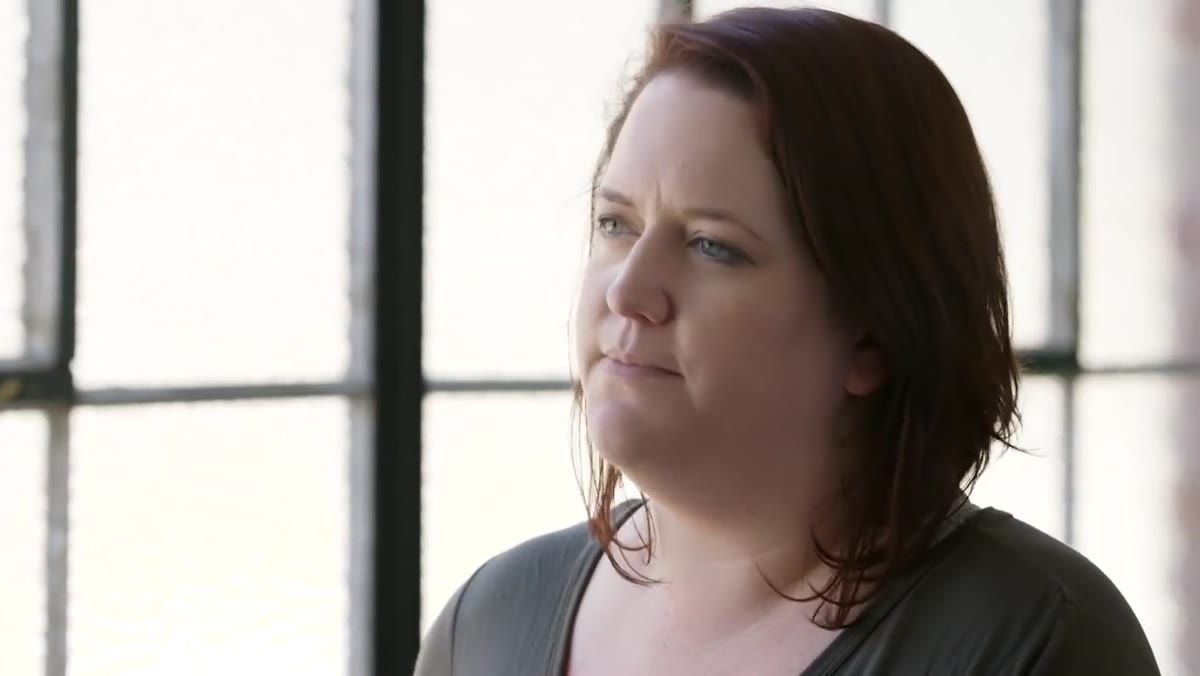 Looking for meaningful details and heirlooms inside the home
This is where Holmes’s approach diverges most from standard family photography, and it’s the part I found most useful. In a photo session, you’re often covering the full family: group shots, individuals, candids. In a video session, she’s looking for what tells the story of this specific family. Heirlooms, light coming through a window, the texture of a worn-out kitchen table.
Looking for meaningful details and heirlooms inside the home
This is where Holmes’s approach diverges most from standard family photography, and it’s the part I found most useful. In a photo session, you’re often covering the full family: group shots, individuals, candids. In a video session, she’s looking for what tells the story of this specific family. Heirlooms, light coming through a window, the texture of a worn-out kitchen table.
Before each session, she asks clients if there are any meaningful objects or spaces in their home that she should know about. That single question changes the whole shape of the session. You arrive with intention, not just a shot list. The footage you gather becomes documentary rather than generic, and that’s what makes families cry when they watch the finished film.
Step 5: Toggle Between Video and Photo on the Same Shot
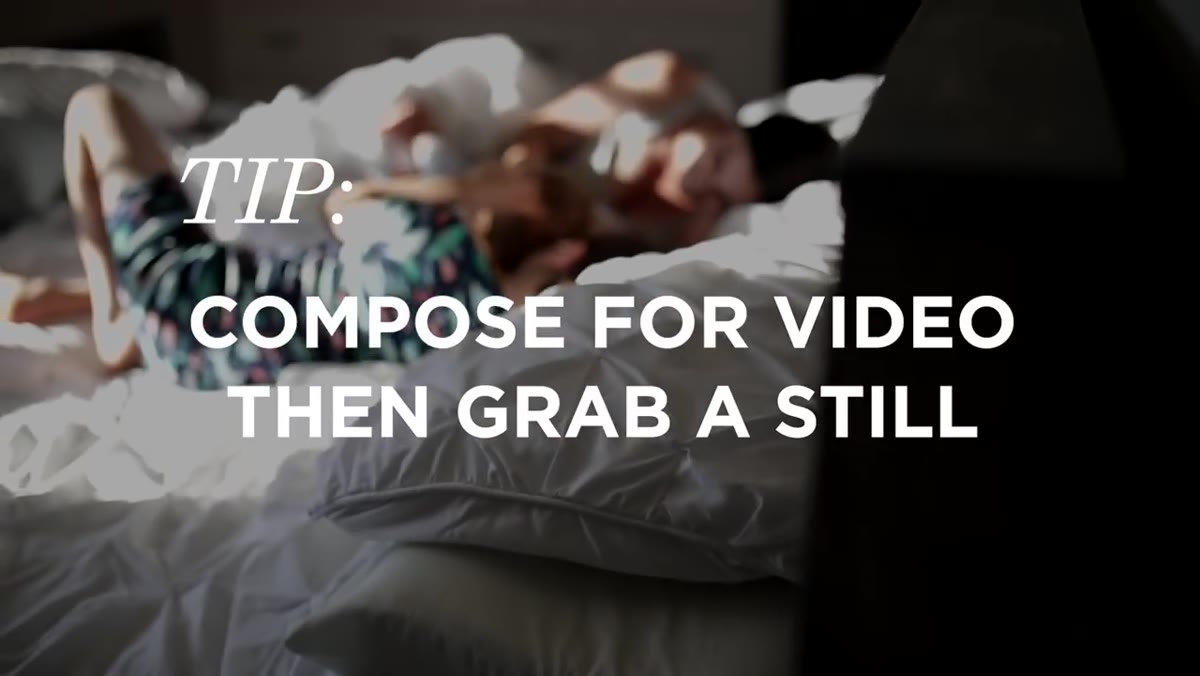 Switching between video and photo modes on the camera body
On most DSLRs and mirrorless cameras, there’s a toggle or dial that switches between video and photo mode. Holmes’s workflow is to compose a strong moment while shooting video, flip to photo mode, grab one or two stills, then flip back and keep rolling. It takes about two seconds.
Switching between video and photo modes on the camera body
On most DSLRs and mirrorless cameras, there’s a toggle or dial that switches between video and photo mode. Holmes’s workflow is to compose a strong moment while shooting video, flip to photo mode, grab one or two stills, then flip back and keep rolling. It takes about two seconds.
She’s clear that this doesn’t work on every clip, and you shouldn’t try to force it. But doing it a handful of times per session means you leave with usable stills alongside your footage, which gives clients a deliverable they already understand while they’re waiting to see the final film. It also protects you early on while you’re still building confidence in the video side of your work.
Step 6: Use the Camera Strap as a Stabilizer
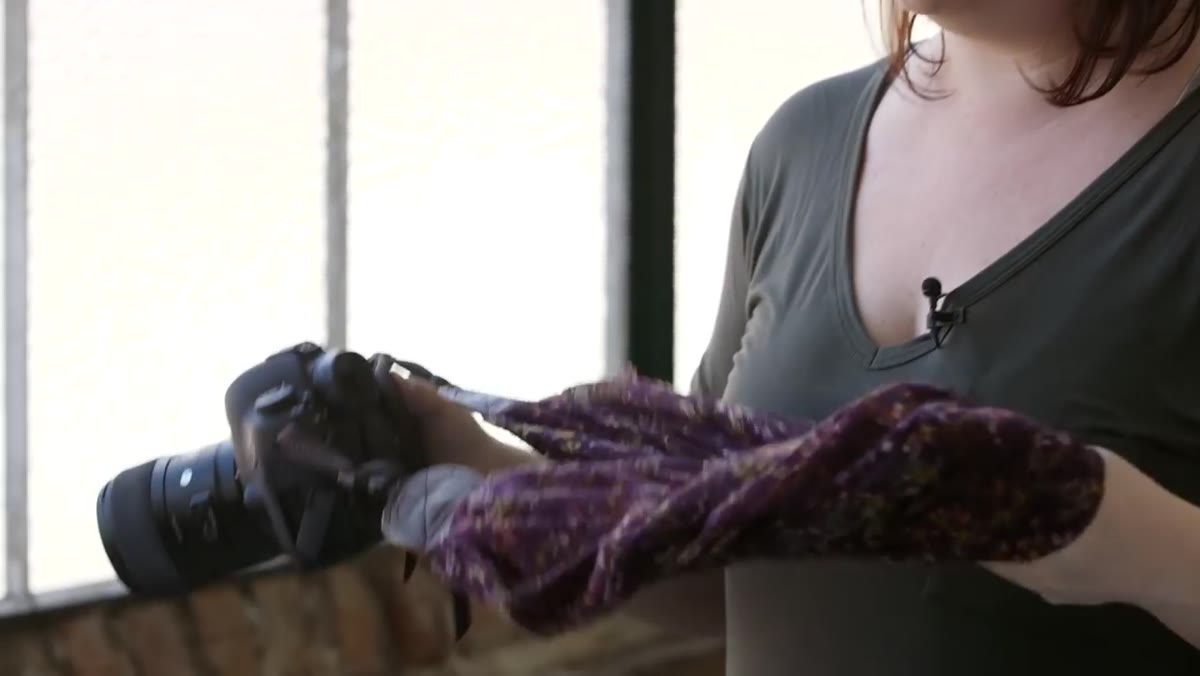 Demonstrating wrist-wrap camera strap technique for handheld stability
This is the trick Holmes flags as the one she wishes she’d known from the start, and it’s worth paying close attention to. She uses a scarf-style camera strap rather than a stiff nylon strap. The method: loop the strap around your neck, then wrap it around your wrist two or three times until the camera is pulled tight against your body.
Demonstrating wrist-wrap camera strap technique for handheld stability
This is the trick Holmes flags as the one she wishes she’d known from the start, and it’s worth paying close attention to. She uses a scarf-style camera strap rather than a stiff nylon strap. The method: loop the strap around your neck, then wrap it around your wrist two or three times until the camera is pulled tight against your body.
The physics here are simple. Pulling the camera toward your center of gravity reduces the lever arm that causes shake. You become a human stabilizer without adding a gimbal or monopod to the equation. The key is keeping the strap genuinely taut, not loosely draped. When she demonstrates this in the tutorial, you can see how much smoother her movement becomes. Practice this at home before a paid session and you’ll notice the difference in your footage immediately.
What I’d Add From My Own Experience
One thing Holmes doesn’t cover in depth, because it’s outside the scope of a gear-and-technique tutorial, is how to price the hybrid session. This is where I’ve seen photographers undercut themselves badly. If you’re delivering both a short film and a gallery of stills, you are not charging the price of a standard portrait session. You’re delivering two products and the emotional weight of a film is significant.
My suggestion: start by identifying what your one-hour portrait session currently costs. Your hybrid video session should be at minimum 1.5 to 2 times that rate, even before you factor in editing time. Editing video takes longer than editing photos, especially early on. Price it accordingly from day one. It’s much harder to raise your prices on existing clients than it is to set them correctly at the start.
The single most important takeaway from Holmes’s tutorial is this: you don’t need to reinvent yourself to add video. The skills you’ve already built as a photographer, seeing light, reading a family’s energy, knowing when to wait for a moment, transfer directly. The technique is learnable. The eye you already have is the hard part, and you’ve been developing that for years.
Watch the full tutorial on YouTube to see Courtney Holmes demonstrate the strap technique and walk through her full session approach. It’s worth the twenty minutes.
Comments (1)
Tried this technique this morning. Game changer for real.
Leave a Comment