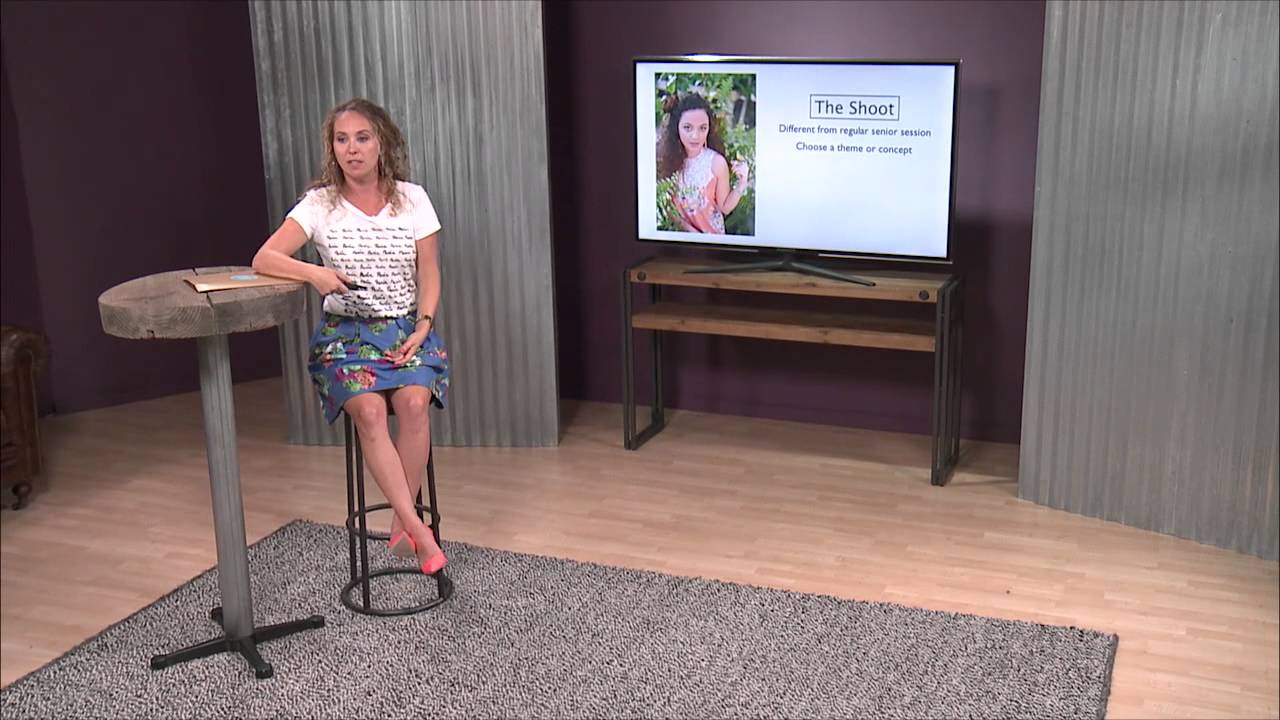
Every spring, I watch photographers in my network scramble for senior session bookings. They post on Instagram, run a discount, maybe try a referral card. Some of it works. Most of it doesn’t stick. The problem is that these are one-off tactics, not systems. A rep program is a system, and once I understood how to build one correctly, it changed how I approached marketing my studio entirely.
I came across this CreativeLive tutorial while I was reworking my own outreach strategy, and it lays out the rep program process in a way that’s practical and sequenced. Watch the full tutorial on YouTube before or after reading this. Either way, what follows is my breakdown of the core steps, with some notes from my own experience running a portrait studio where I track what actually converts.
The basic idea: you recruit a small group of high school seniors to represent your brand. In exchange for word-of-mouth marketing, social sharing, and peer referrals, they get perks, usually a photo shoot. Done right, this isn’t charity. It’s a structured marketing campaign with measurable return.
Step 1: Get Clear on Your Why Before You Plan Anything
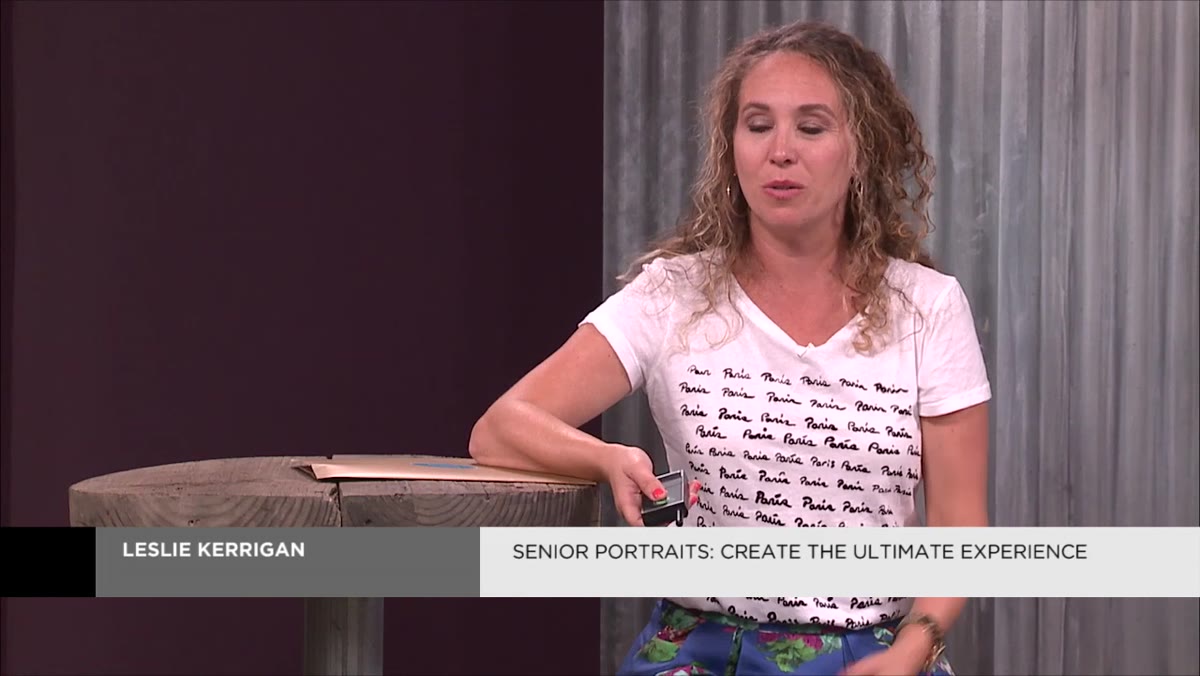 Presenter explaining the first planning question: why
Before you recruit a single rep or book a shoot location, you need to know what you’re trying to get out of the program. The tutorial opens here, and it’s the right place to start. Are you trying to build brand awareness in a new market? Fill your calendar during a slow season? Grow your portfolio with stronger images?
Presenter explaining the first planning question: why
Before you recruit a single rep or book a shoot location, you need to know what you’re trying to get out of the program. The tutorial opens here, and it’s the right place to start. Are you trying to build brand awareness in a new market? Fill your calendar during a slow season? Grow your portfolio with stronger images?
Your answer shapes every decision that follows. If you’re after portfolio work, for example, your rep shoot should feature the kind of images you want to book more of. If awareness is the goal, you need reps with social reach and a willingness to actually post. Don’t skip this step because it feels obvious. Write it down. I keep a one-page brief for every marketing initiative, and the “why” is always line one.
Step 2: Decide How Many Reps You Need and What They’ll Receive
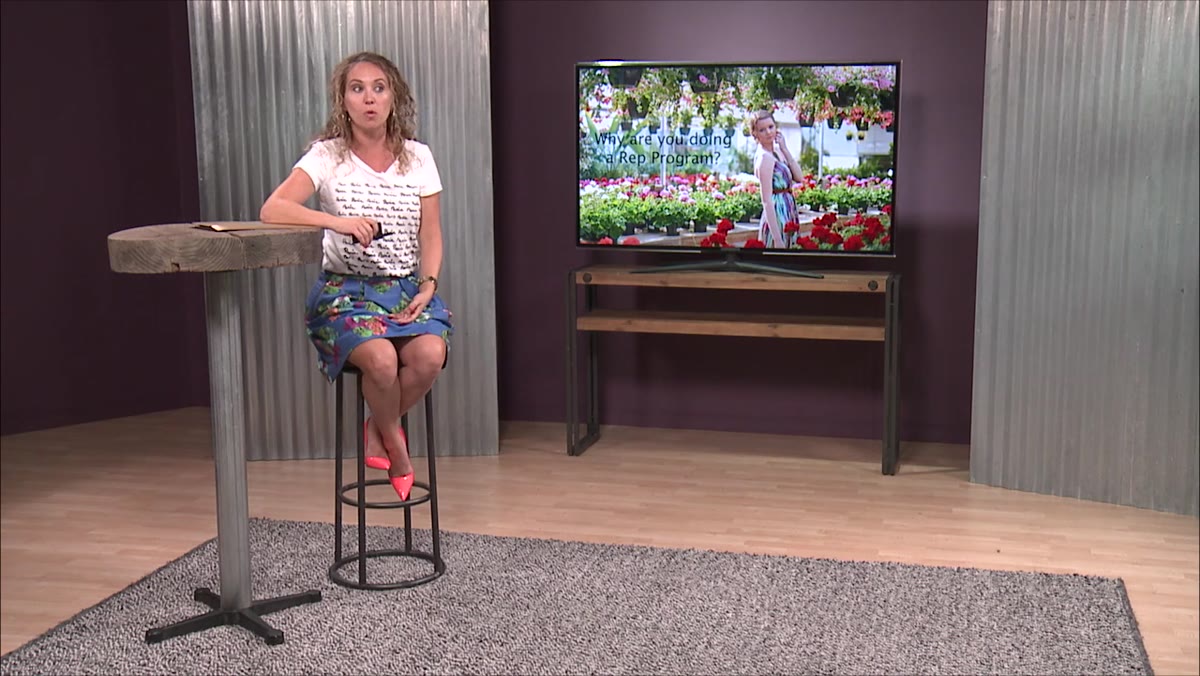 Presenter discussing rep program structure and what reps receive
The tutorial frames this as a business decision, not a generosity decision. You’re not handing out free shoots. You’re creating spokespeople who work for your brand. That reframe matters. It affects how you communicate the program to recruits and how you set expectations.
Presenter discussing rep program structure and what reps receive
The tutorial frames this as a business decision, not a generosity decision. You’re not handing out free shoots. You’re creating spokespeople who work for your brand. That reframe matters. It affects how you communicate the program to recruits and how you set expectations.
Figure out your capacity first. How many seniors can you realistically shoot and deliver before your busy season? That number works backward into how many reps make sense. The tutorial suggests thinking about this in terms of what each rep will actually do for you in terms of referrals, social posts, and word-of-mouth, and building your incentive structure around that. More on the shoot logistics in the next step, but start by knowing your numbers.
Step 3: Choose Between a Group Shoot and Individual Shoots
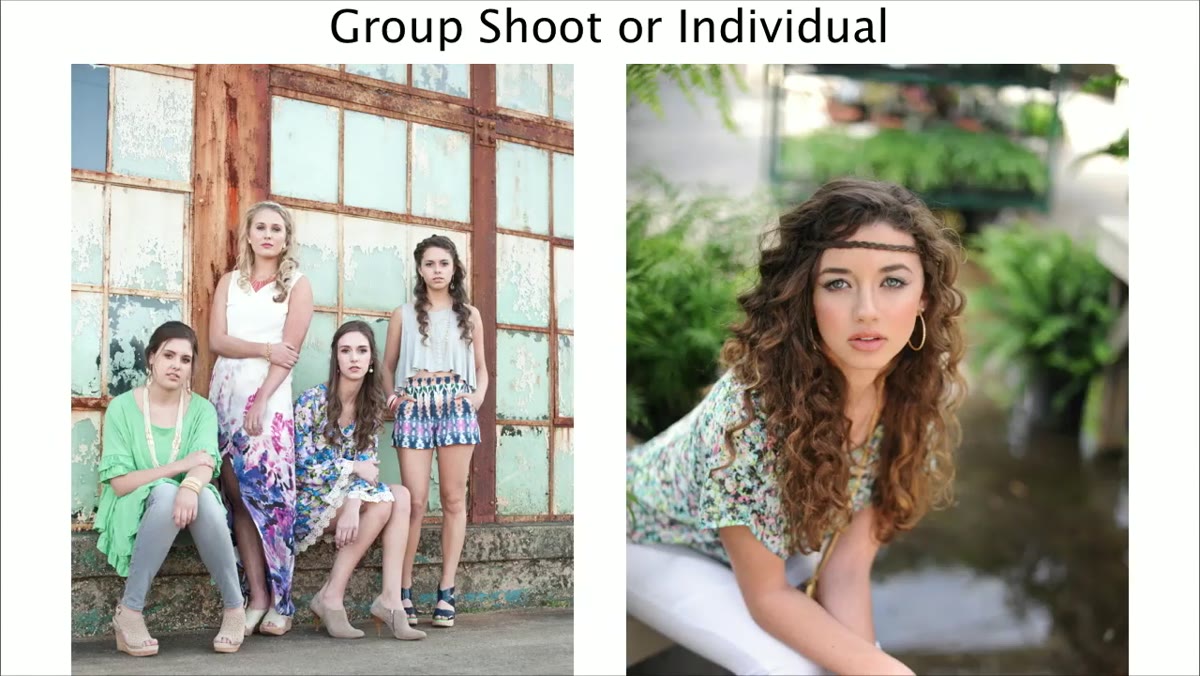 Presenter comparing group versus individual shoot formats
This is one of the more tactical decisions in the program setup, and the tutorial walks through both options honestly. A group shoot is efficient and creates a shared experience that builds excitement among the reps. An individual shoot feels more premium and personal. The presenter’s approach is to do a group shoot first, then offer individual shoots as the reward reps work toward. That two-tier structure gives you ongoing leverage throughout the year.
Presenter comparing group versus individual shoot formats
This is one of the more tactical decisions in the program setup, and the tutorial walks through both options honestly. A group shoot is efficient and creates a shared experience that builds excitement among the reps. An individual shoot feels more premium and personal. The presenter’s approach is to do a group shoot first, then offer individual shoots as the reward reps work toward. That two-tier structure gives you ongoing leverage throughout the year.
If you go the group route and have a large cohort, split them into smaller groups. Shooting 14 seniors at once is chaotic. Two groups of seven is manageable and gives you more flexibility with locations and timing. I’ve done both formats, and the group shoot with a strong concept consistently produces better marketing content because the images look cohesive when your reps post them together.
Step 4: Build the Shoot Around a Clear Theme or Concept
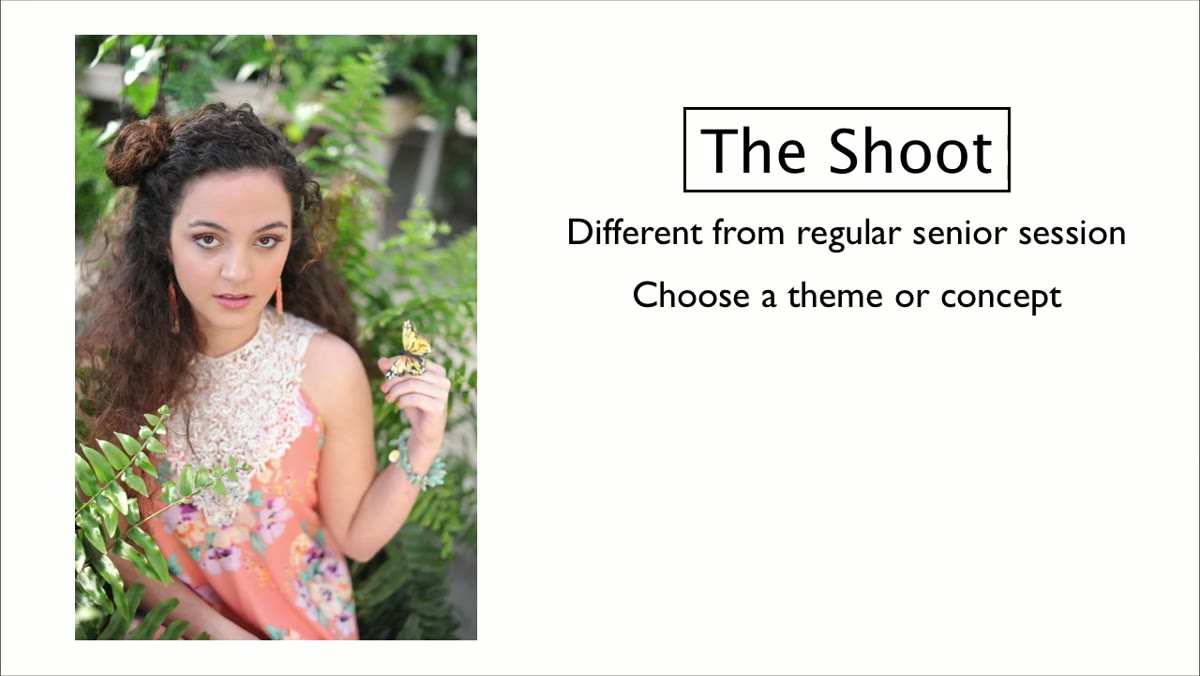 Presenter describing the garden and nursery theme shoot concept
This is where the rep shoot separates itself from a standard senior session. A themed concept shoot gives the images a distinct look, makes them more shareable, and reinforces your brand’s visual identity. The tutorial gives specific examples: a garden theme shot inside a greenhouse and nursery, a boho aesthetic, a glitter theme with the tagline “every girl deserves to sparkle in her senior year.”
Presenter describing the garden and nursery theme shoot concept
This is where the rep shoot separates itself from a standard senior session. A themed concept shoot gives the images a distinct look, makes them more shareable, and reinforces your brand’s visual identity. The tutorial gives specific examples: a garden theme shot inside a greenhouse and nursery, a boho aesthetic, a glitter theme with the tagline “every girl deserves to sparkle in her senior year.”
The concept doesn’t need to be elaborate, but it needs to be intentional. Pick a visual direction, then let that drive your location, wardrobe, props, and even your marketing language. A loose theme is fine. A random grab bag of ideas is not. When your reps post these images and tag your studio, every photo should look like it belongs to the same world.
Step 5: Source Wardrobe, Props, and Partners
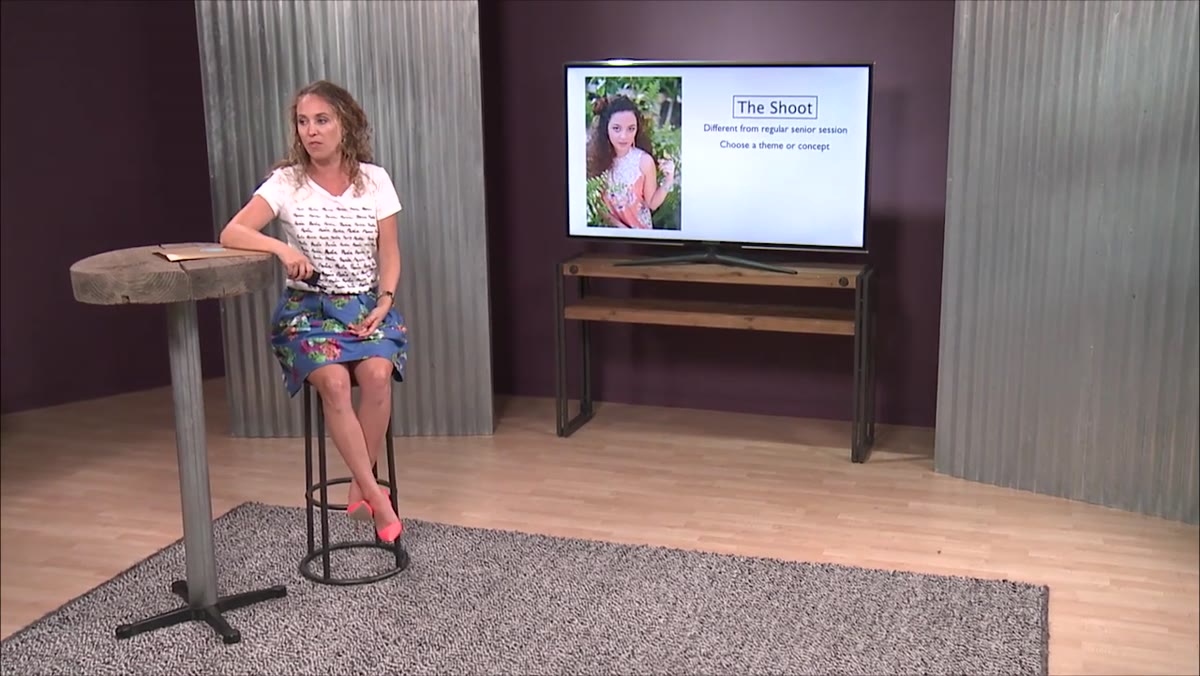 Presenter mentioning the boutique partnership for clothing
The tutorial makes an important point here: you don’t have to fund all of this yourself. The presenter partners with a local boutique that provides clothing in exchange for exposure. That’s a sponsorship model, and it works in both directions. The boutique gets styled photos of their clothes on real clients. You get wardrobe without paying retail.
Presenter mentioning the boutique partnership for clothing
The tutorial makes an important point here: you don’t have to fund all of this yourself. The presenter partners with a local boutique that provides clothing in exchange for exposure. That’s a sponsorship model, and it works in both directions. The boutique gets styled photos of their clothes on real clients. You get wardrobe without paying retail.
Think about what your shoot needs and who in your area has inventory or services to offer. Hair and makeup artists are a natural fit because they benefit from being seen in the final images. Florists, furniture rental shops, vintage clothing stores, and local venues all have something to gain from being part of a polished photo production. Build these partnerships early in your planning cycle and put the terms in writing.
Step 6: Set a Realistic Budget and Track It
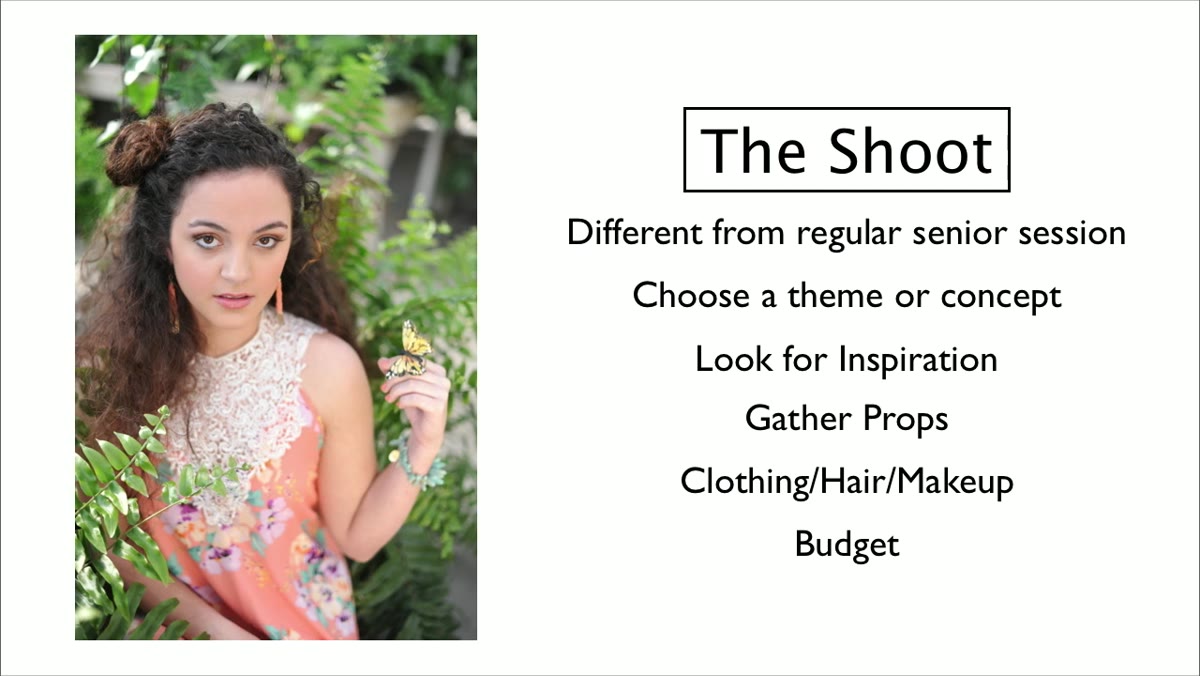 Presenter raising the question of budget for the marketing campaign
The tutorial is direct here: figure out what you’re willing to spend on this as a marketing campaign, not just as a photo shoot. Hair and makeup costs money. Props cost money. Location fees, travel, and any compensation for partners add up. The presenter names a range, from a couple hundred dollars to more, but the point is to decide in advance and treat it as a line item in your marketing budget.
Presenter raising the question of budget for the marketing campaign
The tutorial is direct here: figure out what you’re willing to spend on this as a marketing campaign, not just as a photo shoot. Hair and makeup costs money. Props cost money. Location fees, travel, and any compensation for partners add up. The presenter names a range, from a couple hundred dollars to more, but the point is to decide in advance and treat it as a line item in your marketing budget.
I track every dollar I spend on my rep program against the revenue it generates, meaning how many sessions were booked by clients who were referred by a rep. Last year, my program cost me just under $600 to run and returned more than four times that in booked sessions. That ratio is why I keep doing it. If you’re not tracking this, you have no way to know if the program is worth repeating.
What I’d Add From My Own Experience
The tutorial covers the structure well, but one thing I’d emphasize that isn’t spelled out explicitly: the rep shoot images need to be ready fast. Your reps are most excited right after the shoot. If you take six weeks to deliver the gallery, the moment is gone and so is the organic posting window. I now treat rep shoot editing as priority one, ahead of client work that came in after, because the marketing value is time-sensitive.
I also recommend giving each rep a simple one-page overview of what you expect from them: how many posts, what to tag, what not to say, and what they get in return. Clarity upfront prevents awkward conversations later.
A rep program only works if it’s treated like the marketing campaign it actually is, with a defined purpose, a budget, a concept, and a way to measure results. The structural thinking in this CreativeLive tutorial is solid, and it’s worth watching the full thing to hear the reasoning behind each decision in the presenter’s own words.
Watch the full tutorial on YouTube
Comments (4)
Great breakdown. The step-by-step approach really helps.
Just subscribed. If the rest of your content is this good, I'm in.
Simple but effective. Sometimes that's all you need.
Great article! I actually covered something related on my site — the photoshop angle is really complementary to this.
Leave a Comment