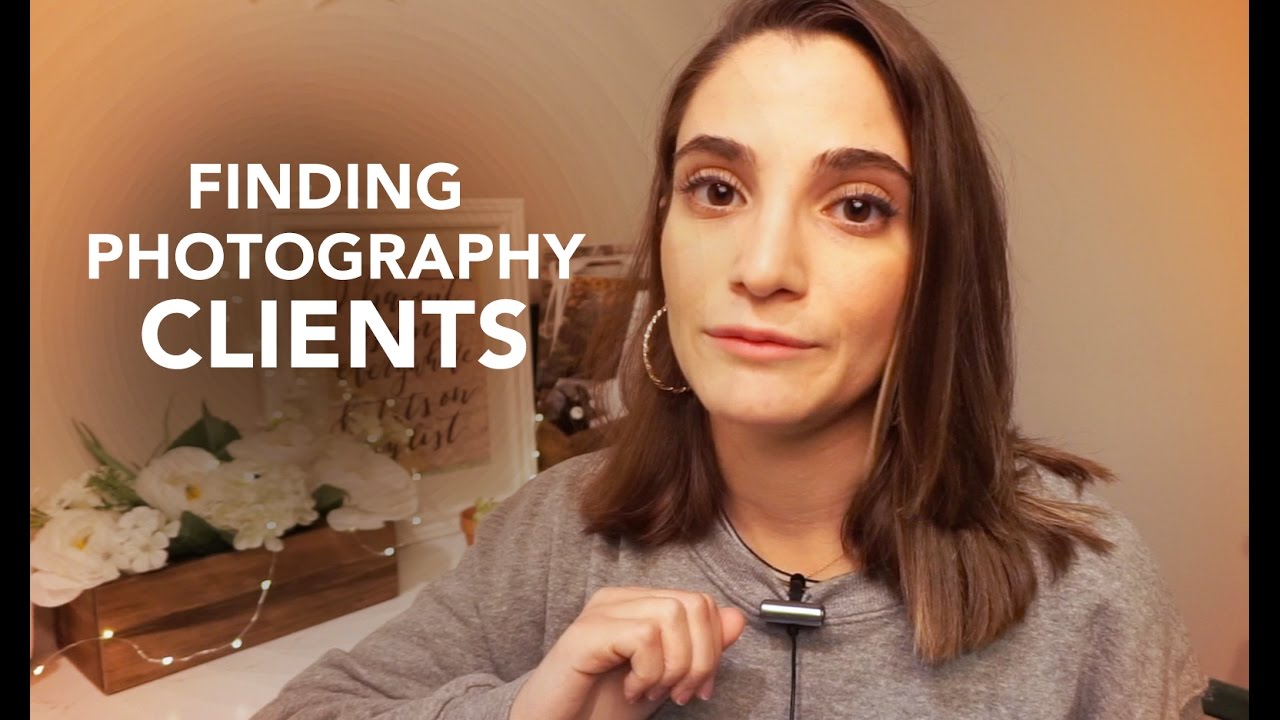
Getting clients is the part of photography school never covered. You learn aperture, composition, maybe even Lightroom workflows, but nobody sits you down and explains how money actually starts coming in. I’ve been running my portrait studio in Miami for years now, and the question I hear most from newer photographers isn’t about technique. It’s some version of: “How do I get people to actually hire me?”
That’s why I was glad to come across this Jessica Kobeissi tutorial on finding photography clients and making money. Watch the full tutorial on YouTube. Kobeissi shoots weddings, engagements, senior portraits, and family sessions, and she’s built a real client base doing it. This first part of her two-part series focuses specifically on the beginner stage, which she frames plainly: you need experience, and you need photos. Everything else flows from those two things.
What I appreciate about her approach is that it mirrors what I’d tell anyone starting out. She’s not selling shortcuts. She’s describing a progression that takes patience, a little hustle, and a willingness to do unglamorous work before the good work shows up. Here’s how she lays it out.
Step 1: Accept That You’re in the Beginner Stage
 Jessica explaining the beginner stage and what it means
Kobeissi uses a Pokemon analogy here that’s genuinely useful: when you’re just starting out, you’re going to catch a lot of pidgeys. That means you’ll be doing the less exciting sessions, the ones that don’t match your dream portfolio, before the better bookings come. The trap most new photographers fall into is waiting until they feel “ready” or until they have the portfolio they want before they put themselves out there. That’s backwards. You build the portfolio by doing the work, not by imagining it.
Jessica explaining the beginner stage and what it means
Kobeissi uses a Pokemon analogy here that’s genuinely useful: when you’re just starting out, you’re going to catch a lot of pidgeys. That means you’ll be doing the less exciting sessions, the ones that don’t match your dream portfolio, before the better bookings come. The trap most new photographers fall into is waiting until they feel “ready” or until they have the portfolio they want before they put themselves out there. That’s backwards. You build the portfolio by doing the work, not by imagining it.
The mindset shift is this: your early sessions aren’t beneath you, they’re the raw material. Senior portraits, small family sessions, even free shoots with friends, all of it counts. Stop treating your first year like a holding pattern and start treating it like tuition.
Step 2: Second Shoot for an Established Photographer
 Jessica describing the second shooter role at weddings
One of Kobeissi’s strongest recommendations for getting into wedding photography specifically is to second shoot for someone who’s already doing it. A second shooter assists the lead photographer during a wedding, covering angles the primary shooter can’t be in two places to get. It’s a real job with real pay in many cases, but more importantly, it gives you access to a live wedding environment without the full weight of client responsibility on your shoulders.
Jessica describing the second shooter role at weddings
One of Kobeissi’s strongest recommendations for getting into wedding photography specifically is to second shoot for someone who’s already doing it. A second shooter assists the lead photographer during a wedding, covering angles the primary shooter can’t be in two places to get. It’s a real job with real pay in many cases, but more importantly, it gives you access to a live wedding environment without the full weight of client responsibility on your shoulders.
The practical upside she points out is threefold: you gain experience in a high-pressure setting, you walk away with images you can use in your own portfolio, and you learn directly by watching how a working professional handles the day. To find these opportunities, reach out to photographers in your area whose work you respect. Be direct, be professional, and show them a sample of your current work. Many photographers are quietly looking for reliable second shooters and don’t advertise it.
Step 3: Create Your Own Styled Shoots to Fill Portfolio Gaps
 Jessica suggesting a mockup wedding shoot with a friend
If no one has booked you for the type of work you want to be doing, Kobeissi’s answer is simple: manufacture it. A styled shoot lets you photograph exactly the subject matter you’re trying to attract clients for, even before a paying client gives you that chance. For wedding photography, this might mean asking a friend to wear a wedding dress for an afternoon. For senior portraits, it might mean recruiting a high school student in exchange for free prints.
Jessica suggesting a mockup wedding shoot with a friend
If no one has booked you for the type of work you want to be doing, Kobeissi’s answer is simple: manufacture it. A styled shoot lets you photograph exactly the subject matter you’re trying to attract clients for, even before a paying client gives you that chance. For wedding photography, this might mean asking a friend to wear a wedding dress for an afternoon. For senior portraits, it might mean recruiting a high school student in exchange for free prints.
The goal is to give potential clients something to see themselves in. When someone visits your website or Instagram and sees imagery that matches what they want, they don’t think “oh that was a staged shoot.” They think “this photographer gets it.” Keep the concept tight, plan the location and lighting in advance, and treat it like a real booking. The resulting images should be indistinguishable from paid work.
Step 4: Prioritize Second Shooting Before Flying Solo on Weddings
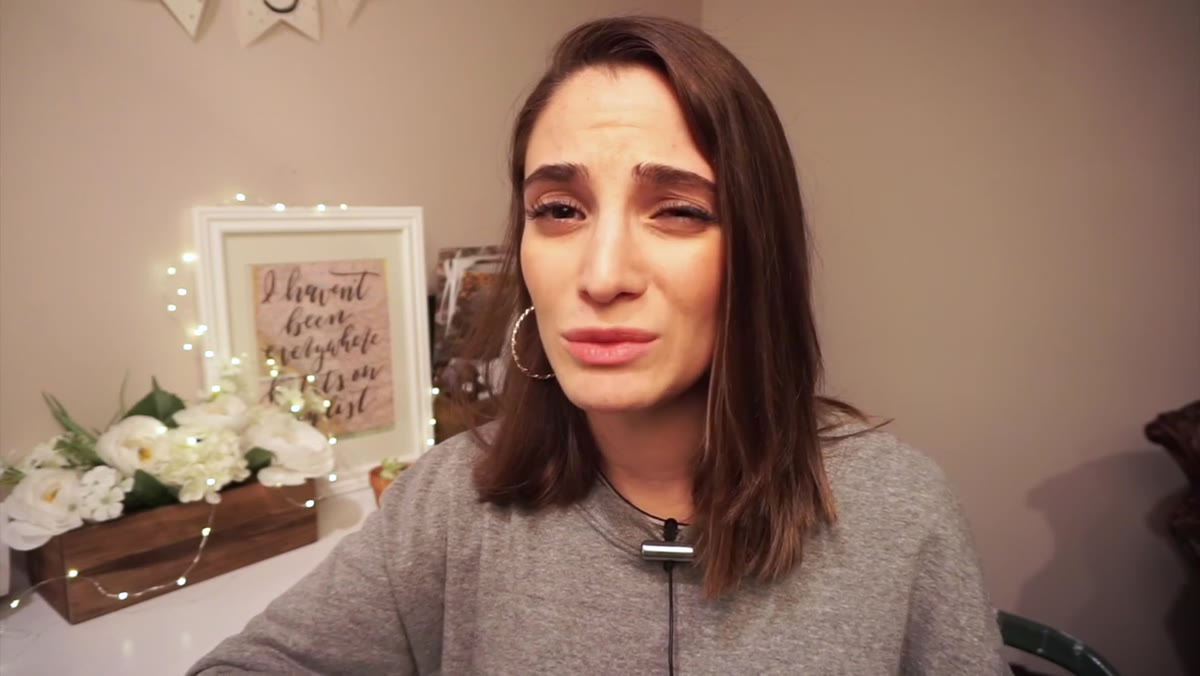 Jessica reflecting on shooting her first wedding alone
Kobeissi is candid here: she shot her first wedding entirely by herself, and looking back, she wouldn’t recommend it. Weddings are logistically demanding in a way that other sessions aren’t. The timeline moves fast, the light changes constantly, and there’s no retake if you miss the first look or the ring exchange. If you’ve never been inside a wedding as a photographer, the chaos can overwhelm even solid technical skills.
Jessica reflecting on shooting her first wedding alone
Kobeissi is candid here: she shot her first wedding entirely by herself, and looking back, she wouldn’t recommend it. Weddings are logistically demanding in a way that other sessions aren’t. The timeline moves fast, the light changes constantly, and there’s no retake if you miss the first look or the ring exchange. If you’ve never been inside a wedding as a photographer, the chaos can overwhelm even solid technical skills.
Her recommendation is clear, and I agree with it completely: build your experience base with engagements, senior sessions, and family portraits before taking on a wedding as the lead. These shorter, lower-stakes sessions sharpen your eye for candid moments, teach you to work efficiently in unfamiliar locations, and give you a catalog of work that wedding clients will actually want to see. The confidence you build across those smaller jobs is what makes the wedding day feel manageable instead of terrifying.
Step 5: Build the Experience Base That Makes Bookings Easier
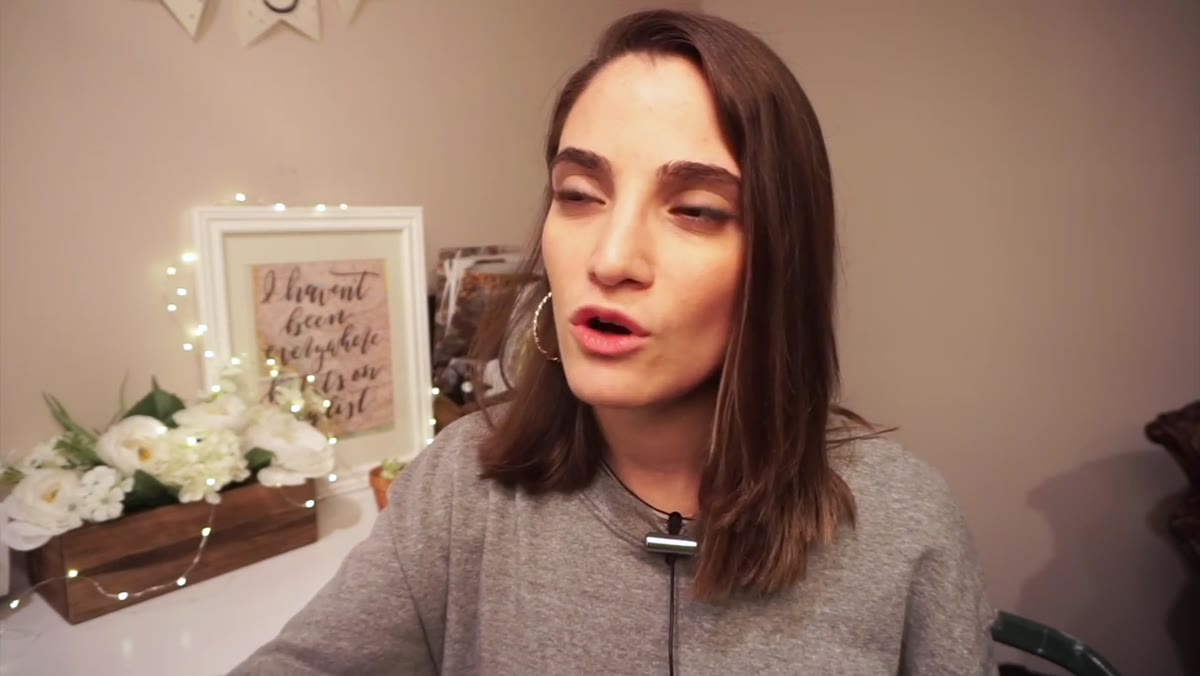 Jessica discussing the value of engagement and senior session experience
Everything Kobeissi describes in this first stage comes down to one principle: clients hire photographers they can trust, and trust comes from evidence. A portfolio with ten strong, consistent images from real or well-executed styled sessions will out-convert a sparse gallery with two technically perfect shots. When someone is paying you to capture one of the most significant days of their life, they’re looking for proof that you’ve done something similar before.
Jessica discussing the value of engagement and senior session experience
Everything Kobeissi describes in this first stage comes down to one principle: clients hire photographers they can trust, and trust comes from evidence. A portfolio with ten strong, consistent images from real or well-executed styled sessions will out-convert a sparse gallery with two technically perfect shots. When someone is paying you to capture one of the most significant days of their life, they’re looking for proof that you’ve done something similar before.
The work in this stage isn’t glamorous, but it compounds. Each session teaches you something about posing, light, or timing. Each image in your portfolio makes the next booking a little easier to close.
What I’d Add From My Own Experience
Kobeissi’s framework is solid, but there’s one thing I’d layer on top of it: document your progress publicly from the beginning. When I was building my client base, I didn’t wait until I had a polished body of work to post on social media. I shared behind-the-scenes moments, early styled shoots, and even gear questions I was working through. That transparency built an audience of people who felt like they’d watched me grow, and when they were ready to book a photographer, they already trusted me.
Your first year in photography isn’t just about building a portfolio. It’s about building a visible track record. Those are related but not the same. The portfolio shows what you can do. The track record shows that you show up, you improve, and you’re someone worth betting on.
The single most important takeaway from Kobeissi’s tutorial is this: you cannot skip the beginner stage, but you can move through it strategically. Second shooting, styled shoots, and lower-stakes sessions aren’t detours from your photography career. They are the career, in its earliest form. Do that work seriously, and the clients you actually want will follow.
Watch the full tutorial on YouTube to hear Kobeissi walk through all of this in her own words, including the second part of her series where she covers more advanced client strategies.
Comments
Leave a Comment