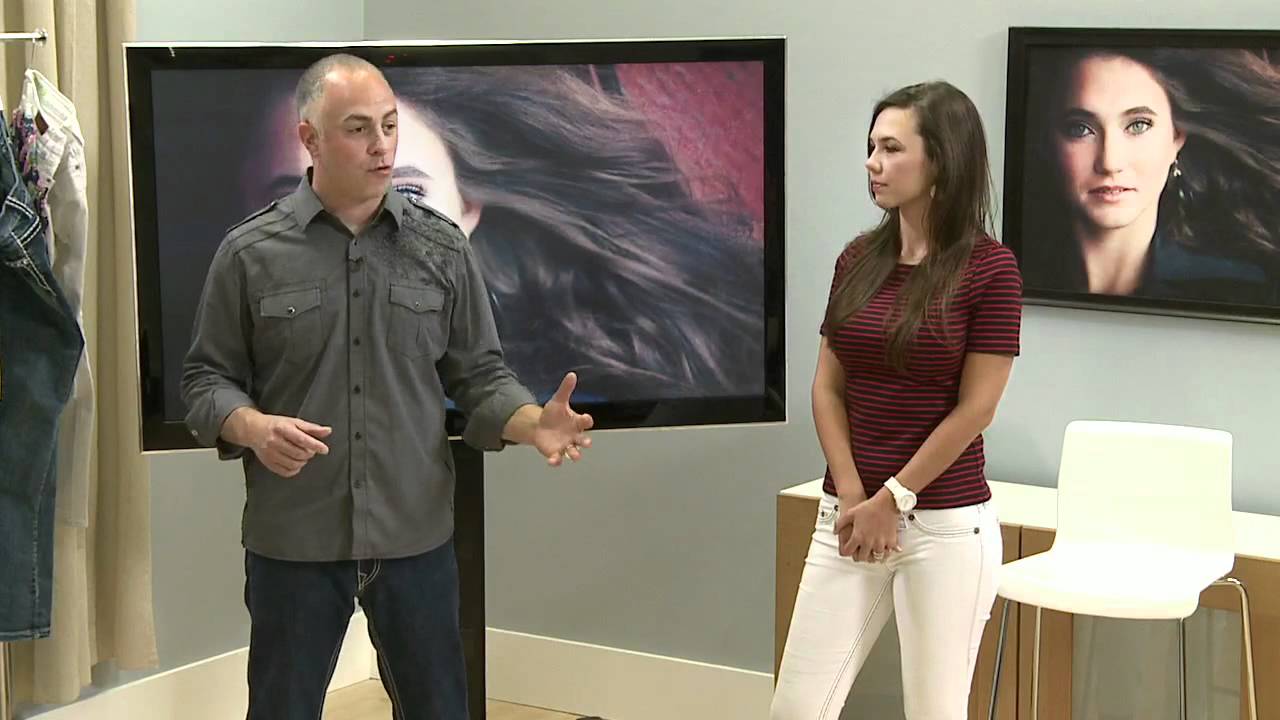
My 47-item client experience checklist did not come from nowhere. It came from years of watching sessions go sideways because I assumed clients knew what to bring, how to prepare, or what to expect. A senior would show up in a wrinkled outfit she’d stuffed in a backpack. Another would arrive with no idea we’d be shooting outdoors and wear sandals to a location with a gravel path. Every one of those moments was a gap in my process, not a failure on their part.
That’s exactly why this CreativeLive tutorial with Sal Cincotta clicked so hard when I first watched it. Watch the full tutorial on YouTube – it’s a masterclass in treating client prep as a core business system, not an afterthought. Sal and his wife Taylor walk through exactly how they handle the period between booking and shoot day, and what they do in those weeks is what separates a chaotic session from one that produces gallery-worthy images and a strong sale.
The philosophy driving all of it is simple but easy to skip when you’re busy: the client experience begins with the first phone call. Not when they arrive at the studio. Not when the camera comes out. The moment they book, the clock starts, and every touchpoint from that moment forward either builds confidence and excitement – or lets it leak out.
Step 1: Send a High-Level Expectations Email Immediately After Booking
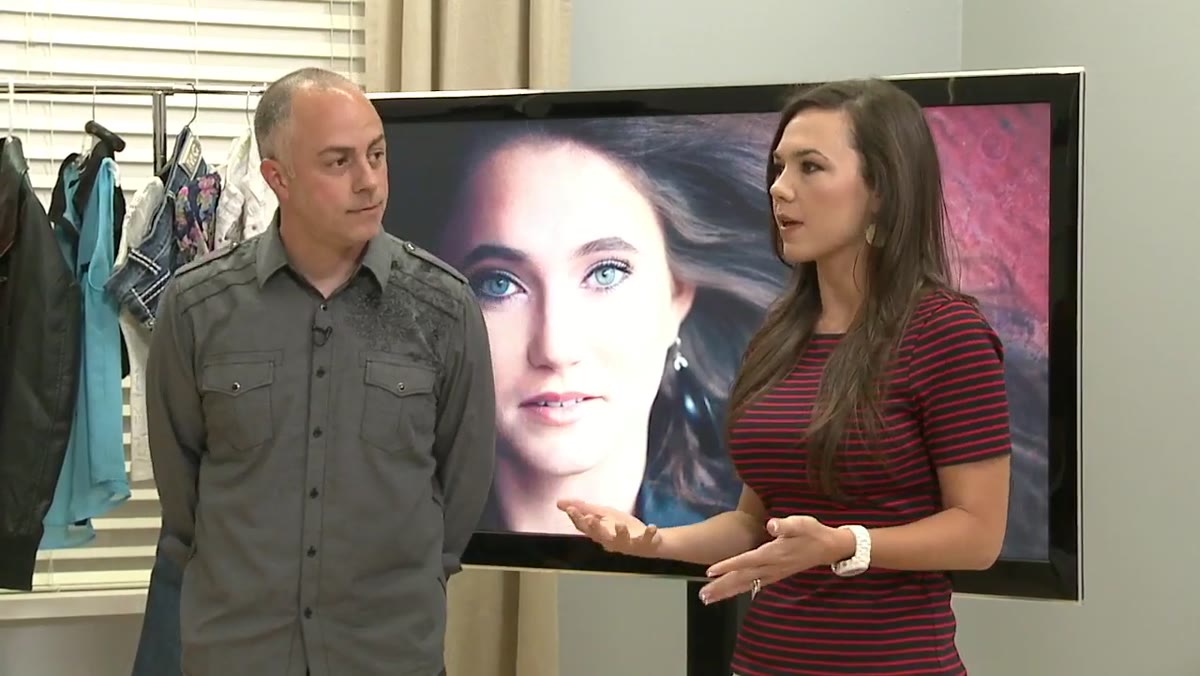 Taylor describing the post-booking email sent to clients
The moment a senior books, Taylor sends an email that covers the basics: how many outfits to bring, whether to arrive in one of them or come comfortable, hair and makeup expectations, and logistics. This isn’t a long document. It’s a quick reference that sets the tone and answers the first wave of questions before the client even has to ask them.
Taylor describing the post-booking email sent to clients
The moment a senior books, Taylor sends an email that covers the basics: how many outfits to bring, whether to arrive in one of them or come comfortable, hair and makeup expectations, and logistics. This isn’t a long document. It’s a quick reference that sets the tone and answers the first wave of questions before the client even has to ask them.
In my own studio, I learned the hard way that silence between booking and session day creates anxiety. Anxious clients arrive distracted. Distracted clients don’t relax in front of the camera, and the images suffer. A simple email costs you 20 minutes to write once and saves hours of hand-holding later.
Step 2: Schedule a Pre-Session Phone Call One to Two Weeks Out
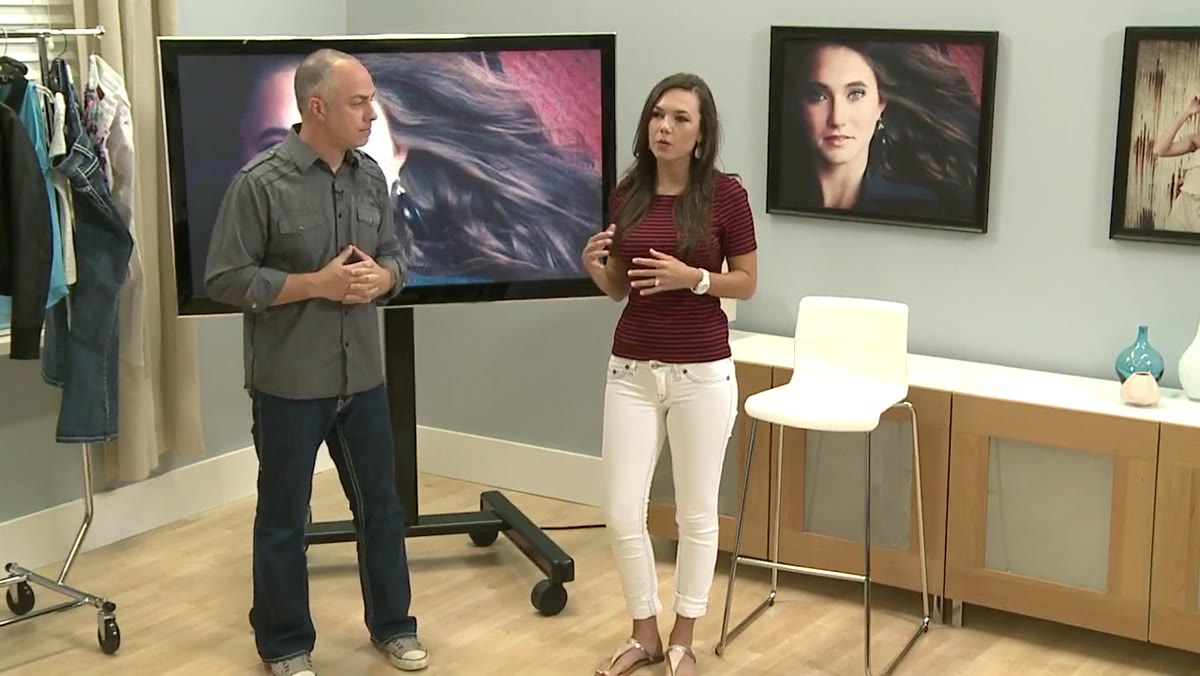 Taylor explaining the timing and purpose of the pre-shoot call
Taylor describes this call as a nerve-reliever, and that framing matters. It’s not a checklist rundown. It’s a conversation designed to make the senior feel heard and prepared. She covers what to expect on shoot day, answers any questions, and starts talking through outfit ideas the senior has been thinking about.
Taylor explaining the timing and purpose of the pre-shoot call
Taylor describes this call as a nerve-reliever, and that framing matters. It’s not a checklist rundown. It’s a conversation designed to make the senior feel heard and prepared. She covers what to expect on shoot day, answers any questions, and starts talking through outfit ideas the senior has been thinking about.
The timing is intentional. One to two weeks out is close enough that it feels relevant, but far enough that there’s still time to make changes – find a new outfit, book a hair appointment, or pull together props. If you make this call the day before, you’ve lost your window to actually help.
Step 3: Guide Wardrobe Selection Actively – Don’t Leave It to the Client
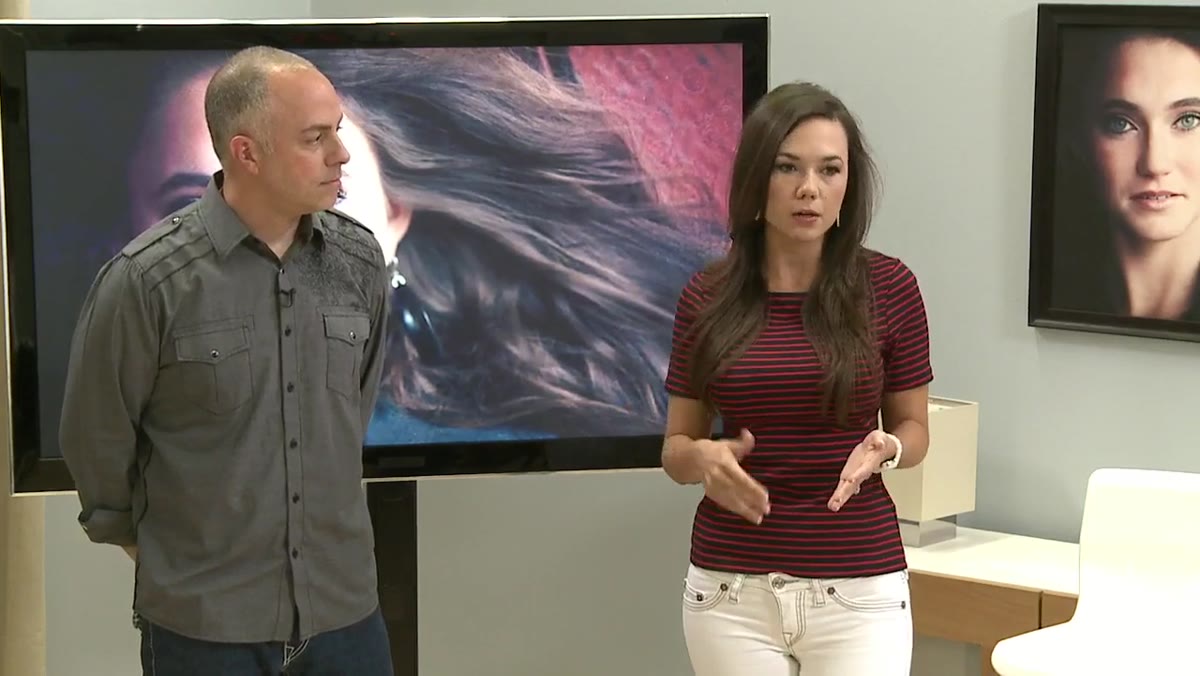 Taylor advising clients to bring clothes on hangers, ironed and lint-free
Taylor gives specific wardrobe instructions on the call: bring everything on hangers, make sure pieces are ironed and lint-free, and don’t hold back. She tells clients they cannot bring too much. One senior filled an entire 1,000-square-foot basement with clothing, shoes, hats, and accessories – and that session produced some of their best work because the options were there.
Taylor advising clients to bring clothes on hangers, ironed and lint-free
Taylor gives specific wardrobe instructions on the call: bring everything on hangers, make sure pieces are ironed and lint-free, and don’t hold back. She tells clients they cannot bring too much. One senior filled an entire 1,000-square-foot basement with clothing, shoes, hats, and accessories – and that session produced some of their best work because the options were there.
This is something I preach to every photographer I mentor. Your job is to be the expert on what works in front of a camera. Your client has no way of knowing that a busy print will disappear into a textured background or that a certain color will clash with the location. You do. Take ownership of the wardrobe conversation. Tell them to bring options and trust you to help narrow it down.
Step 4: Ask About Hobbies and Personal Details to Build a Shoot Plan
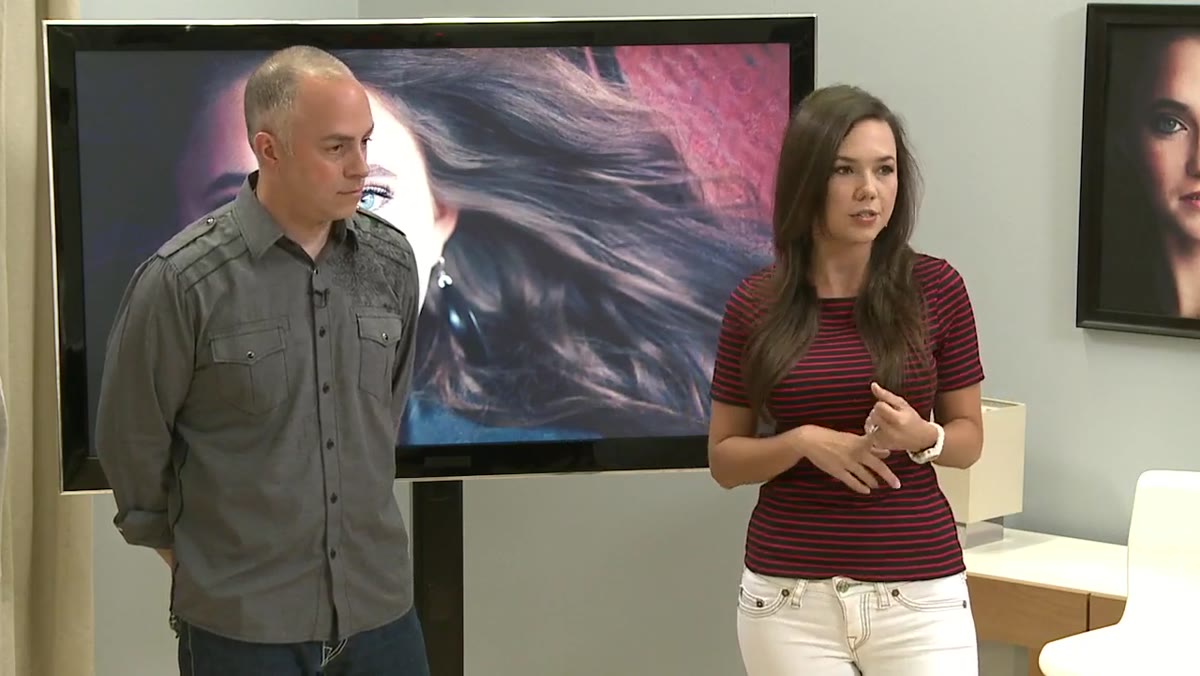 Taylor asking clients about hobbies like dance or cheerleading to incorporate into the shoot
During the call, Taylor asks whether the senior has hobbies she wants to work into the session – dance, cheerleading, a sport, a musical instrument. If the answer is yes, that prop or outfit gets added to the prep list right then. Nothing about it is accidental on shoot day.
Taylor asking clients about hobbies like dance or cheerleading to incorporate into the shoot
During the call, Taylor asks whether the senior has hobbies she wants to work into the session – dance, cheerleading, a sport, a musical instrument. If the answer is yes, that prop or outfit gets added to the prep list right then. Nothing about it is accidental on shoot day.
Sal makes this point clearly: when you see an image of a senior with a horse in a field, that didn’t happen by chance. It was planned weeks in advance. Unique, personal details are what make a senior portrait session worth buying – and they require coordination, not improvisation. The call is where you gather the raw material for a shoot that actually reflects who this person is.
Step 5: Treat Every Pre-Shoot Interaction as Part of the Sale
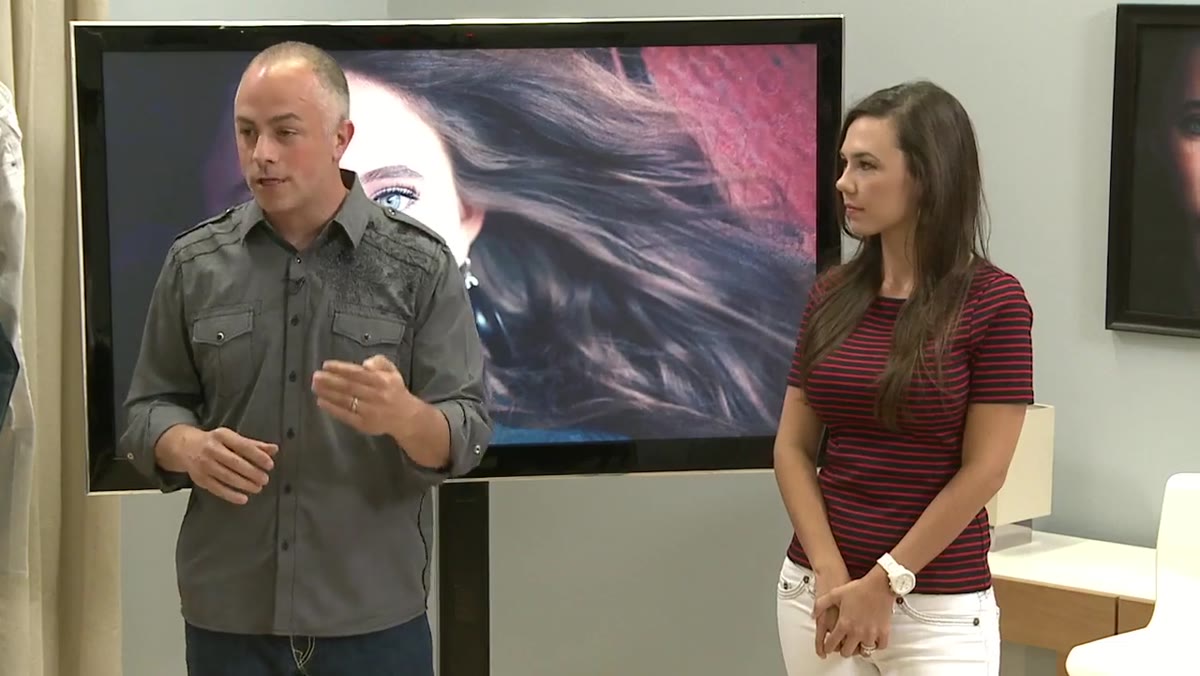 Sal explaining that all preparation is ultimately tied to the final sale outcome
Sal says it plainly: everything they do leads to the sale. The prep work isn’t just good customer service. It’s how you ensure the session produces images the client is emotionally connected to – images she has to have on her wall, images her parents will spend money on. If you skip the prep and let the session be random, you get average results and average sales.
Sal explaining that all preparation is ultimately tied to the final sale outcome
Sal says it plainly: everything they do leads to the sale. The prep work isn’t just good customer service. It’s how you ensure the session produces images the client is emotionally connected to – images she has to have on her wall, images her parents will spend money on. If you skip the prep and let the session be random, you get average results and average sales.
This reframe changed how I run my business. Prep calls, wardrobe guidance, location planning – these are revenue activities. They are not administrative overhead. The photographer who shows up with a fully planned shoot is closing the sale before the shutter fires once.
What I’d Add From My Own Experience
The one thing this tutorial doesn’t get into – because it focuses on the week-before prep – is what happens when a client doesn’t follow through on the instructions. I’ve had seniors arrive with wrinkled clothes despite the email, or forget to mention the prop they wanted until they were already in hair and makeup.
My fix was adding a confirmation text 48 hours before the session. It takes 90 seconds to send and catches 80 percent of the last-minute issues before they become shoot-day problems. I ask three things: do you have your outfits packed and on hangers, do you have any props or special items, and do you have any questions? Short, specific, easy to answer. It’s now item 31 on my checklist, and I’d never drop it.
The single most important idea in this entire tutorial is that your client experience – and your sale – is built in the days before the shoot, not during it. By the time your senior walks through the door, the groundwork for a great session should already be done.
Watch the full tutorial on YouTube to see Sal and Taylor demonstrate this in real time, including an actual recording of the pre-shoot client call.
Comments
Leave a Comment