Early in my studio career, I treated client direction as a loose suggestion. A client would say “clean, minimal, bright” and I’d show up with my own interpretation, proud of my creative spin. I lost a $5,000 client because of exactly that kind of thinking. Not because my photos were bad. Because they weren’t what was asked for. That lesson cost me real money and taught me something no photography course had spelled out clearly: in commercial work, your job is execution first, creativity second.
That’s why when I came across this Visual Education tutorial on working to a photography brief, I sent it to three photographers I mentor the same day. Watch the full tutorial on YouTube - it’s one of the clearest breakdowns of this topic I’ve seen for photographers who are transitioning from personal work into paid commercial shoots.
The tutorial uses a real challenge the instructor set for students: execute a specific advertising-style brief, interpret a mood board, and deliver predetermined concepts. What makes it valuable isn’t just the explanation. It’s watching where students went wrong and understanding exactly why those mistakes matter in a professional setting.
Step 1: Understand What a Brief Actually Is
 Definition of a photography brief on screen
A brief is not a mood board, and it’s not a vibe. It is a predetermined objective for a shoot that the client or art director requires you to deliver. It can be as simple as a rough sketch with a few words, or it can run to multiple pages with detailed visual references, target audience notes, and technical requirements. Either way, it carries one message: this is what we need, not what you feel like making.
Definition of a photography brief on screen
A brief is not a mood board, and it’s not a vibe. It is a predetermined objective for a shoot that the client or art director requires you to deliver. It can be as simple as a rough sketch with a few words, or it can run to multiple pages with detailed visual references, target audience notes, and technical requirements. Either way, it carries one message: this is what we need, not what you feel like making.
When you receive a brief, read it as a contract, not a conversation starter. Every element included is intentional. Every element left out is also intentional. Your job is to deliver what’s on the page.
Step 2: Treat the Mood Board as a Technical Document
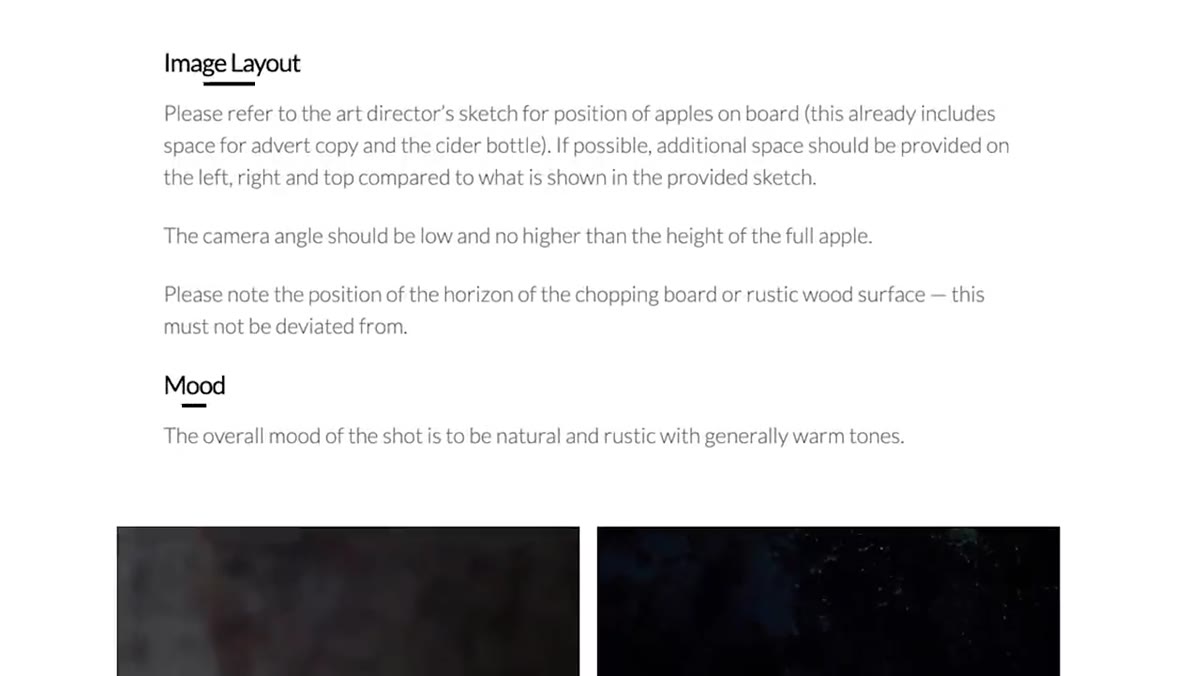 Instructor referencing mood board and predetermined concepts
Mood boards aren’t inspiration boards for you to riff on. They show you exactly what the client has already visualized. Study the lighting direction, the color temperature, the negative space, the angle of the camera, the relationship between objects or subjects. These are not suggestions. They are the blueprint.
Instructor referencing mood board and predetermined concepts
Mood boards aren’t inspiration boards for you to riff on. They show you exactly what the client has already visualized. Study the lighting direction, the color temperature, the negative space, the angle of the camera, the relationship between objects or subjects. These are not suggestions. They are the blueprint.
In the tutorial, students were given a specific sketch and visual reference for a product shot. Some added props that weren’t in the reference. Others changed the composition. Each of those decisions, however small, moved the final image away from what the client needed. Train yourself to look at a mood board and ask: what is every element doing here, and how do I replicate the logic of this image, not just the surface look.
Step 3: Do Not Add Elements That Weren’t Asked For
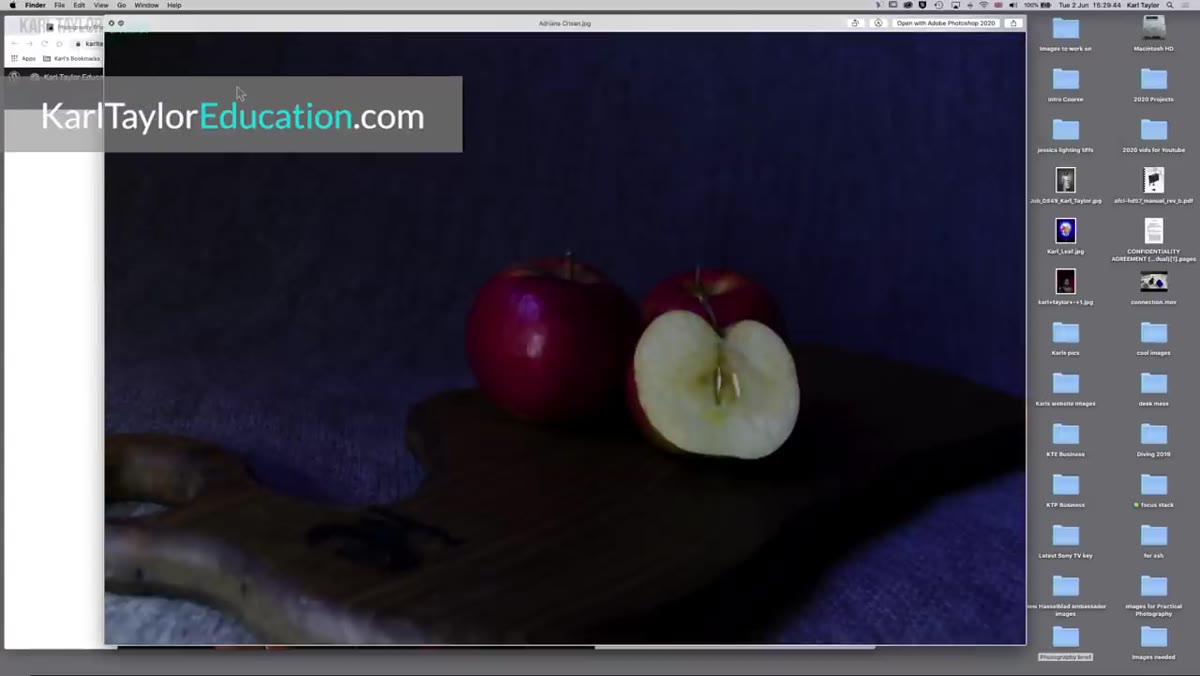 Instructor pointing out unauthorized props in student submission
This one sounds obvious until you’re on set and you think a little piece of fabric or an extra prop would “elevate” the shot. It won’t. Not in commercial work. If a client or art director didn’t put it in the brief, putting it in the frame is a liability, not a creative bonus.
Instructor pointing out unauthorized props in student submission
This one sounds obvious until you’re on set and you think a little piece of fabric or an extra prop would “elevate” the shot. It won’t. Not in commercial work. If a client or art director didn’t put it in the brief, putting it in the frame is a liability, not a creative bonus.
The tutorial is direct on this point: photographers working with major brands don’t get to improvise with props mid-shoot. If you add something that wasn’t approved and the image goes to print, you’ve introduced an element no one signed off on. At best, you reshoot. At worst, you lose the client entirely. Keep the frame clean. Keep it on brief.
Step 4: Solve the Technical Problems Within the Brief’s Constraints
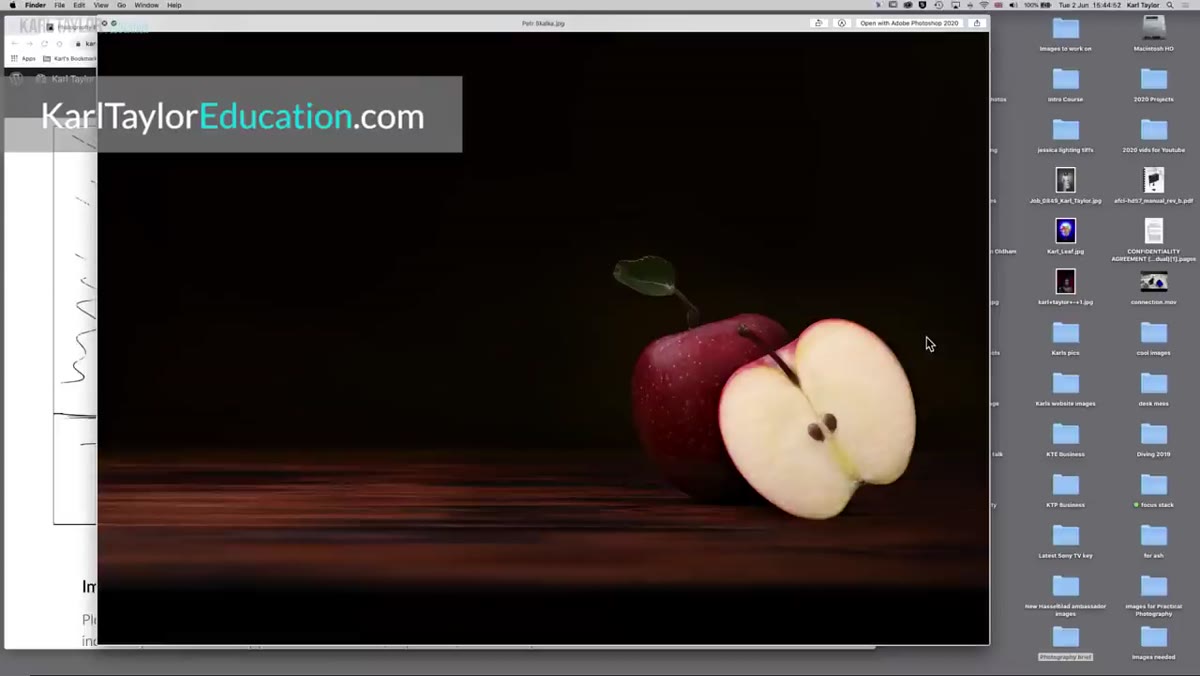 Instructor explaining the toothpick solution for propping an apple
Here’s where good photographers separate themselves. When the brief shows a product at a specific angle and you can’t get it to stay in that position, the answer isn’t to compromise the angle. The answer is to figure out how to hold it there.
Instructor explaining the toothpick solution for propping an apple
Here’s where good photographers separate themselves. When the brief shows a product at a specific angle and you can’t get it to stay in that position, the answer isn’t to compromise the angle. The answer is to figure out how to hold it there.
The tutorial gives a simple but sharp example: if an apple keeps rolling, you don’t just tilt it to whatever angle is stable and hope the art director accepts it. You solve the problem. A toothpick through the back of one element and into the next, invisible on camera, holds the shot exactly as required. That’s professional problem-solving. The constraint is the brief. The creativity is in making it work anyway.
Step 5: Review Your Shot Against the Brief Before You Call It Done
 Instructor reviewing student submissions against original brief
Before you wrap any commercial shoot, pull out the brief and go through it item by item. Lighting: does it match the reference? Composition: are all the required elements in the frame and none of the unauthorized ones? Color: is it on target with what was specified? Angle: is this the angle the client drew out?
Instructor reviewing student submissions against original brief
Before you wrap any commercial shoot, pull out the brief and go through it item by item. Lighting: does it match the reference? Composition: are all the required elements in the frame and none of the unauthorized ones? Color: is it on target with what was specified? Angle: is this the angle the client drew out?
This is not a creative critique. It is a checklist comparison. I have a client experience checklist I run through before delivering any commercial work, and roughly a third of it is just verification that the output matches the input the client gave me. It has saved me from delivering off-brief work more times than I’d like to admit.
Step 6: Understand That Getting It Wrong Safely Is Part of Learning
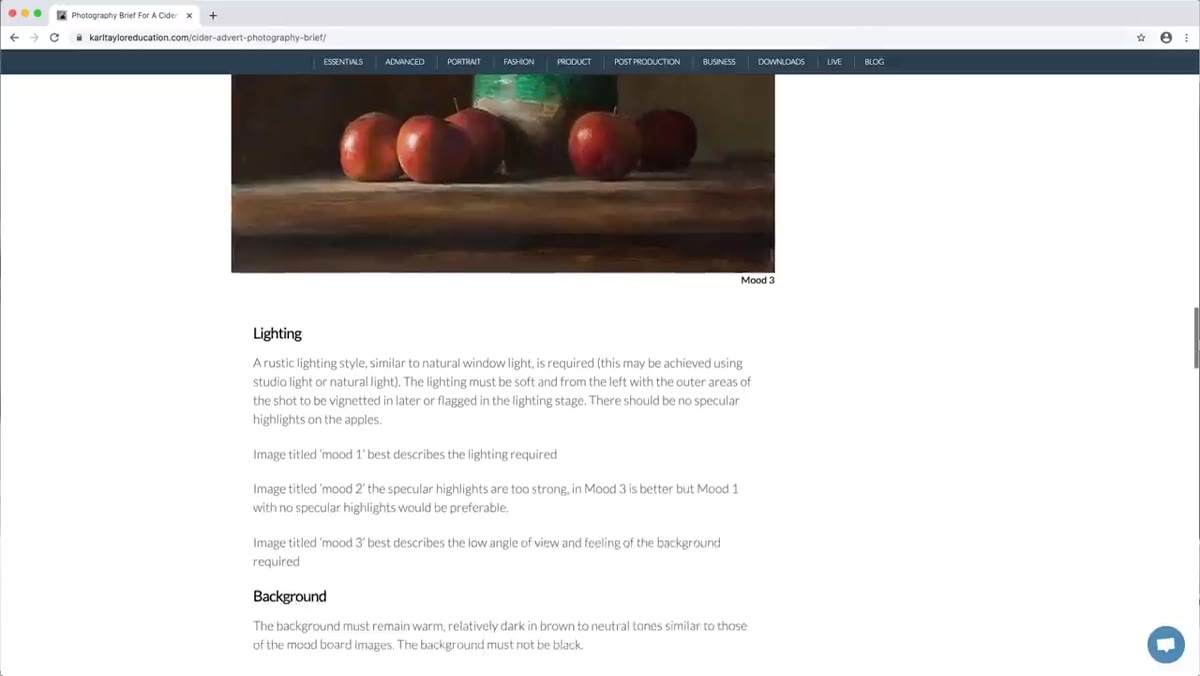 Instructor discussing value of practicing briefs in a safe environment
The tutorial makes a point that stuck with me: it’s better to miss a brief in a learning environment than in front of a paying client. If you’ve never worked to a brief before, you will miss things the first few times. You’ll over-interpret. You’ll under-deliver. You’ll add that one prop you thought was a good idea.
Instructor discussing value of practicing briefs in a safe environment
The tutorial makes a point that stuck with me: it’s better to miss a brief in a learning environment than in front of a paying client. If you’ve never worked to a brief before, you will miss things the first few times. You’ll over-interpret. You’ll under-deliver. You’ll add that one prop you thought was a good idea.
Practice with briefs before they’re attached to real money. Set briefs for yourself. Shoot for a fictional brand with a made-up mood board you found in a magazine. Review your output critically against what you were supposed to deliver. The muscle you’re building is not creative, it’s interpretive. It’s the ability to take someone else’s vision and make it real, exactly as they imagined it.
What I’d Add From My Own Experience
The tutorial focuses on the execution side of briefs, which is exactly right for photographers learning the concept. But I’d add one layer: brief clarification before the shoot is part of the job too.
When I receive a brief now, I send back a one-page document confirming my interpretation of the key deliverables before I ever book the shoot date. I list the visual references I’m working from, the specific elements I’ll include, and any technical questions I need answered. This takes me about 20 minutes and has eliminated almost every post-shoot revision request I used to deal with. Clients appreciate it because it shows them you actually read what they sent. Art directors appreciate it because it tells them you’re not going to improvise on their budget.
The goal of working to a brief isn’t to suppress your creativity. It’s to direct it precisely. When a client trusts that you’ll deliver exactly what was agreed, they hire you again, they refer other clients, and they stop micromanaging your process. That’s when the work gets genuinely enjoyable.
The single most important shift this tutorial points to: stop thinking of a brief as a creative starting point and start thinking of it as a professional obligation with a creative problem embedded inside it. Your job is to meet the obligation and solve the problem. Watch the full tutorial on YouTube and pay particular attention to the student submission breakdowns. That’s where the real learning is.
Comments
Leave a Comment