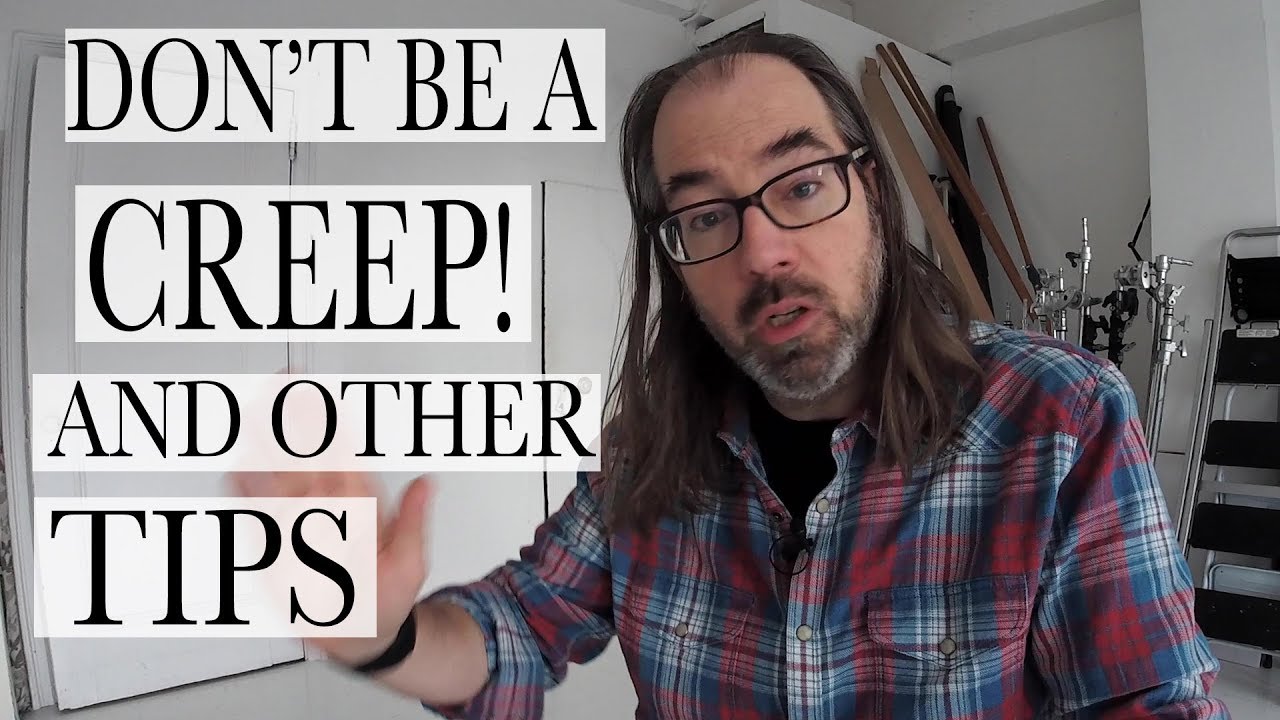
I keep a 47-item client experience checklist for every shoot that walks through my studio door. People laugh when I mention the number. But every single line on that list exists because something went wrong once, and I decided it would never go wrong again. The shoots that taught me the most were not the polished, well-paid commercial jobs. They were the scrappy early ones, model portfolio shoots where I was still figuring out how to run a set, manage a nervous subject, and come out the other side with images worth showing.
Watch the full tutorial on YouTube
In this Daniel Norton Photographer tutorial, Daniel draws on years of developing models for major agencies in Miami and New York to answer a deceptively simple question: how should you act on a model portfolio shoot? His answer is deeper than etiquette. It is a workflow. And watching it, I recognized every hard lesson I had to learn myself, laid out in a calm, logical sequence that newer photographers can actually follow. Here is what the tutorial covers, broken down so you can use it before your next shoot.
Step 1: Settle on Your Approach Before You Ever Touch a Camera
 Daniel explaining whether to be professional or fun on set
Before the lighting, before the wardrobe, before anything logistical, Daniel addresses the mindset question directly. Should you be professional? Playful? Relaxed? His answer is not wishy-washy: be yourself, but understand what that means in practice. If you are going to photograph people for a living, being good with people cannot be a mode you switch on. It has to be your default. Consistency is the whole point.
Daniel explaining whether to be professional or fun on set
Before the lighting, before the wardrobe, before anything logistical, Daniel addresses the mindset question directly. Should you be professional? Playful? Relaxed? His answer is not wishy-washy: be yourself, but understand what that means in practice. If you are going to photograph people for a living, being good with people cannot be a mode you switch on. It has to be your default. Consistency is the whole point.
This matters more than it sounds. The model is nervous. They are watching you for cues about whether this is safe and worthwhile. If you are performing some version of a “photographer” rather than actually showing up as a person who is comfortable running a set, they will feel that. The best thing you can do before the shoot is decide that professionalism is not a costume you put on for paid work. It is just how you operate.
Step 2: Treat Every Shoot as a Paid Shoot, Regardless of the Rate
 Daniel discussing treating all shoots with equal professionalism
Daniel makes a point here that I want to underline in red: the person who asked him this question was asking about a paid shoot, but Daniel reframes it immediately. It should not matter whether money is changing hands. If you only bring your best professional behavior to paying clients, you will never build the habits you need when the stakes are high. Inconsistency is a liability.
Daniel discussing treating all shoots with equal professionalism
Daniel makes a point here that I want to underline in red: the person who asked him this question was asking about a paid shoot, but Daniel reframes it immediately. It should not matter whether money is changing hands. If you only bring your best professional behavior to paying clients, you will never build the habits you need when the stakes are high. Inconsistency is a liability.
In my own studio, I track repeat client rate and referral source for every booking. The shoots that generated the most referrals over the years were not always the highest-dollar sessions. They were the ones where I showed up the same way every time. Reliable behavior compounds. Build the habit now, when the cost of getting it wrong is low.
Step 3: Tell Your Subject to Bring More Clothes Than They Think They Need
 Daniel advising models to bring excess wardrobe options to shoot
This is the first concrete logistics tip Daniel gives, and it is one of the most practical. Ask your subject to bring significantly more wardrobe than you expect to use. More than feels reasonable. If you are planning three looks, ask for twice that many options. The reason is not indecision. It is flexibility.
Daniel advising models to bring excess wardrobe options to shoot
This is the first concrete logistics tip Daniel gives, and it is one of the most practical. Ask your subject to bring significantly more wardrobe than you expect to use. More than feels reasonable. If you are planning three looks, ask for twice that many options. The reason is not indecision. It is flexibility.
When someone shows up with exactly the pieces you asked for, you have no room to pivot. You notice mid-session that a particular color is not reading well, or you want something with more texture, and there is nothing to pull from. If they bring a full bag, you have options. More importantly, the subject feels less anxious because they are not locked in. Optionality is calming for everyone on set.
Step 4: Review All the Wardrobe Together Before Anyone Gets Changed
 Daniel and model going through clothing options before shooting begins
Once the subject arrives with their wardrobe, spend time going through everything together before you start shooting. Do not delegate this to a stylist and walk away, and do not skip it because you are eager to get the camera out. This review session is where you build the shooting order, spot potential problems, and start warming up your subject before a single frame is captured.
Daniel and model going through clothing options before shooting begins
Once the subject arrives with their wardrobe, spend time going through everything together before you start shooting. Do not delegate this to a stylist and walk away, and do not skip it because you are eager to get the camera out. This review session is where you build the shooting order, spot potential problems, and start warming up your subject before a single frame is captured.
You are looking at colors, silhouettes, and how pieces work together. You are also starting a conversation, which matters for how the rest of the shoot feels. Daniel recommends narrowing down to your planned number of looks during this stage, which means having a real dialogue about what is working. Your subject feels like a collaborator rather than someone being directed, and that shift shows up in the images.
Step 5: Do a Full Try-On of Every Outfit Before Locking in Your Lineup
 Model trying on each outfit to confirm fit and completeness
After you have narrowed down your looks on the hanger, have your subject put on each outfit fully, head to toe, exactly as it would appear in the photos. This is not optional. Clothing behaves differently on a body than it does laid out on a surface, and you will catch fit issues, missing accessories, or styling problems now rather than mid-shoot when you have lost momentum.
Model trying on each outfit to confirm fit and completeness
After you have narrowed down your looks on the hanger, have your subject put on each outfit fully, head to toe, exactly as it would appear in the photos. This is not optional. Clothing behaves differently on a body than it does laid out on a surface, and you will catch fit issues, missing accessories, or styling problems now rather than mid-shoot when you have lost momentum.
The process Daniel describes is methodical: try on look one, review it together, make adjustments, confirm it is complete, set it aside in a dedicated pile. Repeat for every look. This creates a clean, pre-approved lineup. When it is time to change on set, there is no hunting for the right belt or discovering that the dress does not zip without a specific undergarment. Everything has already been checked. The shoot flows.
What I Add from Running a Studio in Miami
The framework Daniel lays out here is sound, and I follow most of it. The one place I extend it further is in the pre-shoot communication. I send a detailed prep guide to every subject before we meet, covering wardrobe expectations, what “bring too much” actually means in terms of quantities, and a note about clothing tags so everything can be returned. That document alone eliminates about 80 percent of the on-set wardrobe friction I used to experience.
I also build a buffer into the schedule specifically for the try-on phase. Fifteen to twenty minutes sounds short, but if you do not protect that time, the first look almost always runs late and the delay compounds. Put it on the schedule. Treat it as a shooting block, not dead time.
The single most important thing in this tutorial is the idea that professionalism should not require effort. If you have to remind yourself to be consistent, you have not built the habit yet. Start treating your unpaid and lower-budget work with the same structure you want to bring to your best clients, and by the time those bigger clients show up, you will not have to think about it.
Watch the full tutorial on YouTube to hear Daniel walk through all of this in his own words. It is a short video and worth your time before your next portfolio shoot.
Comments (2)
This should be required reading for anyone starting out.
Never thought of approaching it this way. Really creative.
Leave a Comment