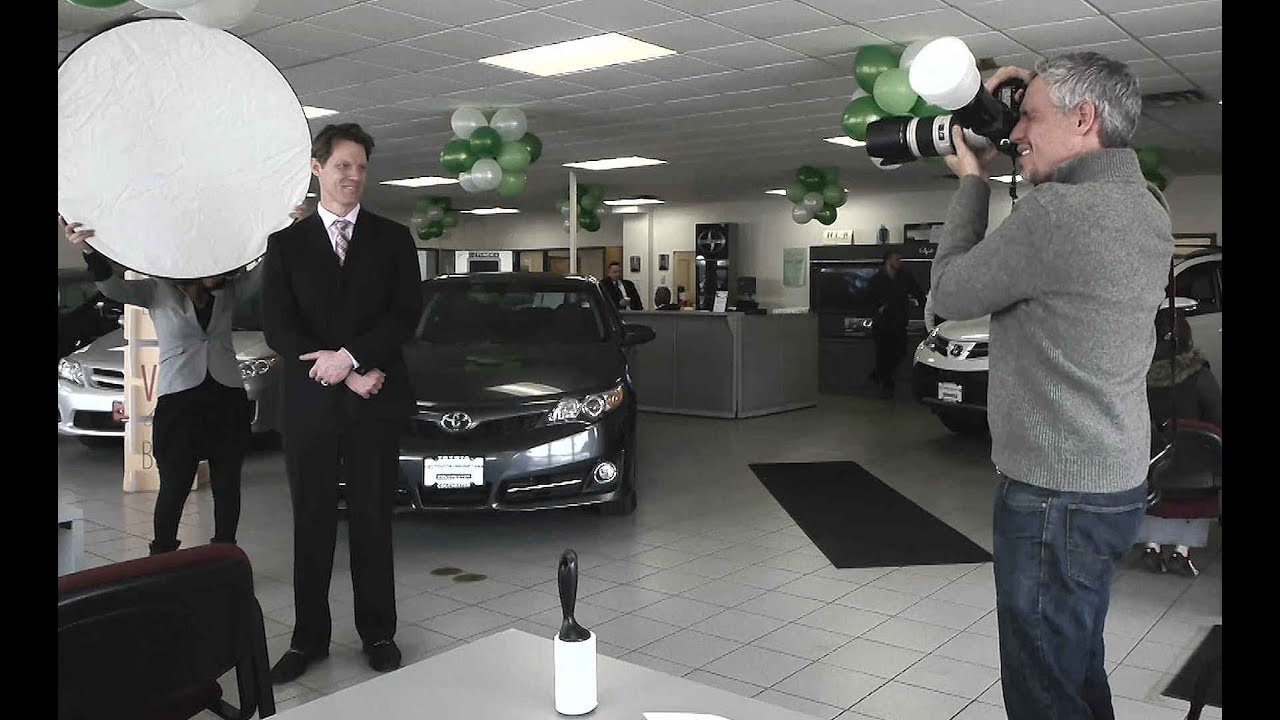
Every corporate headshot job I take starts with the same anxiety: I have not seen the location yet, I do not know the lighting situation, and I have promised a client that every one of their 20 employees will walk away with a polished, consistent portrait. One bad background or a single blown circuit can unravel the whole day. I have been burned enough times that I now have a packing checklist that would make a pilot jealous.
That is why I keep coming back to this behind-the-scenes tutorial from Tony and Chelsea Northrup, which follows a real portrait session at a car dealership from gear load-up to final image. No staged studio, no perfect conditions. Just a working photographer problem-solving in real time. Watch the full tutorial on YouTube and then come back here for the breakdown, because there is a lot packed into this one.
What Tony and Chelsea model so well is not just technique. It is the mindset of a professional who plans for failure without being paralyzed by it. That is a skill that took me years to develop, and watching someone else work through it in real time is one of the fastest ways to compress that learning.
Step 1: Pack with Redundancy, Not Excess
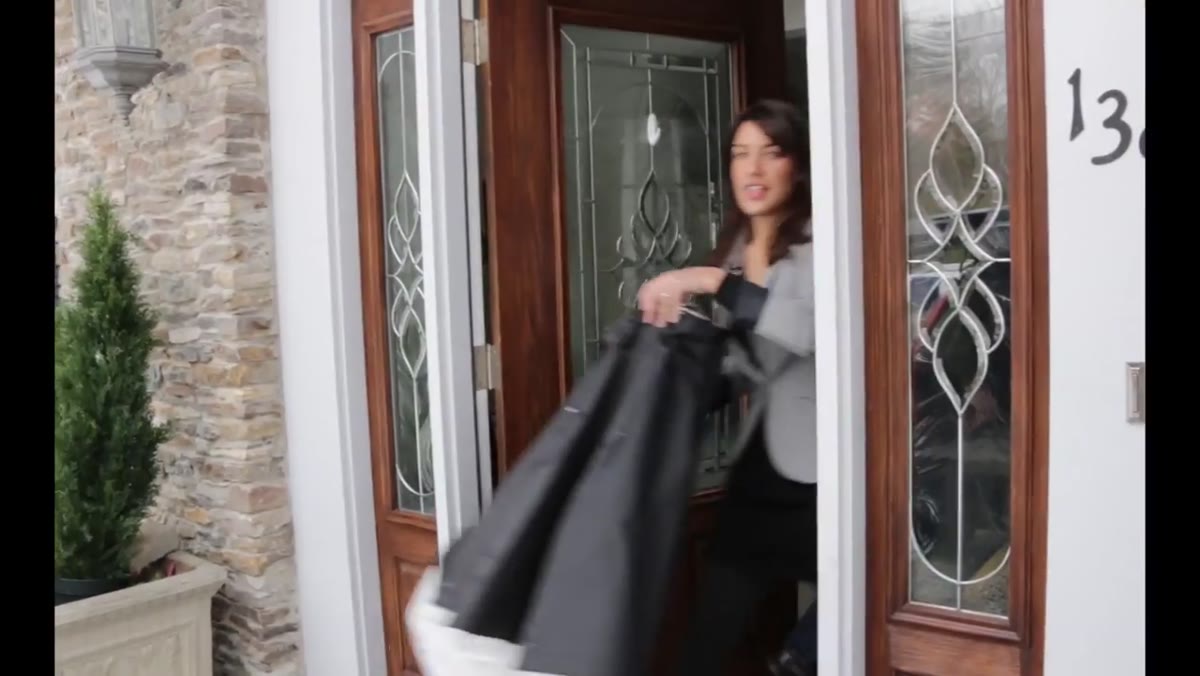 Large collapsible softbox being loaded into a car
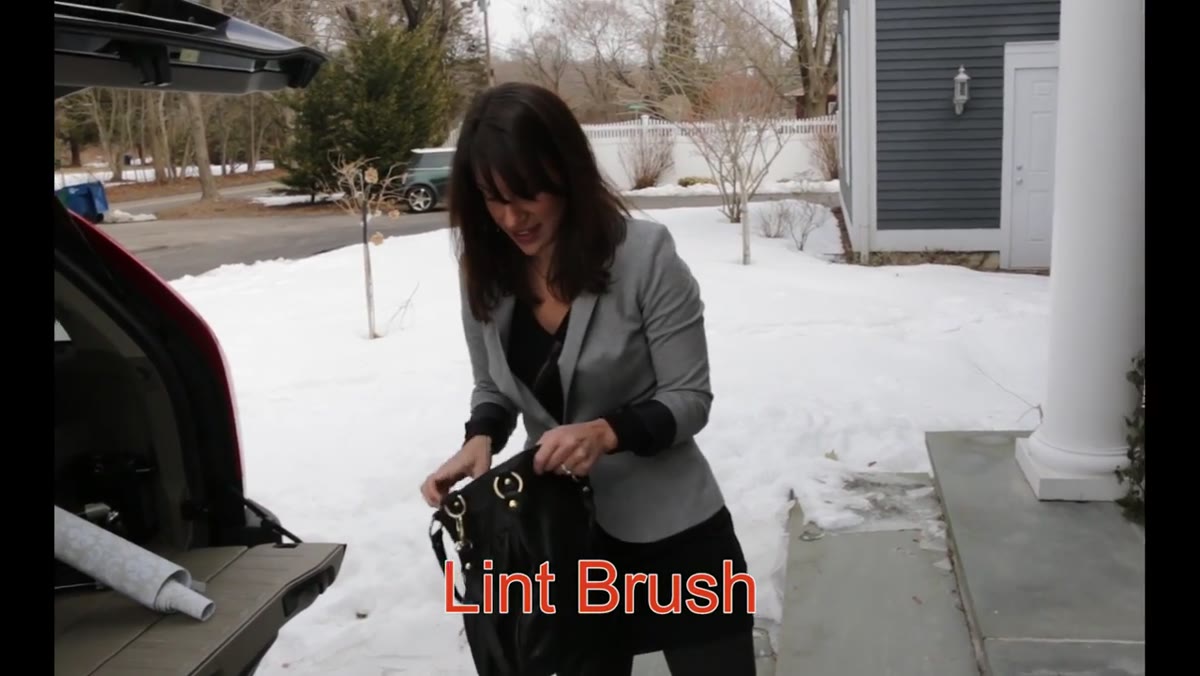
Before you touch a camera, build your kit around one principle: every critical system should have a backup. In this tutorial, Tony and Chelsea bring two camera bodies, a primary lens optimized for headshots, and a backup zoom. They pack a Cyber Commander to trigger their strobes wirelessly, but they also bring a flash with optical slave capability in case the trigger fails. Two battery packs mean no power cords crossing a showroom floor where someone will inevitably trip.
Large collapsible softbox being loaded into a car
Before you touch a camera, build your kit around one principle: every critical system should have a backup. In this tutorial, Tony and Chelsea bring two camera bodies, a primary lens optimized for headshots, and a backup zoom. They pack a Cyber Commander to trigger their strobes wirelessly, but they also bring a flash with optical slave capability in case the trigger fails. Two battery packs mean no power cords crossing a showroom floor where someone will inevitably trip.
The goal is not to bring everything you own. It is to identify the three or four things that would end your shoot if they failed, and make sure each one has a redundant option. For me, that list is: triggering system, light source, memory cards, and camera body. Everything else is a bonus.
Step 2: Choose Your Primary Camera Body Based on Data Reliability, Not Just Image Quality
 Canon 5D Mark III with dual memory card slots
Tony and Chelsea bring the Canon 5D Mark III as the primary body specifically because it writes to two memory cards simultaneously. If one card corrupts, the session is not lost. That is not a gear flex. It is a business decision.
Canon 5D Mark III with dual memory card slots
Tony and Chelsea bring the Canon 5D Mark III as the primary body specifically because it writes to two memory cards simultaneously. If one card corrupts, the session is not lost. That is not a gear flex. It is a business decision.
When you are shooting 20 or 30 employees for a company that is counting on those images for their website launch, a corrupted card is not just a technical problem. It is a client relationship problem. Build your camera choice around the deliverable, not around what gear you happen to love using.
Step 3: Arrive Without Assumptions About the Location
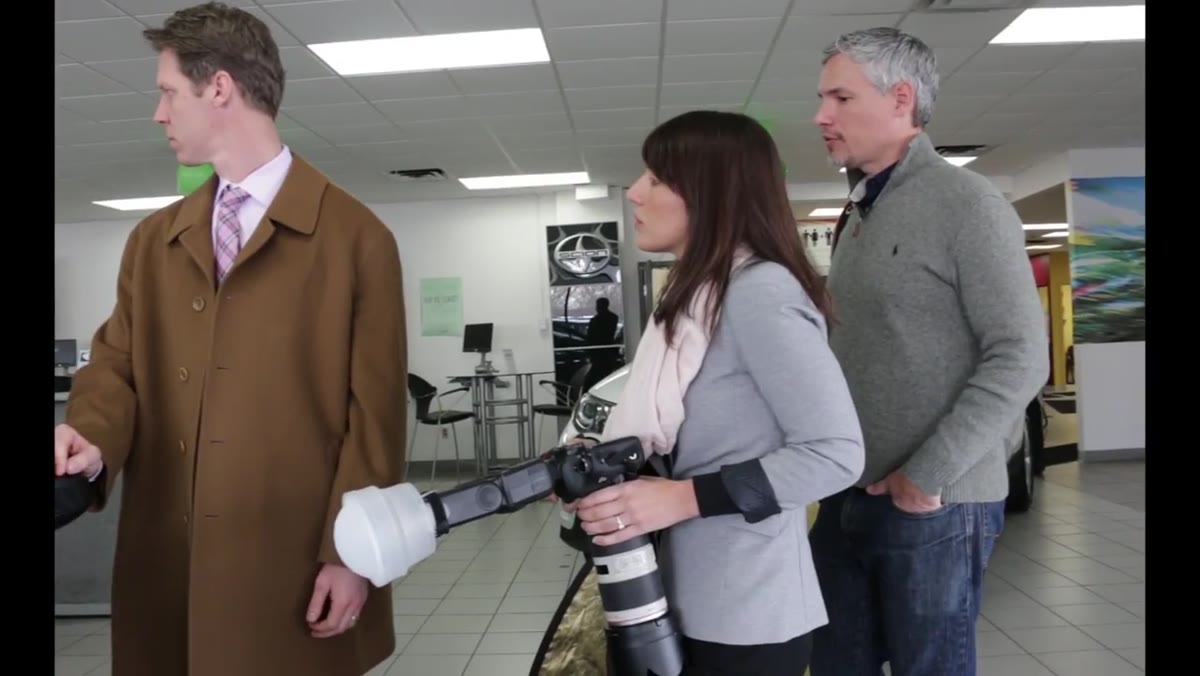 Crew evaluating the car dealership floor and background options
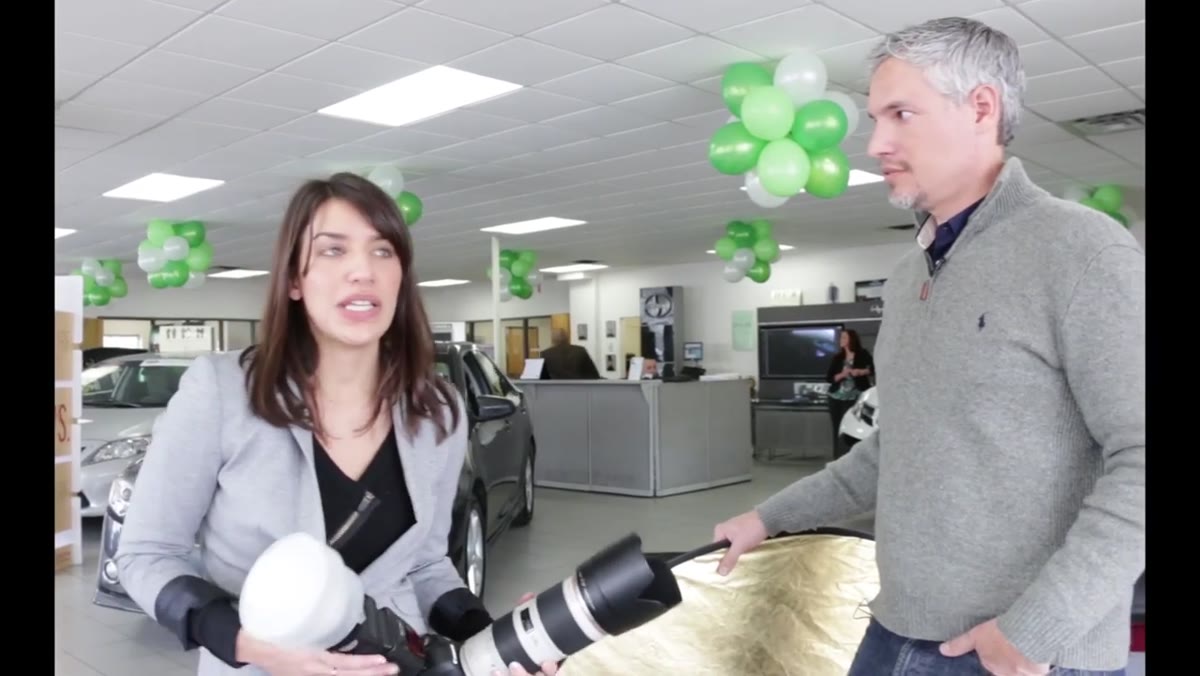
One of the most honest moments in this tutorial is when they arrive and immediately start rethinking the plan. They had been told the location would have a nice background. It did not. The showroom was colorful and busy in a way that would compete with the subjects rather than support them. So they pivoted quickly to find a cleaner alternative.
Crew evaluating the car dealership floor and background options
One of the most honest moments in this tutorial is when they arrive and immediately start rethinking the plan. They had been told the location would have a nice background. It did not. The showroom was colorful and busy in a way that would compete with the subjects rather than support them. So they pivoted quickly to find a cleaner alternative.
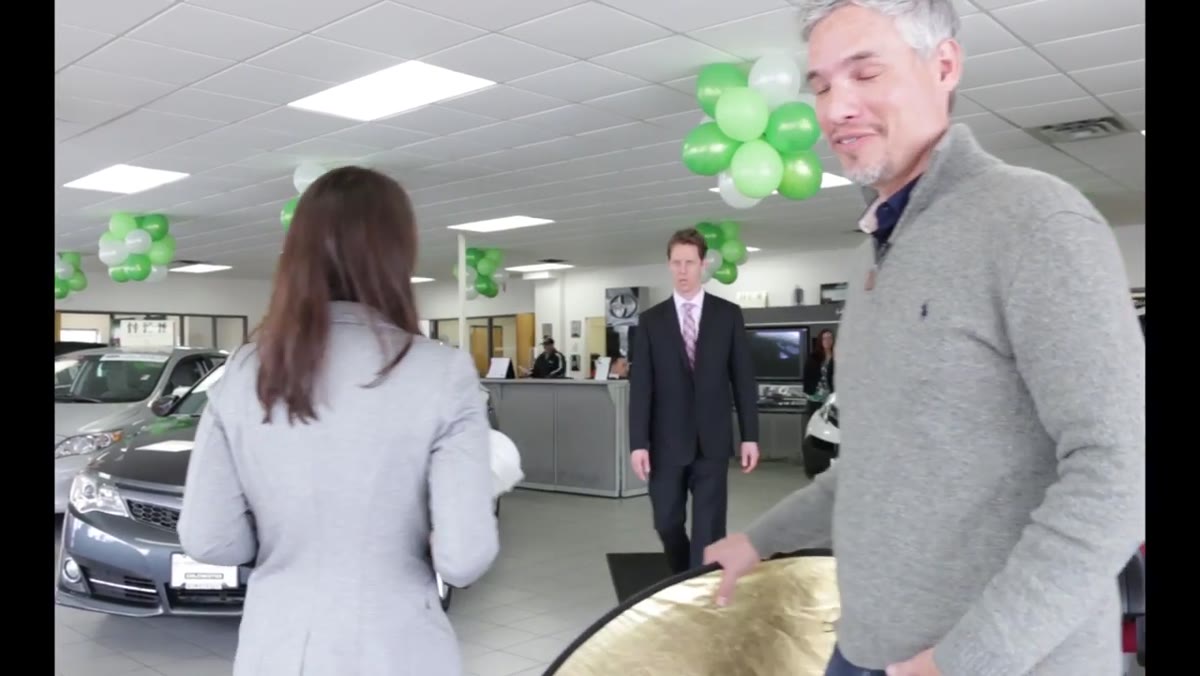
They packed a white backdrop for exactly this possibility. I bring painters tape on every corporate job for the same reason. Mark the floor where each subject stands, tape a seamless or a backdrop to a wall if needed, and you can create a controlled environment almost anywhere. Scouting the location ahead of time is ideal, but budgets and schedules do not always allow it. Packing for the unexpected is the professional’s substitute.
Step 4: Prioritize Natural Light, but Know How to Replace It
 Photographer reviewing a natural light window setup in the office
After evaluating the showroom, they land on a spot with natural window light rather than setting up the full strobe kit. The reason is practical: with natural light, you set your position once. With a large softbox, you are adjusting the height for every subject who is taller or shorter than the last one. On a multi-subject shoot, that time compounds fast.
Photographer reviewing a natural light window setup in the office
After evaluating the showroom, they land on a spot with natural window light rather than setting up the full strobe kit. The reason is practical: with natural light, you set your position once. With a large softbox, you are adjusting the height for every subject who is taller or shorter than the last one. On a multi-subject shoot, that time compounds fast.
The workflow here is to look for a clean wall or simple background near a large window first. Bring in artificial light only if the ambient situation cannot give you consistent, flattering results. When you do use strobes, position your main light as you would a window: roughly 45 degrees from the subject’s face, slightly above eye level. The reflector handles fill on the opposite side, and a second light can add separation from the background if the tones are too similar.
Step 5: Create Consistency with Floor Marks and a Client Prep System
 Painter’s tape being used to mark subject position on the floor
Painters tape on the floor is one of those small details that makes a huge difference in post-processing. When every subject stands in exactly the same spot, relative to the light and the background, your editing becomes dramatically faster. You are not repositioning each image, adjusting for wildly different exposure because someone stepped two feet to the left, or correcting color casts because they drifted into a different ambient light zone.
Painter’s tape being used to mark subject position on the floor
Painters tape on the floor is one of those small details that makes a huge difference in post-processing. When every subject stands in exactly the same spot, relative to the light and the background, your editing becomes dramatically faster. You are not repositioning each image, adjusting for wildly different exposure because someone stepped two feet to the left, or correcting color casts because they drifted into a different ambient light zone.
I also bring a lint roller to every corporate headshot session. It sounds trivial, but asking someone to stand still while you roll their shoulder saves you ten minutes of spot-healing per portrait. A small thing that adds up across a full roster of employees.
Step 6: Bracket for Safety, Then Edit for Consistency
 Reviewing portrait shots on camera LCD between subjects
Even with natural light locked in and a floor mark set, exposure can shift as clouds move or indoor lights cycle. Shoot a quick test frame at the start, confirm your settings, and then bracket slightly throughout the session if conditions are changing. The goal is a consistent baseline exposure across all portraits so that when you bring them into Photoshop or Lightroom, you are applying the same adjustments to every image rather than solving a different problem for each one.
Reviewing portrait shots on camera LCD between subjects
Even with natural light locked in and a floor mark set, exposure can shift as clouds move or indoor lights cycle. Shoot a quick test frame at the start, confirm your settings, and then bracket slightly throughout the session if conditions are changing. The goal is a consistent baseline exposure across all portraits so that when you bring them into Photoshop or Lightroom, you are applying the same adjustments to every image rather than solving a different problem for each one.
Tony’s candid note at the end of the session that he would have preferred a studio environment is worth paying attention to. Not as a complaint, but as a calibration. Knowing what your ideal conditions look like makes you better at identifying how far a real-world situation is from that standard, and what you need to compensate for.
What I Do Differently: Pre-Shoot Client Communication
One thing this tutorial does not cover, and where I have saved myself the most headaches, is the pre-shoot client call. Before any on-location corporate job, I send a one-page brief asking about background preferences, dress code guidance for employees, whether anyone has specific concerns about being photographed, and whether there is a room I can use for setup. I also ask for a point-of-contact who will help move employees through on the day.
That call alone has changed the quality of my on-location sessions more than almost any gear upgrade. The dealership in this tutorial had a fine outcome, but some of that scrambling at the start could have been reduced with a ten-minute conversation the week before.
The single most important lesson from this tutorial is that professional on-location photography is not about having perfect conditions. It is about having a plan for when conditions are not perfect, and the kit to execute that plan without losing composure in front of a client. Pack smart, read the location fast, and default to simplicity when complexity would slow you down.
Watch the full tutorial on YouTube to see the full session, including the Photoshop portion where the images get finished for delivery.
Comments (4)
This should be required reading for anyone starting out.
Clear and practical. No fluff. Appreciate that.
Wow, I had no idea you could do this. Mind blown.
Couldn't agree more. I've seen this make a huge difference in photography work specifically.
Leave a Comment