Editorial wedding photography sits in a strange middle ground that took me years to understand. The images look effortless, almost magazine-ready, but the business logic behind them is sharper than most photographers realize. When I started tracking which jobs actually moved the needle for my studio, editorial-style weddings kept showing up at the top, not just for the portfolio value but for the referral rate and the caliber of client they attracted. The problem was I was approaching them like any other wedding shoot, reacting to the day instead of designing it.
In this CreativeLive tutorial, Jasmine Star breaks down her three-day course on making and marketing an editorial wedding. Watch the full tutorial on YouTube. What stood out to me wasn’t just the shooting technique. It was that she builds the entire session around the end result first, which is a marketing asset, not just a memory. That framing changed how I brief clients, how I structure my shot lists, and frankly, how I price this category of work.
Here’s how the framework breaks down into actionable steps you can apply to your next editorial wedding.
Step 1: Commit to Teaching Photography as a Business System
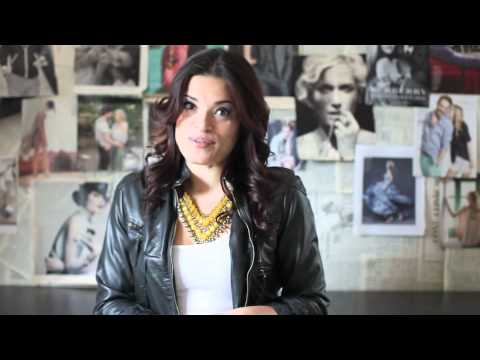
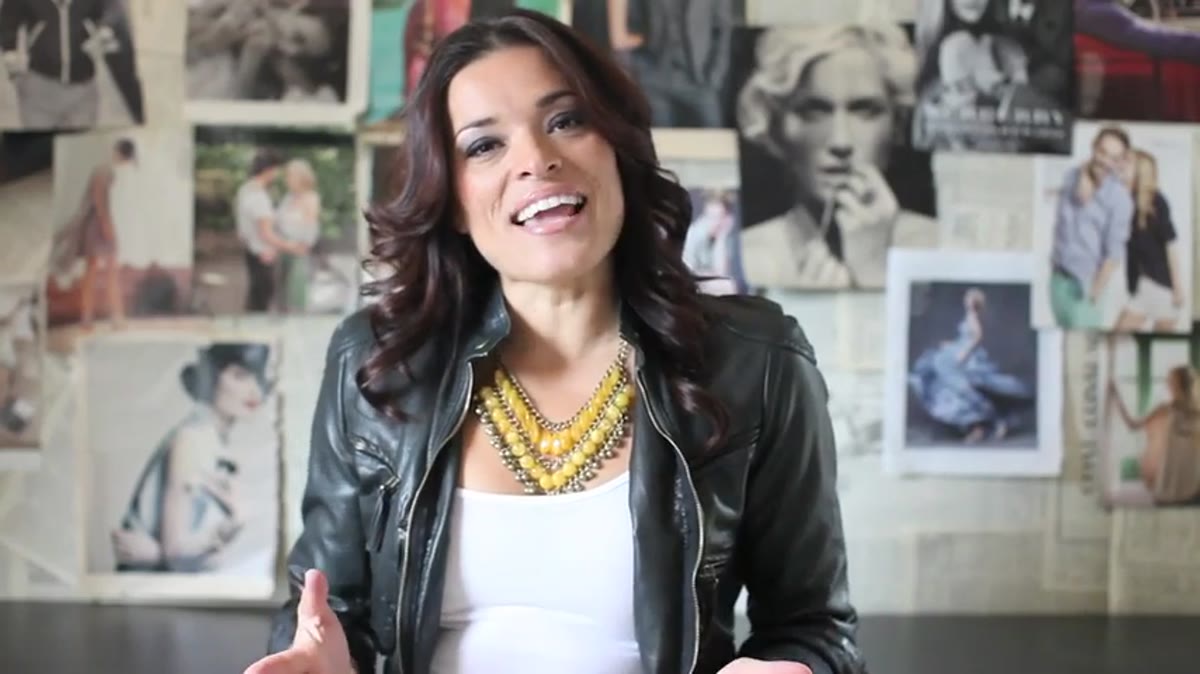 Jasmine announcing her third CreativeLive course on camera
Jasmine opens by acknowledging she doesn’t have a traditional approach to photography education. That’s not false modesty. Her method integrates shooting technique with marketing strategy from the very first lesson, which is unusual and valuable. Before you pick up a camera for an editorial shoot, you need to define what the images are for. Are they going into a real wedding submission? Being used in a styled shoot portfolio? Pitched to venues for partnership? The answer shapes every decision that follows.
Jasmine announcing her third CreativeLive course on camera
Jasmine opens by acknowledging she doesn’t have a traditional approach to photography education. That’s not false modesty. Her method integrates shooting technique with marketing strategy from the very first lesson, which is unusual and valuable. Before you pick up a camera for an editorial shoot, you need to define what the images are for. Are they going into a real wedding submission? Being used in a styled shoot portfolio? Pitched to venues for partnership? The answer shapes every decision that follows.
If you’re teaching yourself or refining your approach, start by writing a one-sentence purpose statement for each editorial wedding you take on. “These images will be submitted to a regional magazine and used in my homepage hero section” is a creative brief, not just a goal. It forces clarity before the shoot, not after.
Step 2: Design the Set and Shoot with the End Market in Mind
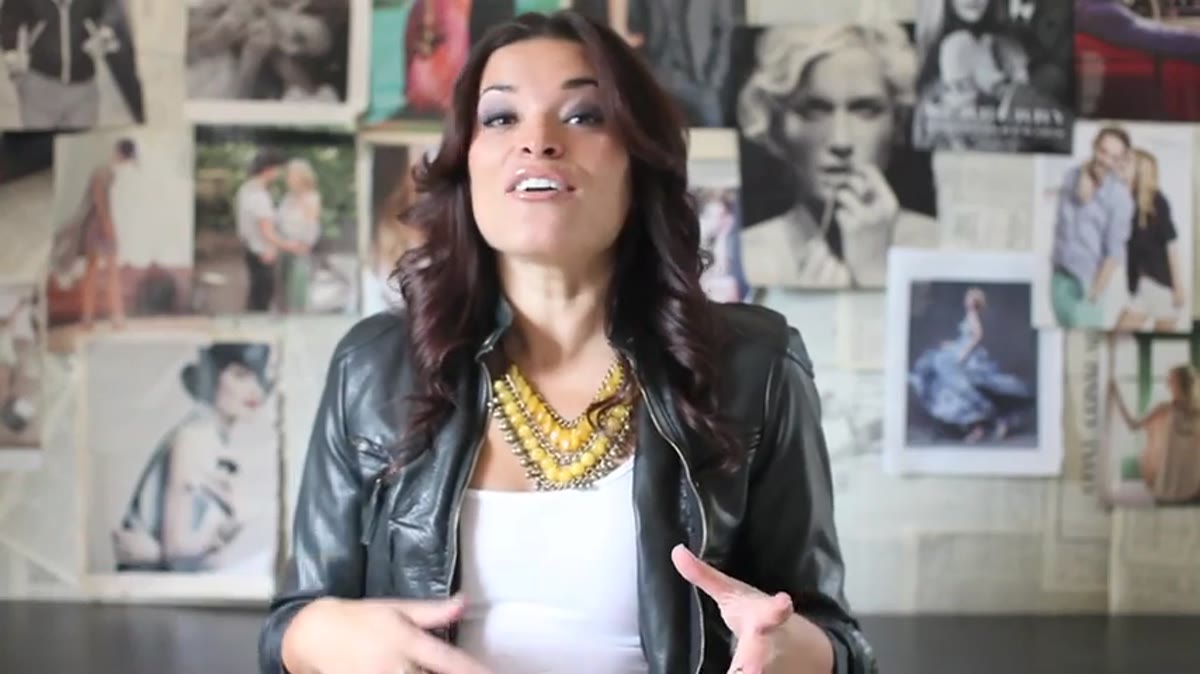 Jasmine describing the three-day course structure including set and couple
Jasmine describes building a curated set with a styled bride and groom, and she’s explicit that the environment isn’t incidental. It’s part of the editorial vision. This means scouting or designing your location the same way a magazine art director would, by asking what story this space tells and whether that story matches the publication or client you’re targeting.
Jasmine describing the three-day course structure including set and couple
Jasmine describes building a curated set with a styled bride and groom, and she’s explicit that the environment isn’t incidental. It’s part of the editorial vision. This means scouting or designing your location the same way a magazine art director would, by asking what story this space tells and whether that story matches the publication or client you’re targeting.
Practically, this means doing your homework before the shoot. Pull three to five published editorials from the platform you’re targeting and identify recurring visual themes: airy and bright, moody and textured, minimalist or lush. Build your set to fit that aesthetic. If you’re pitching to a venue as a marketing partner, walk the space with your shot list and mark the five to eight frames that will actually appear on their website. Efficiency on set comes from decisions made before you arrive.
Step 3: Address Lighting with Purpose, Not Just Preference
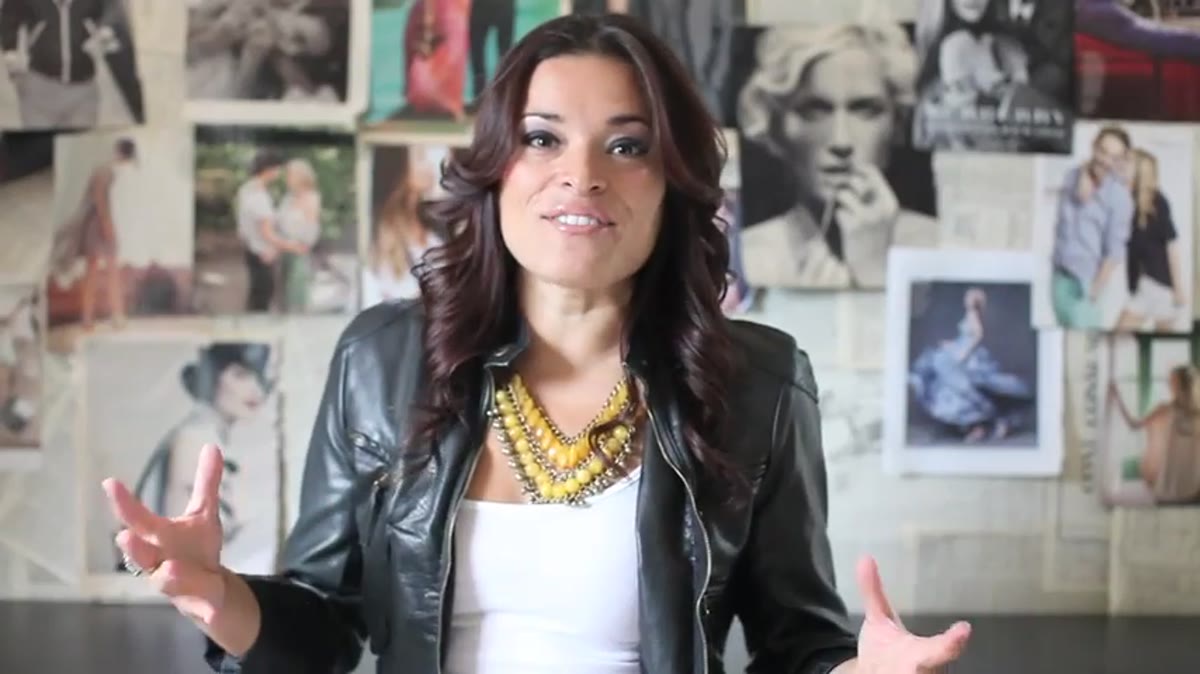 Jasmine outlining lighting as a key course topic
Lighting gets a dedicated focus in Jasmine’s three-day structure, and she treats it as a marketing variable, not just a technical one. Soft window light reads differently to a potential client scrolling Instagram than dramatic flash-forward lighting does. Knowing your target client’s aesthetic before the shoot means your lighting choices are intentional and consistent with the brand you’re building.
Jasmine outlining lighting as a key course topic
Lighting gets a dedicated focus in Jasmine’s three-day structure, and she treats it as a marketing variable, not just a technical one. Soft window light reads differently to a potential client scrolling Instagram than dramatic flash-forward lighting does. Knowing your target client’s aesthetic before the shoot means your lighting choices are intentional and consistent with the brand you’re building.
For editorial work specifically, I recommend shooting a lighting test on location at the same time of day as your actual shoot. Spend 20 minutes with a stand-in or even a coat on a chair. Check your highlights, your shadow falloff, and how the background renders at your working aperture. Twenty minutes of prep eliminates two hours of culling blown exposures later.
Step 4: Develop a Posing System That Produces Genuine Reactions
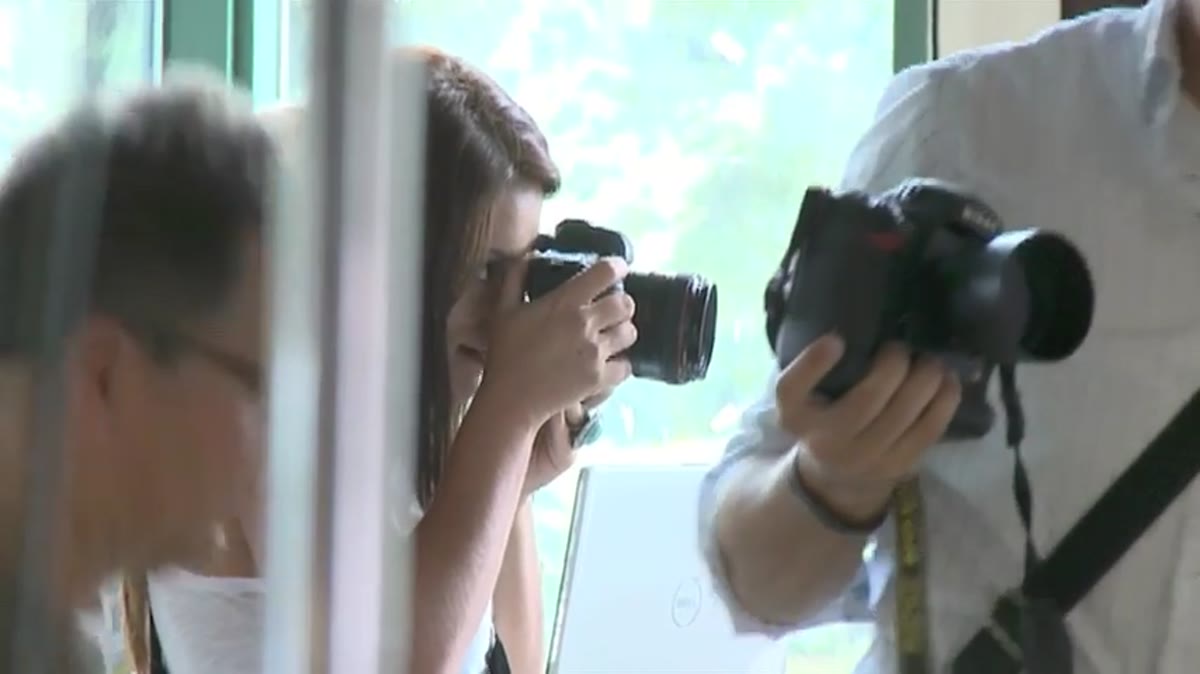 Jasmine demonstrating active posing direction with a couple on set
This is where Jasmine’s personality becomes the technique. She’s physically engaged, calling out direction rapidly, keeping the energy moving, and chasing authentic laughter rather than staged expressions. The posing is less a series of positions and more a choreography of prompts designed to make couples forget the camera is there.
Jasmine demonstrating active posing direction with a couple on set
This is where Jasmine’s personality becomes the technique. She’s physically engaged, calling out direction rapidly, keeping the energy moving, and chasing authentic laughter rather than staged expressions. The posing is less a series of positions and more a choreography of prompts designed to make couples forget the camera is there.
Build a posing prompt list you run through on every editorial shoot. Mine has 12 prompts that reliably produce movement and laughter, things like asking one partner to whisper something true but embarrassing, or walking toward camera while arguing about where to eat. Prompts beat poses every time for editorial work because publications want emotion, not catalog stiffness.
Step 5: Market the Shoot Before the Shoot Happens
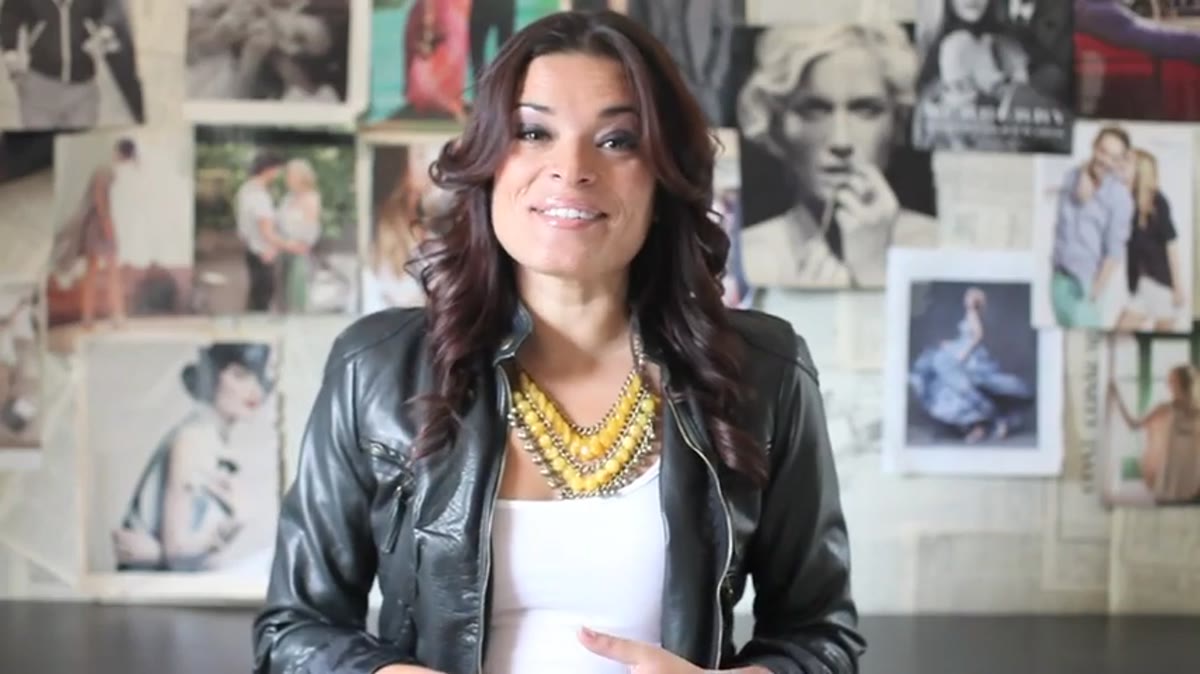 Jasmine describing the social and video submission contest for studio spots
One of the smartest things Jasmine does in this video is demonstrate live marketing before the course even begins. She runs a contest that requires participants to create a short video, post it publicly, and use a specific hashtag. She’s generating social content, building audience, and filtering for engaged students simultaneously. That’s a marketing funnel disguised as a student contest.
Jasmine describing the social and video submission contest for studio spots
One of the smartest things Jasmine does in this video is demonstrate live marketing before the course even begins. She runs a contest that requires participants to create a short video, post it publicly, and use a specific hashtag. She’s generating social content, building audience, and filtering for engaged students simultaneously. That’s a marketing funnel disguised as a student contest.
You can apply the same logic to your editorial work. Before you shoot, create a behind-the-scenes teaser. After the shoot, release images in stages rather than all at once. Pitch the editorial to a publication first, and if they pass, release to your blog with an SEO-optimized post before sharing to social. Sequencing your release turns one shoot into four to six weeks of consistent content.
Step 6: Keep the Business Goal in Frame Throughout the Shoot Day
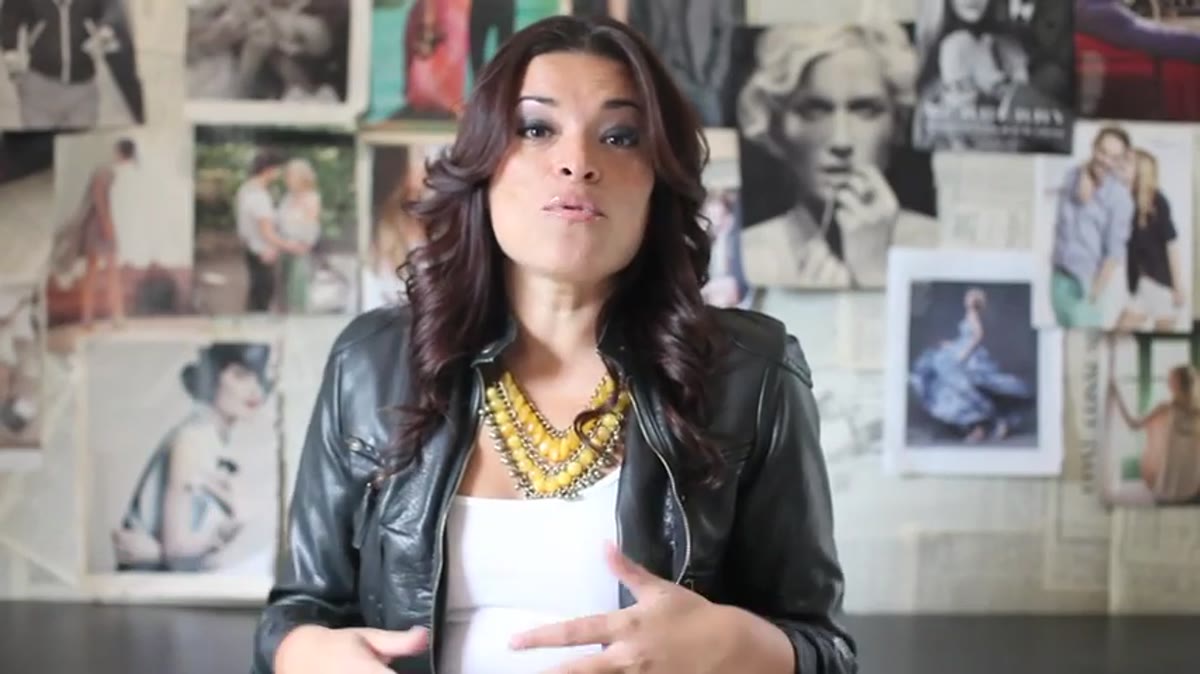 Jasmine summarizing keeping the end marketing outcome in mind
Jasmine’s phrase “keep the end in mind” is the throughline of her entire methodology. Every posing choice, lighting setup, and set detail should serve the image you’ve already planned to use. This isn’t creative restriction. It’s the difference between a shoot that produces 800 images you have to cull and a shoot that produces 80 images you can use immediately.
Jasmine summarizing keeping the end marketing outcome in mind
Jasmine’s phrase “keep the end in mind” is the throughline of her entire methodology. Every posing choice, lighting setup, and set detail should serve the image you’ve already planned to use. This isn’t creative restriction. It’s the difference between a shoot that produces 800 images you have to cull and a shoot that produces 80 images you can use immediately.
On shoot day, I carry a printed shot list with the final use case noted next to each frame. Homepage hero image. Venue marketing. Magazine submission. Instagram carousel opener. When I get each of those frames, I mark them. That list is the reason I can turn around a full editorial gallery in 48 hours instead of two weeks.
What I’d Add from Running a Studio Full-Time
Jasmine’s framework is built for creating a strong portfolio and attracting ideal clients, and it works. But there’s a pricing conversation that needs to happen alongside it. Editorial shoots are time-intensive to plan, execute, and market. When I started treating them as a separate service category with their own investment tier, rather than bundling the planning cost into a standard wedding rate, my revenue from this work went up without adding more shoots to my calendar.
If you’re doing editorial-style work right now and wondering why it feels like you’re giving away your best creative energy, look at whether the rate reflects the full scope: pre-production, styling coordination, post-processing to a publication standard, and the time you spend on the marketing rollout. That’s not one job. It’s four.
The single most important takeaway from Jasmine’s approach is this: an editorial wedding is a marketing asset first and a photography job second. Every technical decision, from lighting to posing to set design, should be made in service of an image you already know how to use. When you shoot with that clarity, the work gets sharper and the business case gets easier to make.
Watch the full tutorial on YouTube and pay close attention to the way Jasmine structures the three days. The sequence is deliberate, and the business logic is embedded in the creative instruction if you know where to look.
Comments (5)
My workflow just got 10x faster. Not even kidding.
Bookmarked. Coming back to this one for sure.
Great article! I actually covered something related on my site — the photoshop angle is really complementary to this.
Just used this on a wedding shoot edit. Client was thrilled.
Simple but effective. Sometimes that's all you need.
Leave a Comment