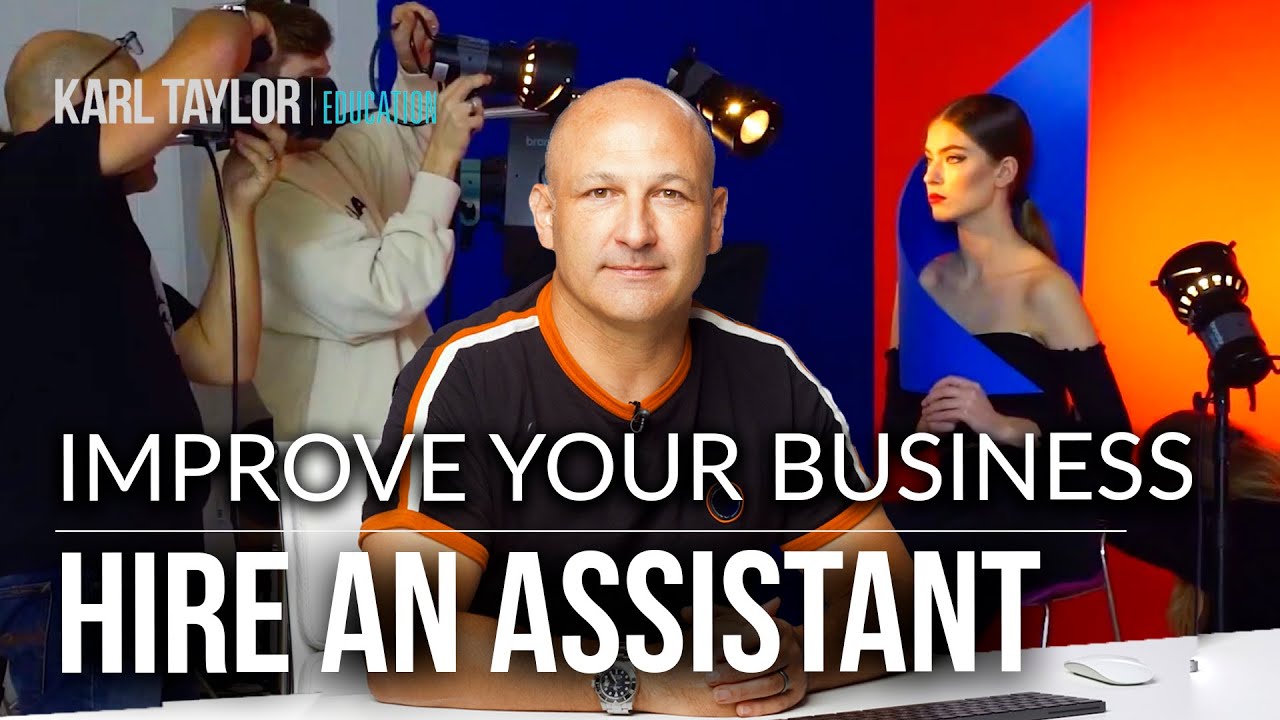
There’s a piece of gear I see photographers skip without a second thought, and it’s not a lens or a light modifier. It’s another human being. I spent years optimizing my equipment list while doing every single studio task myself, from hauling softboxes to answering inquiry emails at 11pm. The turning point for me wasn’t a new camera body. It was finally admitting that my own time was the bottleneck, and that I was dramatically undervaluing it.
In this Visual Education tutorial, Watch the full tutorial on YouTube, photographer and educator Karl Taylor makes a case I wish someone had made to me five years earlier: a photography assistant isn’t a luxury hire. It’s one of the highest-leverage investments a working photographer can make. The math he walks through stopped me cold because I recognized my own workflow in every example.
What follows is my breakdown of the core arguments in the video, organized as a practical decision-making guide. If you’ve ever told yourself you can’t afford an assistant, this one’s for you.
Step 1: Reframe the Cost Question Entirely
 Photographer working alone, setting up lights and adjusting gear
Most photographers frame the assistant question as: “Can I afford to hire someone?” That’s the wrong starting point. The right question is: “What is it costing me to work alone?” Every hour you spend moving a light stand, reformatting memory cards, or chasing down invoices is an hour you’re not shooting, not marketing, and not building client relationships. Those are the activities that actually move revenue. Once you flip the framing from expense to investment, the entire calculation changes.
Photographer working alone, setting up lights and adjusting gear
Most photographers frame the assistant question as: “Can I afford to hire someone?” That’s the wrong starting point. The right question is: “What is it costing me to work alone?” Every hour you spend moving a light stand, reformatting memory cards, or chasing down invoices is an hour you’re not shooting, not marketing, and not building client relationships. Those are the activities that actually move revenue. Once you flip the framing from expense to investment, the entire calculation changes.
Think about what you spent on gear last year without much hesitation. A second camera body, a specialty modifier for one shoot, a lens you use occasionally. An assistant who frees up 30 percent of your week almost certainly delivers more return than any of those purchases.
Step 2: Run the Time-Per-Job Audit
 Simple business case breakdown being explained, single photographer workflow
Before you can make a smart hiring decision, you need an honest accounting of where your hours actually go. Take one typical client job and map every task: pre-shoot setup, the shoot itself, breakdown and cleanup, culling, retouching, delivery, and any admin tied to that client. For most photographers working solo, the post-production and admin time often equals or exceeds the shooting time.
Simple business case breakdown being explained, single photographer workflow
Before you can make a smart hiring decision, you need an honest accounting of where your hours actually go. Take one typical client job and map every task: pre-shoot setup, the shoot itself, breakdown and cleanup, culling, retouching, delivery, and any admin tied to that client. For most photographers working solo, the post-production and admin time often equals or exceeds the shooting time.
The example in the video uses a product photographer who spends half a day shooting and another half day on retouching for a single client job. That’s a full two-day cycle for one client. With an assistant handling setup and logistics, the shooting portion compresses significantly, and retouching can happen the same day. That second day opens up completely. You either take another booking, or you invest it in marketing and business development, which is where sustainable growth actually comes from.
Step 3: Understand How an Assistant Improves the Work Itself
 Photographer at camera directing assistant to adjust light position
This is the part of the video that I think gets overlooked when photographers hear “assistant” and immediately think about administrative support. An assistant makes you a technically better photographer during the shoot, not just a more efficient business owner afterward.
Photographer at camera directing assistant to adjust light position
This is the part of the video that I think gets overlooked when photographers hear “assistant” and immediately think about administrative support. An assistant makes you a technically better photographer during the shoot, not just a more efficient business owner afterward.
Here’s the mechanics of why: when you’re shooting solo, every adjustment requires you to leave the camera. You move a light, walk back, check the frame, walk back again. You are never seeing the change happen in real time through your viewfinder. Small lighting tweaks, subtle product repositions, minor power adjustments, these all accumulate into significant image quality differences. When you have an assistant making those physical changes while you stay at the camera and watch them happen live, you can chase the exact look you’re after with precision you simply cannot achieve alone. The feedback loop is immediate, and the result is work that’s noticeably tighter.
Step 4: Start With Student or Part-Time Assistants
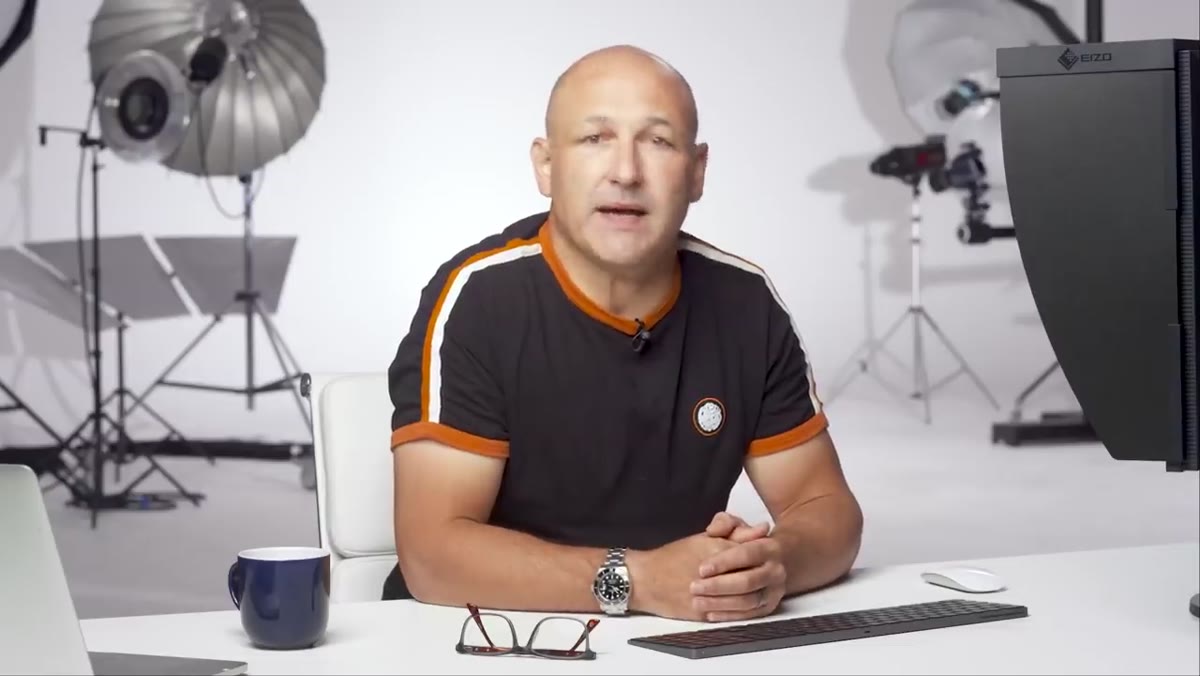 First hiring step described, holiday student assistant arrangement
You don’t need to hire a full-time employee on day one. A practical starting point is bringing on photography students during academic breaks. They’re motivated, they’re learning, and the arrangement works well for both sides. They get real-world experience and a portfolio addition. You get reliable help during a defined window at a cost that’s manageable for a small studio.
First hiring step described, holiday student assistant arrangement
You don’t need to hire a full-time employee on day one. A practical starting point is bringing on photography students during academic breaks. They’re motivated, they’re learning, and the arrangement works well for both sides. They get real-world experience and a portfolio addition. You get reliable help during a defined window at a cost that’s manageable for a small studio.
Running this kind of arrangement for school holiday periods, roughly 12 to 13 weeks across a year, can be enough to make a measurable difference in your workflow without a long-term financial commitment. Use those weeks to track the actual impact: did jobs take less time, did you get retouching done faster, did you have any bandwidth left for marketing? Let the data tell you whether scaling up makes sense.
Step 5: Scale to a Regular Assistant When the Work Supports It
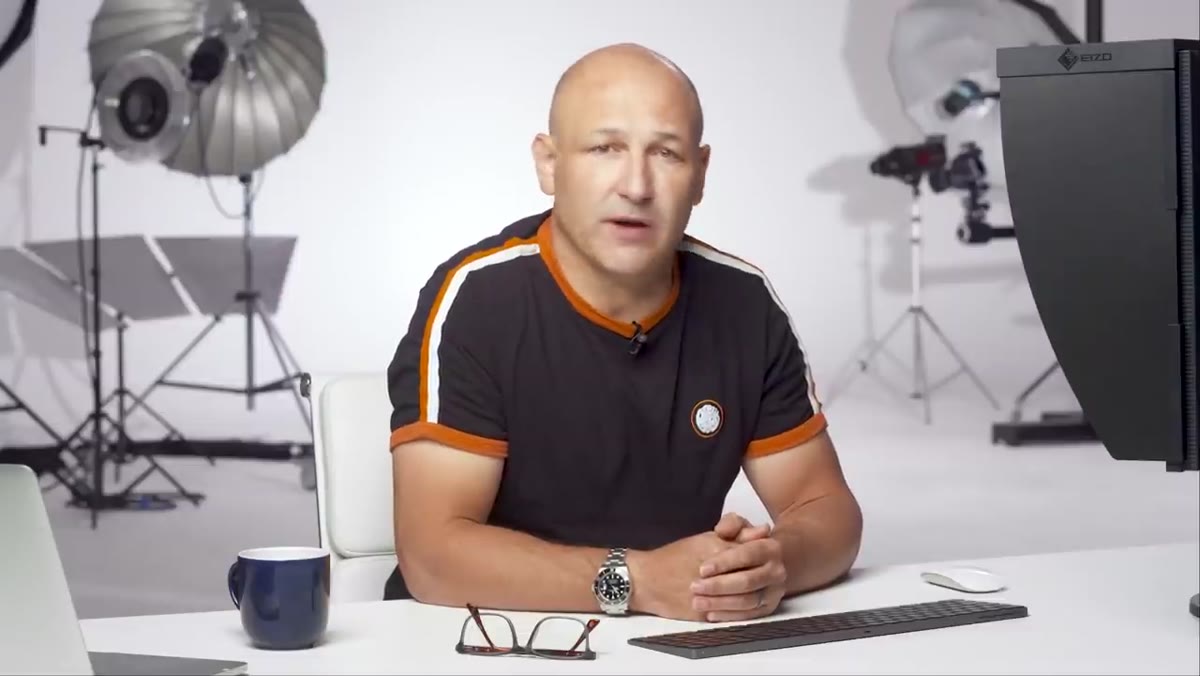 Transition from part-time student to full-time experienced assistant
Once you’ve proven the model works with a part-time or seasonal arrangement, the next step is finding someone with real skills to bring on consistently. Ideally, this person doesn’t just handle physical tasks on set. They take on admin, scheduling, and client communication as well. Every task you offload is time you reclaim for the work only you can do: creative direction, client relationships, and business development.
Transition from part-time student to full-time experienced assistant
Once you’ve proven the model works with a part-time or seasonal arrangement, the next step is finding someone with real skills to bring on consistently. Ideally, this person doesn’t just handle physical tasks on set. They take on admin, scheduling, and client communication as well. Every task you offload is time you reclaim for the work only you can do: creative direction, client relationships, and business development.
The key is hiring someone whose skills complement your gaps. If post-production is eating your evenings, find someone who can retouch. If your inbox is a disaster, find someone organized and client-facing. An assistant who covers multiple roles multiplies the return significantly compared to someone who only moves gear.
Step 6: Treat the Hire Like Any Business Investment
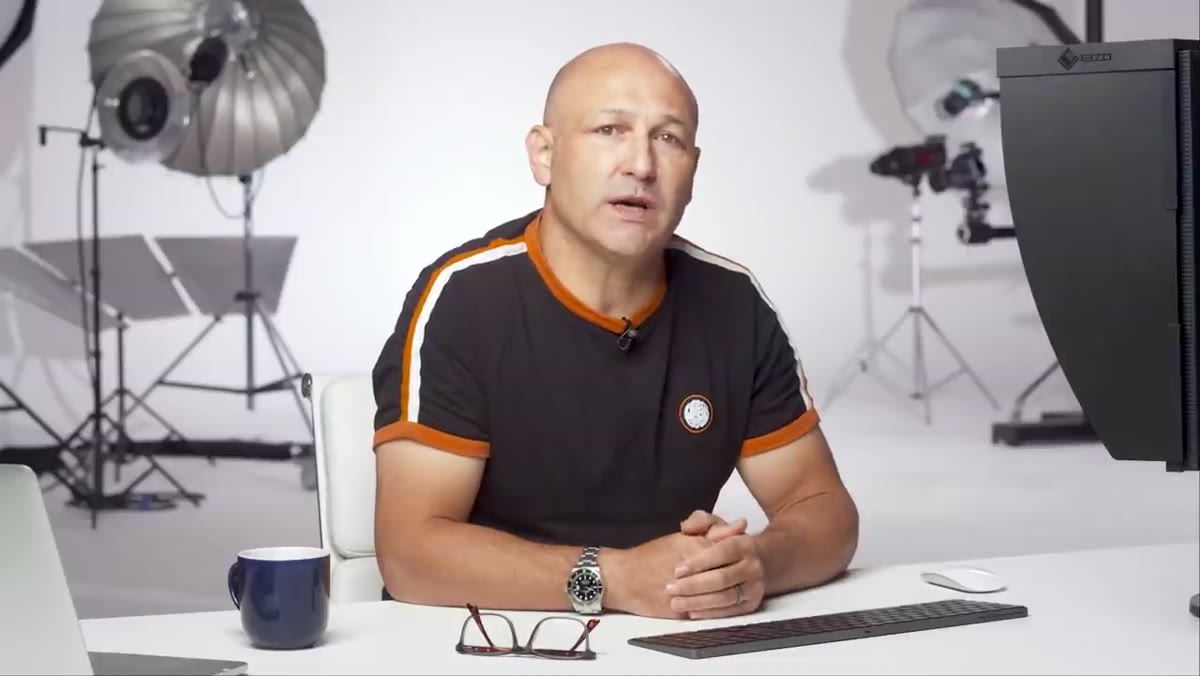 Business case framing: assistant as tool rather than overhead cost
Track the ROI the same way you’d track any gear purchase. Before the hire, document your average jobs per week, your average turnaround time, and how many hours you’re spending on non-billable admin. After three months with an assistant, run the same numbers. Most photographers who do this exercise find the improvement is not incremental. It’s substantial, and it makes every subsequent business decision much clearer.
Business case framing: assistant as tool rather than overhead cost
Track the ROI the same way you’d track any gear purchase. Before the hire, document your average jobs per week, your average turnaround time, and how many hours you’re spending on non-billable admin. After three months with an assistant, run the same numbers. Most photographers who do this exercise find the improvement is not incremental. It’s substantial, and it makes every subsequent business decision much clearer.
What I’d Add From Running My Own Studio
I track our studio metrics obsessively, and the number that surprised me most when I brought on consistent part-time help wasn’t revenue. It was inquiry response time. When someone else was handling first-touch client emails, our booking conversion rate went up noticeably. Clients book when they feel attended to, and that first response window matters more than most photographers realize. Your assistant doesn’t just create capacity for more work. They often directly improve the experience of potential clients before a single dollar changes hands.
One caveat worth naming: a bad hire creates more chaos than working alone. Take the hiring seriously. Ask to see work samples, do a trial shoot, and be specific about what you need. The right person is a genuine business partner. The wrong one is an expensive distraction.
The single most important takeaway here is this: the reason most photographers don’t hire an assistant isn’t financial. It’s a mindset problem. They see themselves as technicians who need better tools, not business owners who need better systems. An assistant is a system, and it’s one that pays for itself faster than almost anything else you can invest in.
Watch the full tutorial on YouTube and run the time audit on your own last five jobs. The numbers will make the decision for you.
Comments
Leave a Comment