
Business portrait work is some of the most reliable, repeatable income my studio generates. But early on, I treated every corporate headshot session like a personal portrait sitting. I’d focus all my energy on making the individual happy, letting subjects dictate their own poses, second-guessing my lighting when someone wrinkled their nose at the back-of-camera preview. It cost me time, it cost me confidence, and honestly, it cost me repeat clients because the results were inconsistent.
Then I watched this Visual Education tutorial on taking better business portraits, hosted by commercial photographer Karl Taylor, who has shot everyone from small business owners to entire floors of corporate executives in London and Hong Kong. A lot of what he covers confirmed instincts I had but hadn’t fully committed to. Some of it reframed how I think about who I’m actually working for on these jobs.
Here’s the breakdown, with my own notes from running a portrait studio in Miami layered in.
Step 1: Understand Who the Images Actually Serve
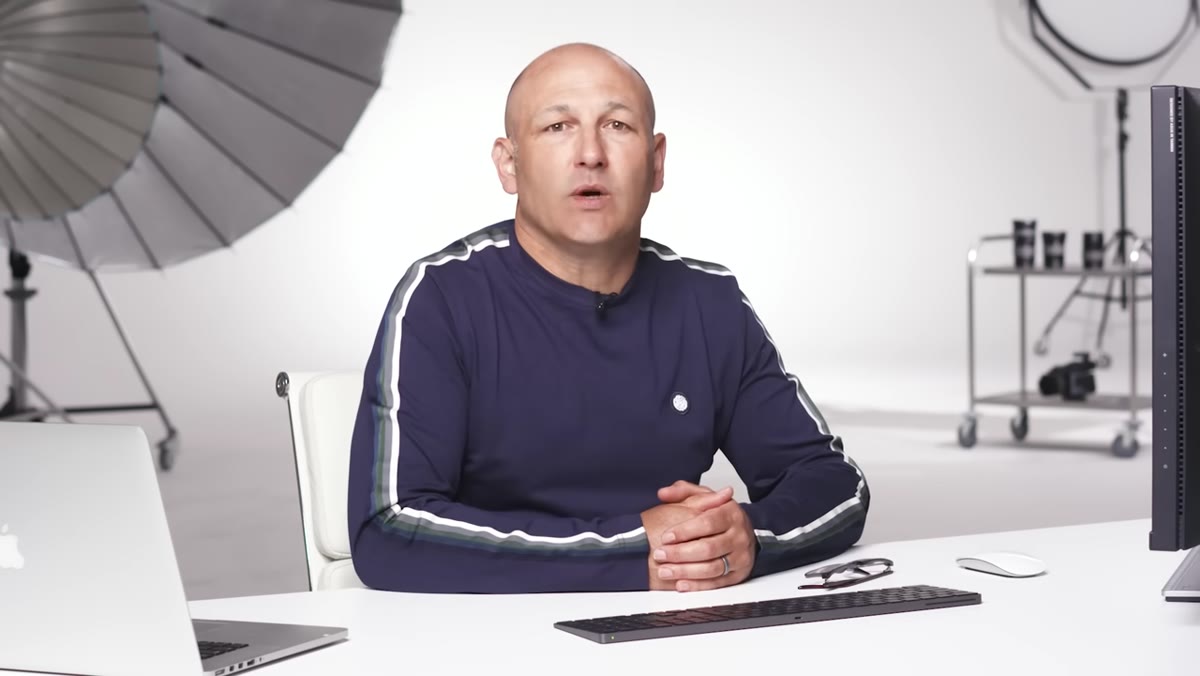 Photographer explaining the company vs. individual distinction
Before you touch a camera, get clear on this: business portraits represent the company, not the person standing in front of your lens. The marketing director who hired you, the brand guidelines in your brief, the tone of their website. Those are your real clients. The individual being photographed is a subject, not the decision-maker.
Photographer explaining the company vs. individual distinction
Before you touch a camera, get clear on this: business portraits represent the company, not the person standing in front of your lens. The marketing director who hired you, the brand guidelines in your brief, the tone of their website. Those are your real clients. The individual being photographed is a subject, not the decision-maker.
This matters practically. About 70% of people dislike seeing photos of themselves, and that’s completely normal. If you make every creative decision based on whether your subject is happy with how they look, you’ll end up with images the company didn’t ask for and a session that runs long because you’re chasing approval from someone who would never fully approve of any photo. Know what the company needs before you arrive. If there are image guidelines, get them in writing. If there aren’t, ask directly about tone, background preferences, and intended use.
Step 2: Brief Your Subject Before You Shoot a Single Frame
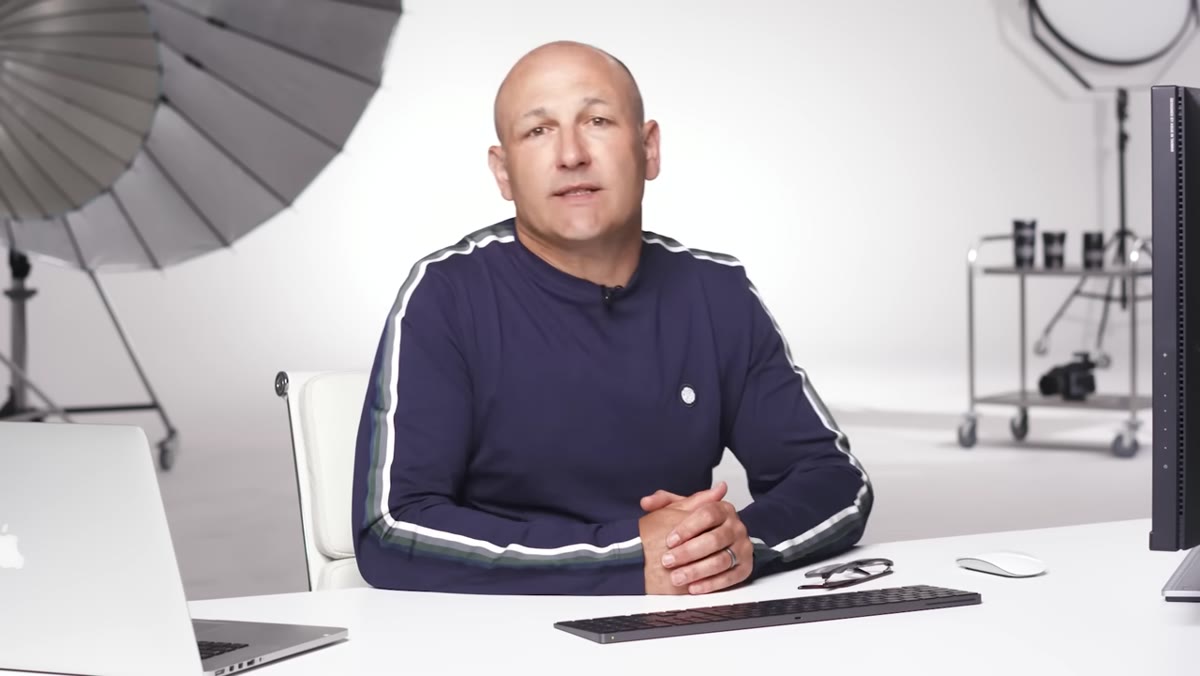 Photographer greeting and explaining the process to subject
When I meet a subject at the start of a session, I spend the first two or three minutes talking them through exactly what we’re going to do. Not just small talk. A real walk-through: here’s where you’ll stand, here’s what I’ll ask of you, here’s what to expect from the lights. People get tense in front of cameras because they feel out of control. Giving them a clear map of the next 20 minutes lowers that tension immediately.
Photographer greeting and explaining the process to subject
When I meet a subject at the start of a session, I spend the first two or three minutes talking them through exactly what we’re going to do. Not just small talk. A real walk-through: here’s where you’ll stand, here’s what I’ll ask of you, here’s what to expect from the lights. People get tense in front of cameras because they feel out of control. Giving them a clear map of the next 20 minutes lowers that tension immediately.
Karl’s point here is sharp: your confidence transfers to them. If you’re hesitant or disorganized, they’ll feel it. Come in knowing your setup, knowing your shots, and they’ll follow your lead. Use a light sense of humor when you’re guiding posing, but stay in control of the session. You were hired because you know what you’re doing. Act like it.
Step 3: Fix the Posture Before You Fix Anything Else
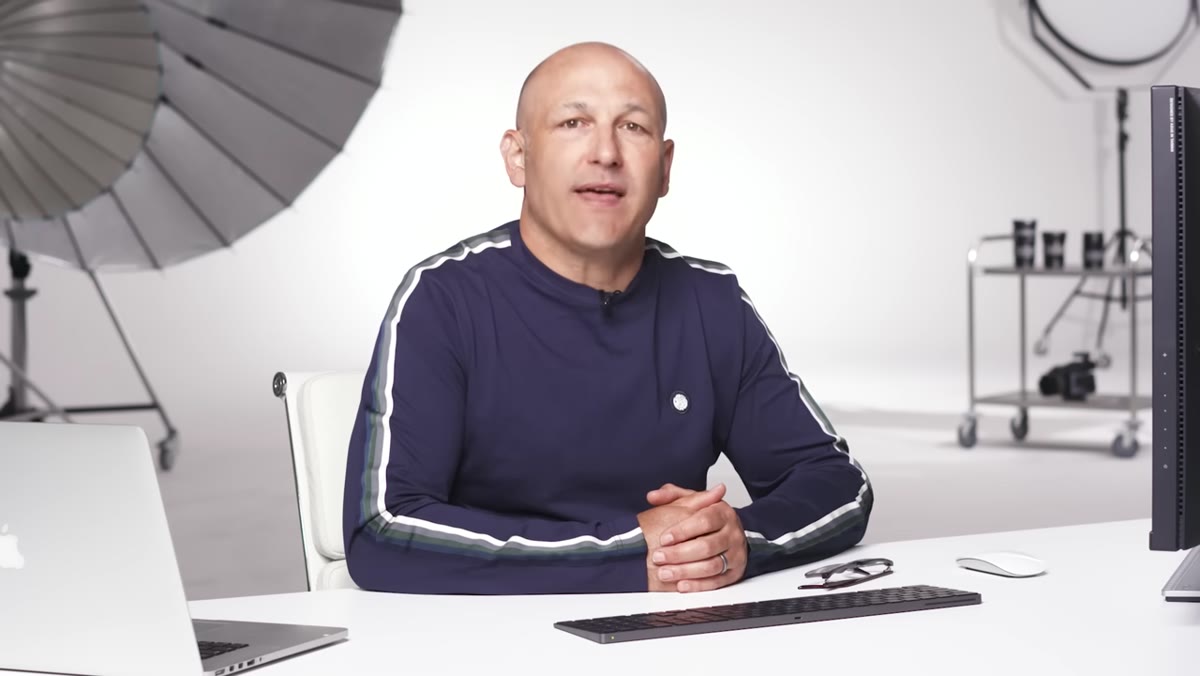 Subject standing straighter with posture correction demonstrated
Ask your subject to stand up straighter. That single adjustment does more work than most lighting tweaks. Better posture reads as confidence in a photograph. It also makes people appear more alert, slightly slimmer, and it smooths out clothing wrinkles that would otherwise become a post-processing problem.
Subject standing straighter with posture correction demonstrated
Ask your subject to stand up straighter. That single adjustment does more work than most lighting tweaks. Better posture reads as confidence in a photograph. It also makes people appear more alert, slightly slimmer, and it smooths out clothing wrinkles that would otherwise become a post-processing problem.
For male subjects, having them put their hands in their pockets is a reliable starting point. It relaxes the shoulders naturally and gets the arms away from the body, which avoids that stiff “arms at sides” look. For female subjects, I’ll often shift their weight slightly to one hip and angle the body about 30 degrees from camera. These aren’t tricks. They’re repeatable defaults that create a composed, professional look even before the subject has fully relaxed.
Step 4: Choose a Lens That Flatters Without Distorting
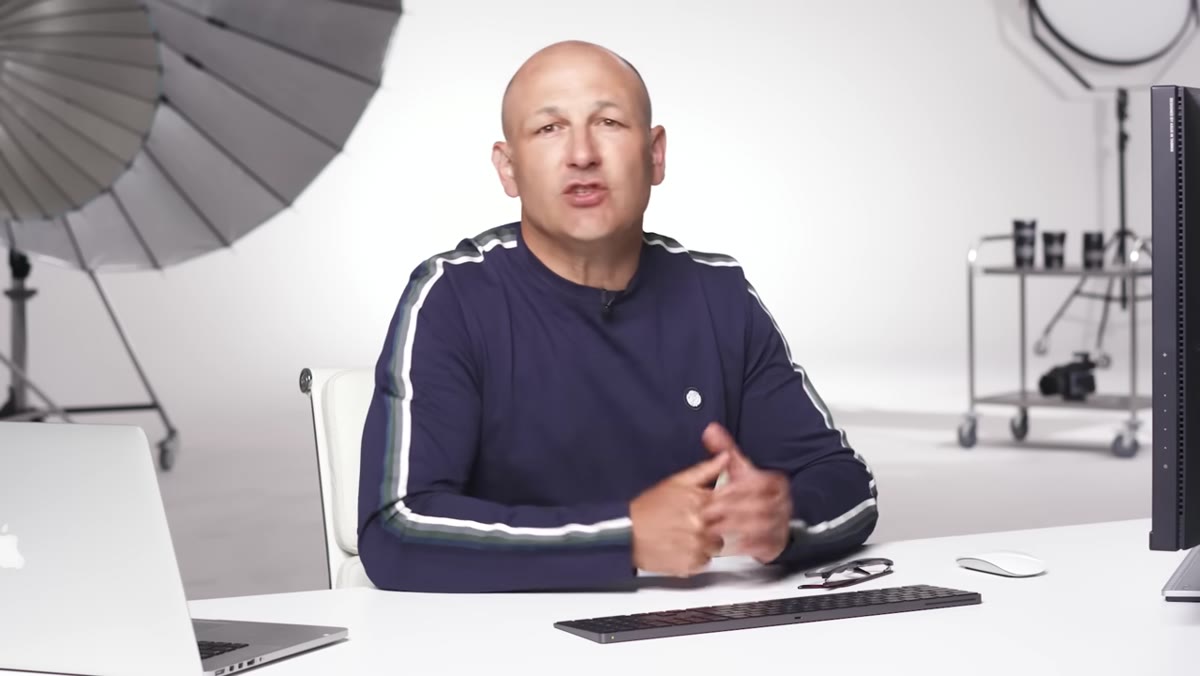 Lens selection section intro on screen
Focal length matters enormously for business portraits. A wide lens used too close creates facial distortion that no client will approve, even if they can’t name what looks wrong. For headshots and three-quarter shots, a short telephoto in the 85mm to 135mm range (on a full-frame body) gives you natural compression and flattering proportions without pushing so far back that you lose connection with the subject.
Lens selection section intro on screen
Focal length matters enormously for business portraits. A wide lens used too close creates facial distortion that no client will approve, even if they can’t name what looks wrong. For headshots and three-quarter shots, a short telephoto in the 85mm to 135mm range (on a full-frame body) gives you natural compression and flattering proportions without pushing so far back that you lose connection with the subject.
If you’re shooting on a crop sensor, 50mm to 85mm will get you into similar territory. The practical test: if the nose looks significantly larger than it does in real life, you’re too close or too wide. Back up, zoom in, and reframe.
Step 5: Control Your Background to Control the Brand Feel
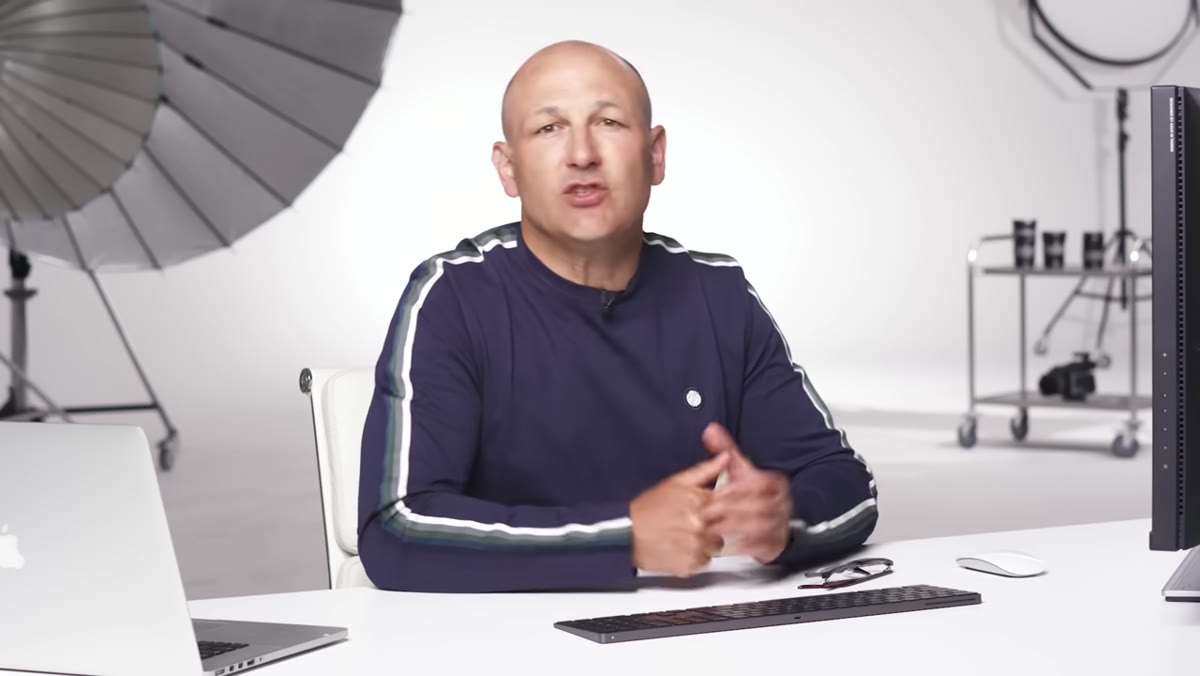 Backgrounds listed as key element in intro overview
Background choice signals the company’s tone before the viewer processes anything else. A clean white or light gray background reads as modern, clinical, and corporate. A darker background reads as established, premium, and serious. An environmental background, the actual office, a lobby, a window with city view, adds context and warmth but requires more attention to consistency across a large group shoot.
Backgrounds listed as key element in intro overview
Background choice signals the company’s tone before the viewer processes anything else. A clean white or light gray background reads as modern, clinical, and corporate. A darker background reads as established, premium, and serious. An environmental background, the actual office, a lobby, a window with city view, adds context and warmth but requires more attention to consistency across a large group shoot.
Whatever the choice, confirm it against the company’s existing visual identity. If their website is all clean whites and negative space, a dark moody background will look disconnected. I always pull up the client’s homepage on my phone during my pre-shoot walkthrough and use it as a reference check.
Step 6: Set Your Camera for Speed and Consistency
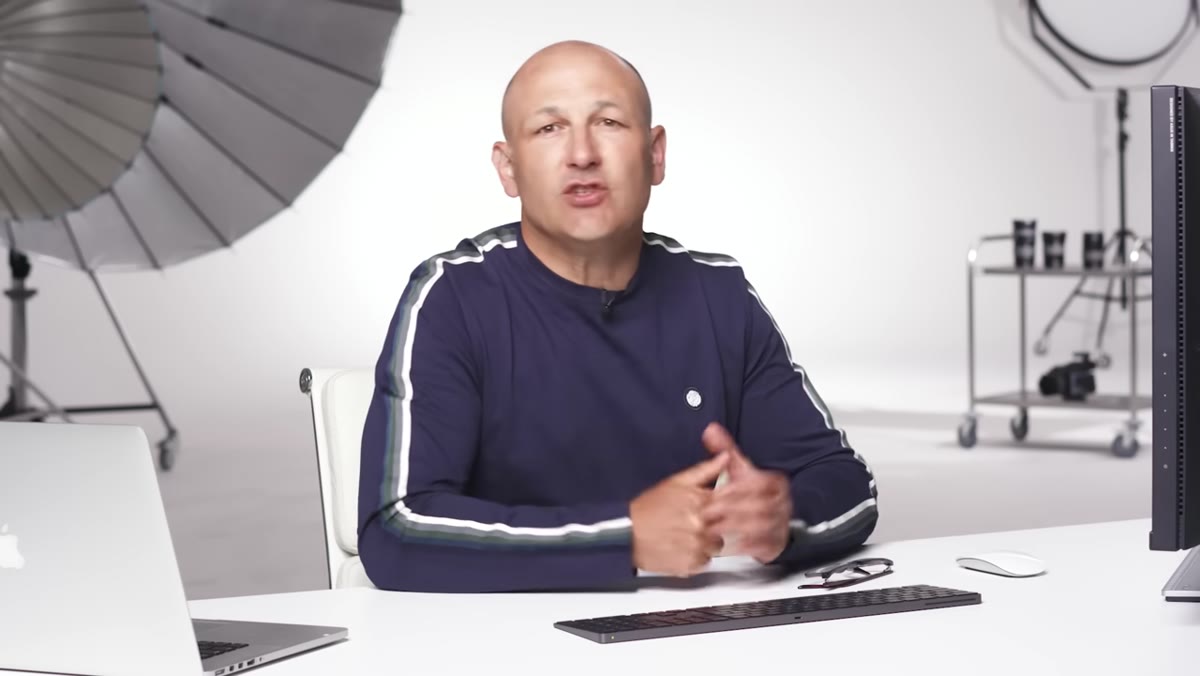 Camera settings listed as topic in tutorial overview
In a corporate environment, you’re often moving through subjects quickly. One of the most common mistakes photographers make on group headshot days is resetting their exposure for each person. Lock it down. Use manual exposure, set your aperture in the f/5.6 to f/8 range if you’re shooting multiple subjects to give yourself some depth-of-field buffer, and keep your ISO as low as your lighting allows. If you’re using strobes, sync speed is your ceiling, and consistency is your goal.
Camera settings listed as topic in tutorial overview
In a corporate environment, you’re often moving through subjects quickly. One of the most common mistakes photographers make on group headshot days is resetting their exposure for each person. Lock it down. Use manual exposure, set your aperture in the f/5.6 to f/8 range if you’re shooting multiple subjects to give yourself some depth-of-field buffer, and keep your ISO as low as your lighting allows. If you’re using strobes, sync speed is your ceiling, and consistency is your goal.
I also shoot tethered on corporate jobs whenever possible. Clients and art directors love seeing the image on a larger screen in real time, and it gives you immediate feedback on whether the lighting is working across different subjects, different clothing colors, different skin tones. It also looks professional, which matters on a day when 40 people are cycling through your set.
What I’d Add From My Own Experience
The tutorial covers the technical and interpersonal fundamentals cleanly, but there’s a business layer that’s worth naming explicitly. Business portrait clients are often repeat clients. The company that books you for 15 headshots this year will have new hires next year. They’ll add a department. They’ll update their website.
I track every corporate client session in a simple spreadsheet: date, number of subjects, rate, turnaround time, and whether they’ve rebooked. When I started doing this, I realized my most profitable day-rate work came from mid-size local businesses, not the big brand names that felt impressive to land. The big companies had more approvals, more revision requests, and longer payment cycles. The local firm with 20 employees who books me every spring for new staff photos pays faster, refers me more, and takes less of my creative energy. Know your numbers. Corporate portrait work can look like small money per head until you see the rebooking rate.
The single most important thing I took from this tutorial: stop optimizing for the subject’s approval and start optimizing for the company’s brief. When you get that framing right, sessions run faster, images are more consistent, and clients come back.
Watch the full tutorial on YouTube and pay close attention to the posing and briefing sections. Those two pieces alone will change how your next corporate session runs.
Comments
Leave a Comment