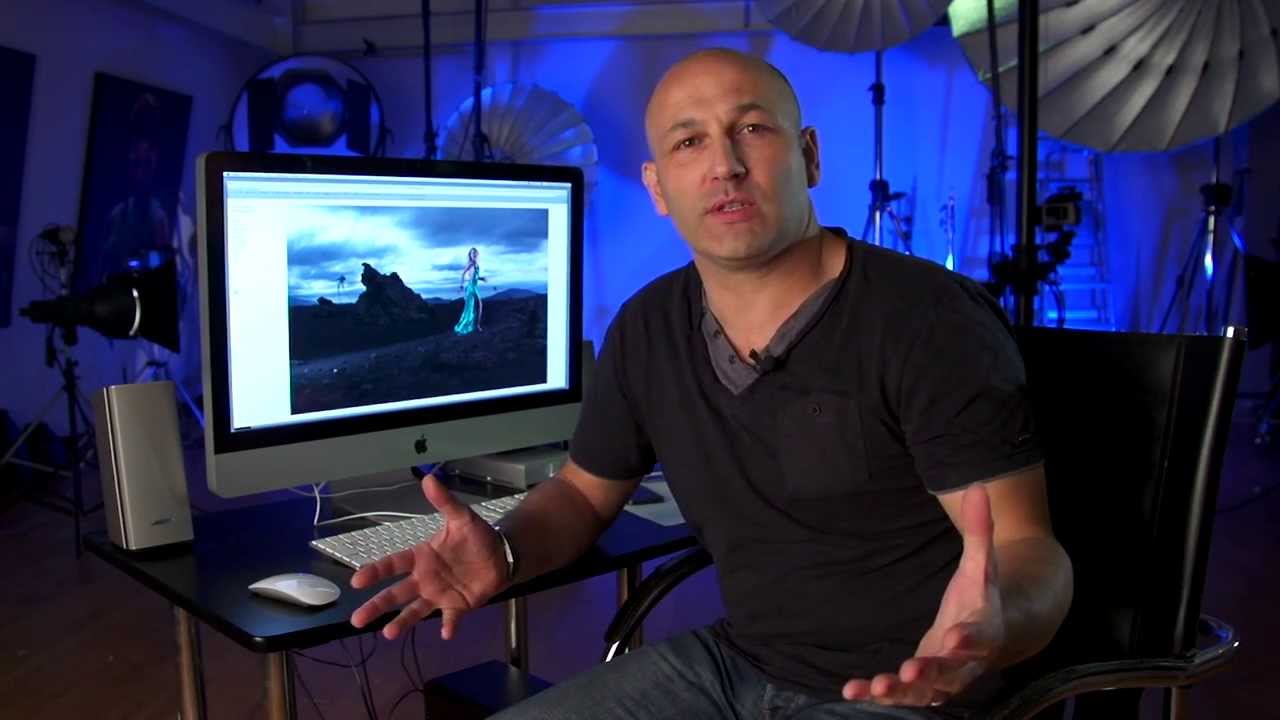
Your photography website is not a nice-to-have. It is your storefront, your first impression, and often the deciding factor for a client choosing between you and the competitor down the street. I learned this the hard way after spending years pouring money into a custom-built site that I couldn’t update without emailing a developer, waiting a week, and paying a revision fee. By the time my new work made it online, it felt stale. Clients were seeing my portfolio from six months ago while I was producing some of the best work of my career.
In this Visual Education tutorial, photographer KL Taylor walks through exactly why he made the switch from a bespoke website to Squarespace, and how he pulled together a polished, professional portfolio site in just a couple of hours. Watch the full tutorial on YouTube and follow along with the breakdown below. I’ve added my own context from running a portrait studio in Miami, because some of what KL shares hit very close to home.
Step 1: Get Honest About What Your Current Website is Costing You
 KL Taylor explaining why websites matter for photographers
Before you touch a single template, you need to do a quick audit. Ask yourself: how long does it take you to get new images onto your site right now? If the answer is anything longer than 30 minutes, you’re losing money. Clients who find you on Instagram or through a referral will check your website within hours. If what they see there is outdated or hard to navigate, they move on.
KL Taylor explaining why websites matter for photographers
Before you touch a single template, you need to do a quick audit. Ask yourself: how long does it take you to get new images onto your site right now? If the answer is anything longer than 30 minutes, you’re losing money. Clients who find you on Instagram or through a referral will check your website within hours. If what they see there is outdated or hard to navigate, they move on.
KL points out that beyond the update problem, older custom-built sites often struggle to display images properly on retina screens. High-resolution displays on modern Macs, iPads, and phones require higher-quality image rendering, and if your current site wasn’t built for that, your photos might actually look worse on newer devices than they did five years ago. That detail alone convinced me to stop defending my old setup.
Step 2: Choose a Template-Based Platform Built for Visuals
 KL Taylor introducing Squarespace as his platform of choice
Not all website builders are created equal for photographers. Squarespace is the platform KL recommends, and it’s the one I’ve landed on too, specifically because it was designed with image-heavy portfolios in mind. The templates are not generic blog layouts with a photo plugin bolted on. They are clean, full-screen, image-forward designs that let your work breathe.
KL Taylor introducing Squarespace as his platform of choice
Not all website builders are created equal for photographers. Squarespace is the platform KL recommends, and it’s the one I’ve landed on too, specifically because it was designed with image-heavy portfolios in mind. The templates are not generic blog layouts with a photo plugin bolted on. They are clean, full-screen, image-forward designs that let your work breathe.
When you’re browsing templates, look for one that defaults to large, edge-to-edge image display and minimal text clutter. KL’s choice gives him a full-screen image area where viewers click through one photo at a time, almost like a curated gallery experience. That kind of presentation signals professionalism before a client reads a single word of your bio.
Step 3: Gather and Prepare Your Images Before You Build
 Demonstrating how high-res images display across multiple devices
One of the smartest things KL mentions is that he got all his images together before he started building. This sounds obvious, but most photographers open a website builder, start poking around the settings, and then realize they haven’t decided which 20 images should represent their entire body of work. That decision paralysis is what makes “building a website” feel like a month-long project.
Demonstrating how high-res images display across multiple devices
One of the smartest things KL mentions is that he got all his images together before he started building. This sounds obvious, but most photographers open a website builder, start poking around the settings, and then realize they haven’t decided which 20 images should represent their entire body of work. That decision paralysis is what makes “building a website” feel like a month-long project.
Squarespace will automatically resize and optimize the high-resolution files you upload so they look sharp on everything from a phone screen to a retina display. That means you should upload the largest, highest-quality version you have. Do not pre-compress. Let the platform do that work for you. Your only job at this stage is to curate ruthlessly and pick images that represent the work you want to book more of.
Step 4: Build the Site Itself (It Takes Less Time Than You Think)
 KL Taylor describing building the full site in under two hours
Once your images are ready and your template is chosen, the actual build goes faster than you’d expect. KL put his complete site together in under two hours. I was skeptical when I first heard that, but after doing my own rebuild on a Sunday afternoon, I believe it. The drag-and-drop interface is genuinely intuitive, and because the template handles all the design decisions, you’re not making a hundred small choices about fonts, colors, and spacing.
KL Taylor describing building the full site in under two hours
Once your images are ready and your template is chosen, the actual build goes faster than you’d expect. KL put his complete site together in under two hours. I was skeptical when I first heard that, but after doing my own rebuild on a Sunday afternoon, I believe it. The drag-and-drop interface is genuinely intuitive, and because the template handles all the design decisions, you’re not making a hundred small choices about fonts, colors, and spacing.
Focus on the essentials first: your portfolio galleries, a short and specific about page, and a contact form that actually works. Do not let yourself get stuck perfecting copy or agonizing over whether to include a pricing page on day one. Get the core structure live and functional. You can refine from there.
Step 5: Connect Your Social Channels and Keep Everything in Sync
 Overview of social media integration options within Squarespace
A portfolio site that sits in isolation is a missed opportunity. Squarespace makes it straightforward to link your Instagram, Facebook, and other platforms directly into the site. This matters because clients rarely find you through one channel alone. Someone might discover you on Instagram, click to your website to vet your work more seriously, and then check your blog or recent projects before reaching out.
Overview of social media integration options within Squarespace
A portfolio site that sits in isolation is a missed opportunity. Squarespace makes it straightforward to link your Instagram, Facebook, and other platforms directly into the site. This matters because clients rarely find you through one channel alone. Someone might discover you on Instagram, click to your website to vet your work more seriously, and then check your blog or recent projects before reaching out.
Having those channels integrated also means your site feels current even between major updates. A live Instagram feed on your homepage, for example, shows visitors that you are actively shooting and posting, which builds trust without requiring you to manually update the site every week.
Step 6: Compare the Real Costs Before Talking Yourself Out of It
 KL Taylor revealing that Squarespace cost less than his custom site
KL makes a point that surprised a lot of people in his audience: his Squarespace subscription actually cost less than maintaining his custom-built site. When you factor in hosting fees, developer rates for updates and fixes, and the time you spend waiting on those updates, a bespoke site is rarely the economical choice it appears to be.
KL Taylor revealing that Squarespace cost less than his custom site
KL makes a point that surprised a lot of people in his audience: his Squarespace subscription actually cost less than maintaining his custom-built site. When you factor in hosting fees, developer rates for updates and fixes, and the time you spend waiting on those updates, a bespoke site is rarely the economical choice it appears to be.
Run the real numbers. Add up what you paid for design, hosting, and any maintenance in the last 12 months. Then look at Squarespace’s current pricing tiers. For most photographers, the business or personal plan covers everything they need. The cost difference is often significant, and the control you gain over your own content is worth more than the number suggests.
What I’d Add From My Own Studio Experience
The one thing KL doesn’t go deep on, probably because it wasn’t the focus of his tutorial, is the connection between your website and your inquiry process. A beautiful portfolio can attract the right clients, but if your contact form dumps messages into an inbox you check twice a week, or if there’s no clear call to action after someone finishes looking at your work, you’re leaving bookings on the table.
I added a simple “Book a Consultation” button to every gallery page, linked directly to a scheduling tool. That one change increased my inquiry conversion rate noticeably in the first month. Your website’s job is not just to showcase work. It is to move a stranger one step closer to becoming a paying client.
Your website is the one piece of your marketing that works for you at 2am when you’re editing. Make it count. Start with a platform that lets you control your own content, displays your images beautifully across every device, and doesn’t require a developer to update. The rest you can build over time.
Watch the full tutorial on YouTube and use this walkthrough alongside it to keep the steps clear as you go.
Comments
Leave a Comment