
I used to send potential clients to my Instagram. I had thousands of followers, decent engagement, and I thought that was enough. Then I lost a $5,000 portrait booking to a photographer with half my skill because she had a clean, professional portfolio site and I was asking people to scroll through a feed mixed with behind-the-scenes reels, personal posts, and the occasional beach sunset I had no business sharing. That wake-up call taught me something I now repeat to every photographer I coach: social media shows your recent work, not your best work. Those are not the same thing.
Watch the full tutorial on YouTube
In this Tony & Chelsea Northrup tutorial, Tony walks through building an online photography portfolio from scratch using Squarespace, and he makes a case that resonated with me from the first minute. A portfolio isn’t just a marketing tool. It’s a record of your growth. It’s the place you point someone when you want them to see you at your best, not just your most recent. Whether you’re a working professional or a serious hobbyist trying to level up, having a dedicated portfolio changes how you think about your own work. Here is how to build one, step by step.
Step 1: Understand Why a Dedicated Portfolio Beats Social Media
 Tony explaining the problem with sending people to social feeds
The core argument Tony makes early in the tutorial is worth sitting with before you open any website builder. Platforms like Facebook, Flickr, Twitter, and Tumblr show your work in reverse chronological order. That means if you had a slow week, a rough shoot, or a stretch where you were experimenting and the experiments did not pan out, that is what a potential client sees first. They are unlikely to dig six months back to find your strongest images.
Tony explaining the problem with sending people to social feeds
The core argument Tony makes early in the tutorial is worth sitting with before you open any website builder. Platforms like Facebook, Flickr, Twitter, and Tumblr show your work in reverse chronological order. That means if you had a slow week, a rough shoot, or a stretch where you were experimenting and the experiments did not pan out, that is what a potential client sees first. They are unlikely to dig six months back to find your strongest images.
A dedicated portfolio gives you editorial control. You choose every single image that appears. You arrange them intentionally. You can update it after every great shoot and remove anything that no longer represents where you are. That control is the whole point.
Step 2: Go to Squarespace and Start Your Account
 Tony navigating to Squarespace.com and clicking Get Started
Tony recommends Squarespace specifically because it removes the two biggest historical barriers to building a portfolio site: needing to know HTML and CSS, and ending up with something that looks amateur. Head to Squarespace.com and click “Get Started.” You will be prompted to create an account before you select a template, so have your email ready.
Tony navigating to Squarespace.com and clicking Get Started
Tony recommends Squarespace specifically because it removes the two biggest historical barriers to building a portfolio site: needing to know HTML and CSS, and ending up with something that looks amateur. Head to Squarespace.com and click “Get Started.” You will be prompted to create an account before you select a template, so have your email ready.
The platform is subscription-based, which means you do not need to manage hosting separately. For photographers, that matters because large image files need reliable, fast hosting. A site that loads slowly loses visitors before they ever see your work.
Step 3: Filter for Portfolio Templates and Browse Your Options
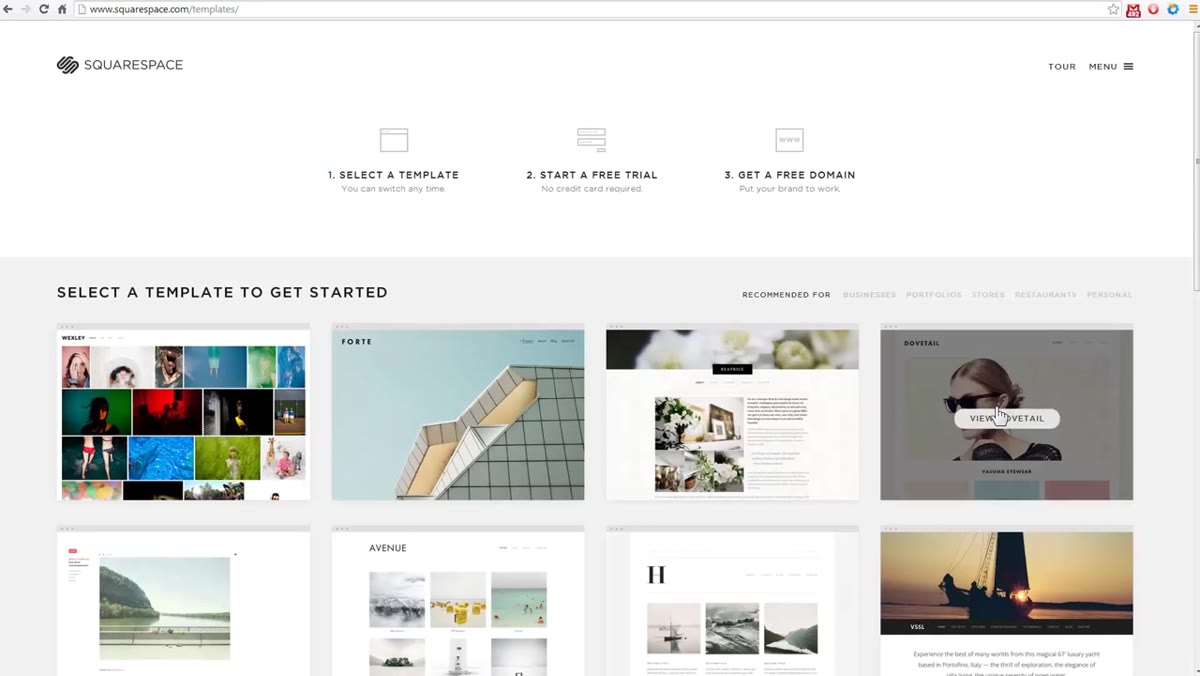 Squarespace template gallery filtered to portfolio category
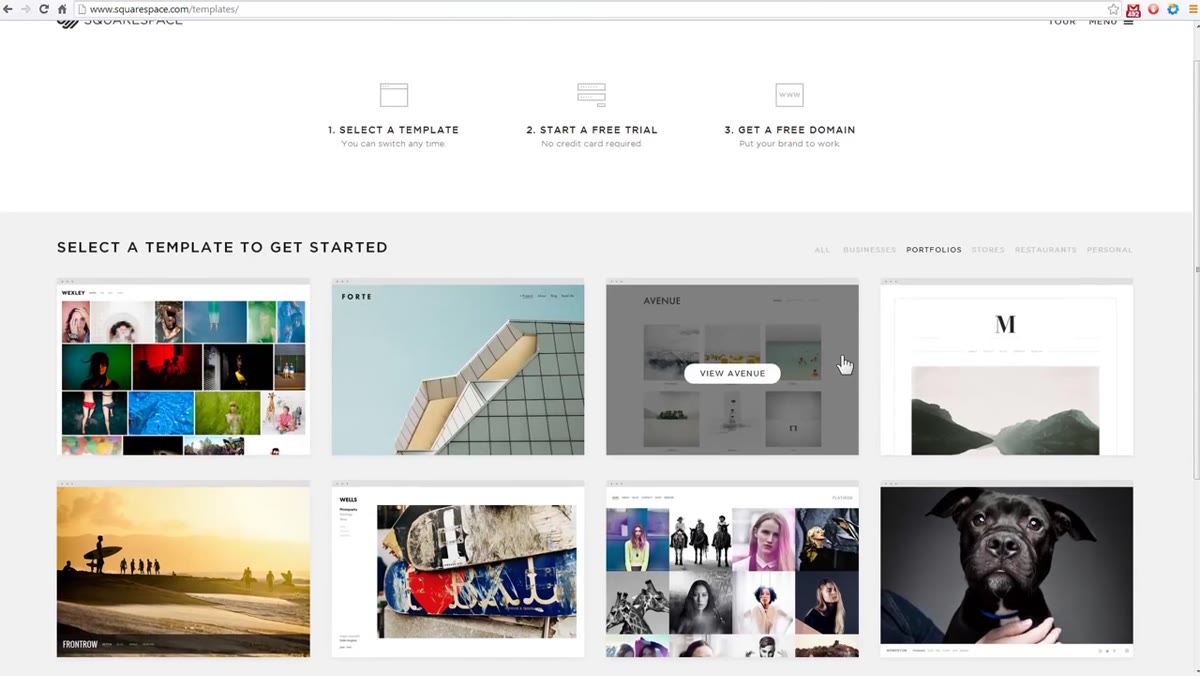
Once you are inside the template gallery, filter by “Portfolio” to narrow the options. You will see layouts designed specifically for visual work, with different approaches to how images are presented. Some templates open with a grid of thumbnails that lets visitors browse immediately. Others open with a single large hero image that makes a strong first impression before revealing more.
Squarespace template gallery filtered to portfolio category
Once you are inside the template gallery, filter by “Portfolio” to narrow the options. You will see layouts designed specifically for visual work, with different approaches to how images are presented. Some templates open with a grid of thumbnails that lets visitors browse immediately. Others open with a single large hero image that makes a strong first impression before revealing more.
Browse several before committing. Tony previews the “Wexly” template, which leads with thumbnails and lets viewers click through quickly, and the “Forte” template, which opens on one full-screen image for a more editorial feel. Neither is objectively better. The right choice depends on your shooting style and the clients you want to attract.
Step 4: Match Your Template to Your Photography Style
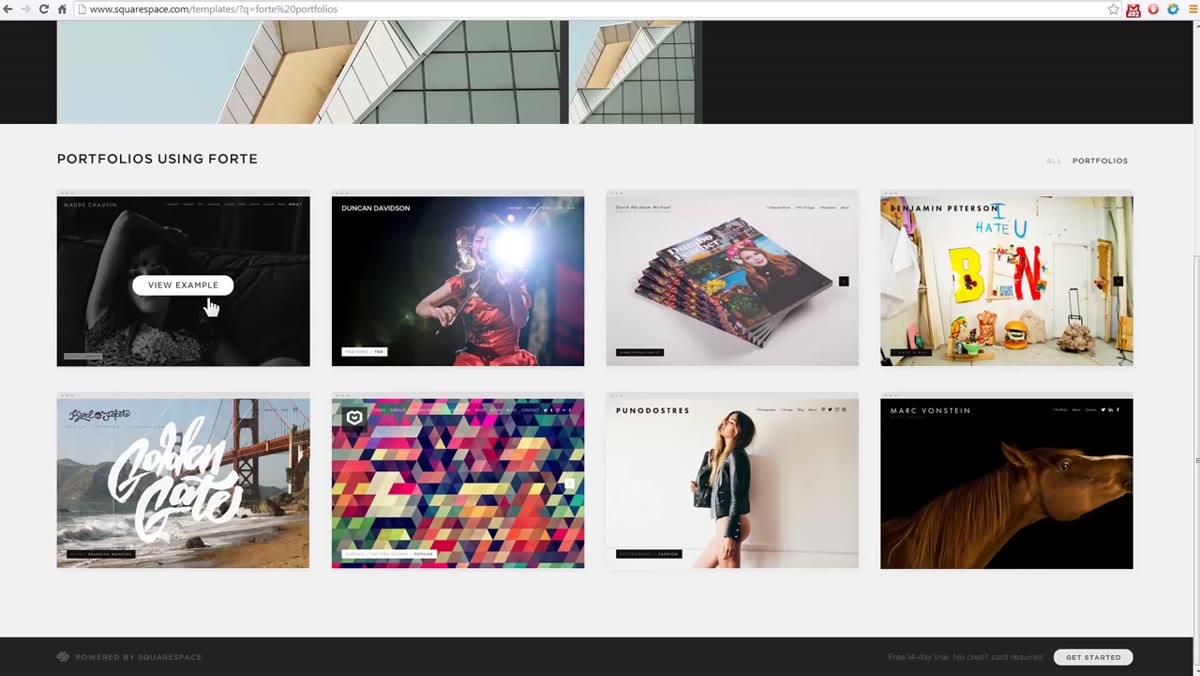 Tony discussing how template style should reflect photography genre
This is the step most photographers rush past, and it shows. Tony’s advice is direct: your template should feel like your work. If you shoot bright, warm family portraits, choose a layout that feels warm and approachable. If you shoot commercial fashion or architecture, go with something minimal and high-contrast. The design frames your images before a visitor even looks at them closely.
Tony discussing how template style should reflect photography genre
This is the step most photographers rush past, and it shows. Tony’s advice is direct: your template should feel like your work. If you shoot bright, warm family portraits, choose a layout that feels warm and approachable. If you shoot commercial fashion or architecture, go with something minimal and high-contrast. The design frames your images before a visitor even looks at them closely.
Think of it this way. A wedding photographer using a stark, industrial template creates a mismatch that makes clients uneasy without knowing why. Consistency between your visual brand and your portfolio design builds trust before anyone reads a single word on your site.
Step 5: Do Not Overthink the Template Choice
 Tony noting that templates can be switched later
Tony makes a practical point that removes a lot of decision paralysis: you can switch templates later. Nothing you choose today locks you in permanently. This is worth remembering because I have seen photographers spend three weeks comparing layouts and never actually launch their site. A live, imperfect portfolio is worth more to your business than a perfect one that does not exist yet.
Tony noting that templates can be switched later
Tony makes a practical point that removes a lot of decision paralysis: you can switch templates later. Nothing you choose today locks you in permanently. This is worth remembering because I have seen photographers spend three weeks comparing layouts and never actually launch their site. A live, imperfect portfolio is worth more to your business than a perfect one that does not exist yet.
Pick the template that feels closest to right, set it up with your best images, and publish it. You can refine the design once real clients are actually visiting.
Step 6: Curate Ruthlessly Before You Upload a Single Image
 Tony explaining that a portfolio should show your best, not most recent work
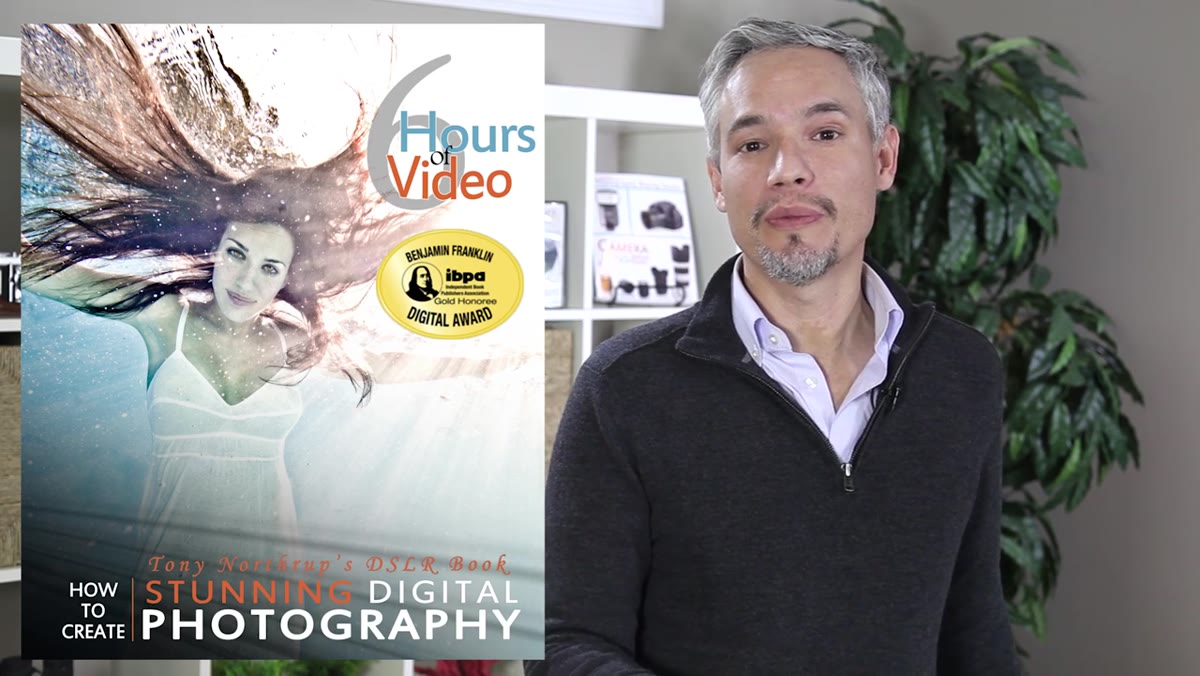
This step is not explicitly a feature inside Squarespace, but it is the most important work you will do before you touch the platform. Go through your entire catalog and pull only the images that make you genuinely proud. Tony’s framing is useful here: a portfolio is how you compete against your past self. The images you choose should represent the ceiling of your current ability, not the average.
Tony explaining that a portfolio should show your best, not most recent work
This step is not explicitly a feature inside Squarespace, but it is the most important work you will do before you touch the platform. Go through your entire catalog and pull only the images that make you genuinely proud. Tony’s framing is useful here: a portfolio is how you compete against your past self. The images you choose should represent the ceiling of your current ability, not the average.
For most photographers, that means being harsher than feels comfortable. If you have 400 images you like, you probably want 30 to 50 in your portfolio. Clients do not reward volume. They reward consistency and strength.
What I’d Add From Running a Portrait Studio
Tony’s tutorial gives you a solid technical foundation, but there is one business layer he does not cover that I consider non-negotiable. Your portfolio site needs a clear, easy path to contact you. Not a buried “Contact” link in a dropdown. A visible call to action on your homepage and on every gallery page.
I track where my inquiries come from, and the single biggest friction point I see with photographers I mentor is that their portfolio is beautiful but passive. A visitor loves what they see and has no obvious next step. Add a contact button, a short line about what you offer and who you work with, and ideally a starting price or a phrase like “portraits starting at” to filter for serious inquiries. Your portfolio is not just a gallery. It is the first step in your sales process.
The most important thing I can tell you about building a photography portfolio is this: publish it before you feel ready. Your best work deserves a proper home, and every week it lives only on a social feed is a week potential clients are not finding it.
Watch the full tutorial on YouTube and follow Tony’s walkthrough in real time while you build your own site. You can have a live portfolio by the end of the weekend. There is no good reason to wait.
Comments
Leave a Comment