
I grew up watching my parents run a photography business out of our garage in Hialeah. They were talented. Seriously talented. But they never raised their prices, not once in over a decade, because they were afraid of losing clients. By the time I was old enough to understand what was happening, they were exhausted, underpaid, and one bad season away from closing. That experience is exactly why pricing is the first thing I talk about with every photographer who comes to me for business coaching, and it’s why a tutorial like this one stopped me mid-scroll.
Watch the full tutorial on YouTube
In this Visual Education tutorial, photographer and educator Karl Taylor breaks down how to price your photography work with the kind of clarity that most photographers avoid because the math feels uncomfortable. He has 25 years in the industry, works primarily in commercial photography, and he is not here to give you vague encouragement. He gives you a framework. What follows is my breakdown of that framework, with the steps you need to actually implement it, plus a few things I’d add from running my own portrait studio here in Miami.
Step 1: Identify Which Photography Category You Fall Into
 Two photography categories labeled commercial and social
Before you set a single number, you need to know what kind of photographer you are, because the pricing logic is fundamentally different depending on your answer. Karl organizes photographers into two categories: commercial and social.
Two photography categories labeled commercial and social
Before you set a single number, you need to know what kind of photographer you are, because the pricing logic is fundamentally different depending on your answer. Karl organizes photographers into two categories: commercial and social.
Commercial photographers work business-to-business. Think fashion, product, advertising, editorial, and annual report work. You’re typically doing fewer jobs per year but charging significantly more per project, often by the day, half-day, or per project with usage fees layered on top. Social photographers work directly with individuals, covering weddings, portraits, events, and family sessions. You may work far more frequently, but your revenue model relies heavily on upselling add-ons like prints, albums, and framed products. Knowing your category shapes every pricing decision that follows.
Step 2: Commit to the Actual Goal, Which Is Profit
 Text on screen reading “aim as a business owner should be to make a profit”
This sounds obvious, but Karl makes a point here that I think is worth sitting with. Too many photographers treat “covering costs” as the goal, and they never actually build a sustainable business. Profit is not a dirty word. It is the difference between a business and a very stressful hobby.
Text on screen reading “aim as a business owner should be to make a profit”
This sounds obvious, but Karl makes a point here that I think is worth sitting with. Too many photographers treat “covering costs” as the goal, and they never actually build a sustainable business. Profit is not a dirty word. It is the difference between a business and a very stressful hobby.
The goal is not just to make enough to pay your bills this month. It is to generate revenue that covers your costs, pays you a real salary, accounts for taxes, and leaves money left over. If your pricing does not include all four of those things, you are probably undercharging, even if your calendar looks full.
Step 3: Calculate Your Total Business Costs
 Spreadsheet breakdown of business cost categories on screen
Karl recommends building a detailed spreadsheet, and I cannot stress this enough: do not skip this step or estimate casually. Your business costs include everything it takes to keep the operation running. That means your studio rent or mortgage contribution, all equipment (cameras, lenses, lighting, computers, software), insurance, advertising spend, travel, annual professional memberships, and any miscellaneous operating expenses.
Spreadsheet breakdown of business cost categories on screen
Karl recommends building a detailed spreadsheet, and I cannot stress this enough: do not skip this step or estimate casually. Your business costs include everything it takes to keep the operation running. That means your studio rent or mortgage contribution, all equipment (cameras, lenses, lighting, computers, software), insurance, advertising spend, travel, annual professional memberships, and any miscellaneous operating expenses.
Pull up a spreadsheet right now and create a row for every single expense, monthly and annual. If you are not sure what a realistic number looks like, go through your last 12 months of bank and credit card statements. The goal is a real, honest total, not a hopeful one. Most photographers who do this exercise discover they have been underestimating their costs by 20 to 40 percent.
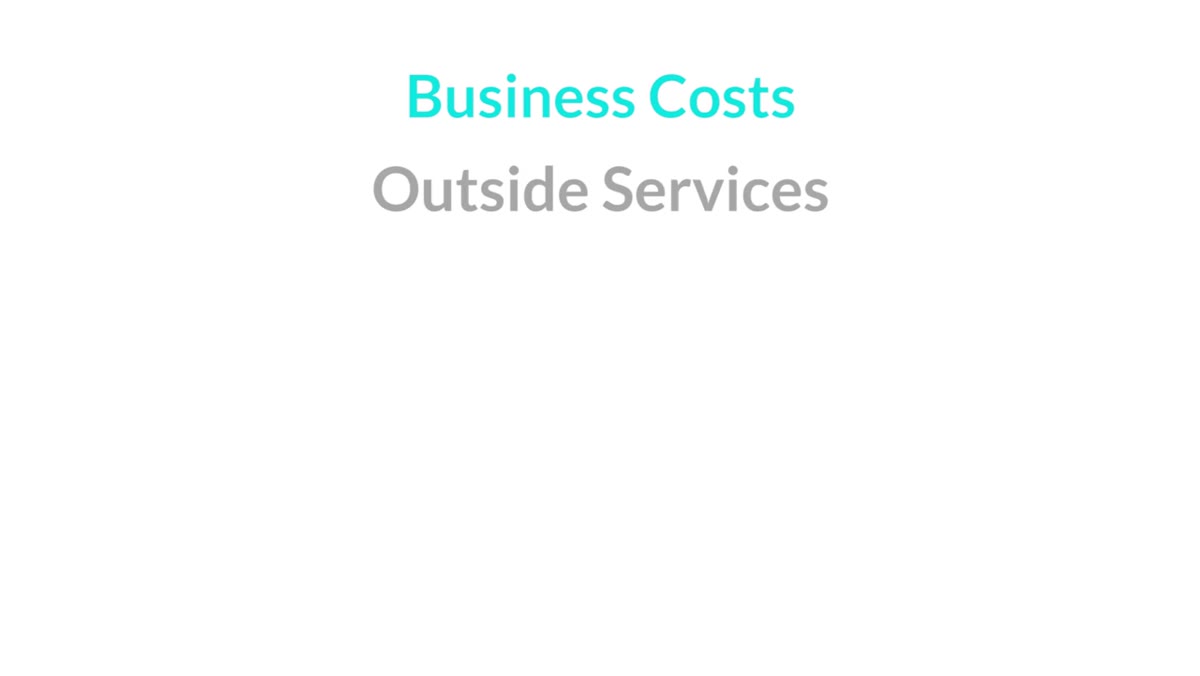
Step 4: Add Outside Services to Your Cost Sheet
 List of outside service costs including editing and contractors
Separate from your business overhead, you need to account for any work you outsource or contract. This includes photo editing services, second shooters or assistants, studio assistants, delivery services, and any freelance support you bring in on a per-project basis.
List of outside service costs including editing and contractors
Separate from your business overhead, you need to account for any work you outsource or contract. This includes photo editing services, second shooters or assistants, studio assistants, delivery services, and any freelance support you bring in on a per-project basis.
The reason Karl separates these from your base business costs is that they often scale with your workload, so they need to be tracked independently. A commercial photographer might hire a digital tech for larger shoots. A wedding photographer might bring on a second shooter for every event. Those costs either get built into your per-project pricing or tracked closely enough that you know exactly what margin each job is producing.
Step 5: Set Your Salary and Profit Targets Before You Set Your Rates
 Formula showing salary plus profit targets as part of total revenue
Here is where most photographers do it backwards. They set a rate based on what they think clients will pay, then hope it covers their life. Karl flips this. You decide what you need to earn as a salary, then you decide what profit margin the business should generate on top of that, then you build your rates to hit those numbers.
Formula showing salary plus profit targets as part of total revenue
Here is where most photographers do it backwards. They set a rate based on what they think clients will pay, then hope it covers their life. Karl flips this. You decide what you need to earn as a salary, then you decide what profit margin the business should generate on top of that, then you build your rates to hit those numbers.
Decide what annual income you need to live the way you want to live. Add the profit target that lets the business grow and survive slow seasons. Then divide by the realistic number of billable days or projects you can complete in a year. That math tells you what you need to charge per job. It is not a guess. It is arithmetic.
Step 6: Factor in Taxes From the Start
 Revenue formula including taxes as a line item
Taxes are not an afterthought. They are a cost of doing business, and they belong in your pricing formula from day one. Karl includes taxes as a distinct line item in the total revenue calculation, and so should you.
Revenue formula including taxes as a line item
Taxes are not an afterthought. They are a cost of doing business, and they belong in your pricing formula from day one. Karl includes taxes as a distinct line item in the total revenue calculation, and so should you.
The exact percentage depends on your location and business structure, but a working rule of thumb for self-employed photographers in the U.S. is to set aside 25 to 30 percent of net income for federal and state taxes. Build that number into your annual revenue target so you are never scrambling in April. My accountant helped me see this clearly early on, and it changed how I thought about every single invoice I sent.
What I’d Add From My Own Studio
The framework Karl outlines is solid, but there is one layer he does not get deep into in this section, which is the psychological piece of actually charging what you calculated. I have worked with photographers who did the math correctly, knew exactly what they needed to charge, and then discounted anyway the moment a client hesitated. The pricing formula is only useful if you hold to it.
My recommendation is to rehearse your pricing conversation out loud before client calls, the same way you’d practice any skill. Know your numbers cold. Know why you charge what you charge. When you can explain your value with confidence, you stop negotiating against yourself before the client even asks.
The single most important thing I took from this tutorial is that profitable pricing starts with a formula, not a feeling. Run the numbers on your actual costs, set a real salary target, include taxes, and let the math tell you what you need to charge. Everything else, including what clients will pay, follows from there.
Watch the full tutorial on YouTube and work through Karl’s framework with your own spreadsheet open alongside it. The discomfort of seeing the real numbers is worth it.
Comments
Leave a Comment