Pricing is the conversation most photographers avoid until it becomes a crisis. I know because I lived it. Watching my parents run their photography business on gut feeling and goodwill, never raising their rates, working themselves into the ground for margins that barely kept the lights on, taught me one thing early: creative talent alone does not build a sustainable business. Pricing strategy does.
So when I came across this Jessica Kobeissi tutorial on pricing your photography, I immediately sent it to three photographers in my network. It cuts through the vague advice you usually get and replaces it with a practical, component-by-component method you can actually sit down and execute. Watch the full tutorial on YouTube - then come back here for a deeper breakdown of each step and how to apply it in your own studio.
Whether you shoot weddings, portraits, seniors, or commercial work, the framework Jessica walks through applies across the board. Here is how to use it.
Step 1: Calculate Your Shooting Hours
 Notebook open showing list of pricing factors
Start with the most visible part of your work: the time you spend actually on location with a camera in your hand. Think through a typical shoot for your main service. A wedding might run ten to twelve hours. A portrait session might be two. Whatever your format, assign an hourly rate to that time and multiply it out.
Notebook open showing list of pricing factors
Start with the most visible part of your work: the time you spend actually on location with a camera in your hand. Think through a typical shoot for your main service. A wedding might run ten to twelve hours. A portrait session might be two. Whatever your format, assign an hourly rate to that time and multiply it out.
If you are not sure what your hourly shooting rate should be, work backward from what you need to earn annually. Divide that number by the realistic hours you can bill per year, and you have a starting point. Many photographers in established markets begin somewhere between $50 and $150 per shooting hour for this component alone, with the full package price building from there.
Step 2: Account for Culling and Sorting Time
 Speaking directly to camera explaining photo sorting process
Here is where photographers consistently undercharge. After a wedding or large shoot, you are not done. You sit down with thousands of images and spend hours culling them down to a curated proof set worth showing the client. Jessica’s approach is to do this work before the client ever sees anything, delivering only the strongest selects organized into folders.
Speaking directly to camera explaining photo sorting process
Here is where photographers consistently undercharge. After a wedding or large shoot, you are not done. You sit down with thousands of images and spend hours culling them down to a curated proof set worth showing the client. Jessica’s approach is to do this work before the client ever sees anything, delivering only the strongest selects organized into folders.
This is the right call, both for client experience and for your own sanity. But it takes real time, and that time needs a dollar value attached. Track how long culling actually takes you on your next three jobs. Average it out. Then decide on an hourly rate for this administrative work (often slightly lower than your shooting rate) and build it into your pricing math.
Step 3: Price Your Editing and Retouching Time Separately
 Discussing retouching and editing as a distinct pricing factor
Editing is its own line item in your cost of service, even if you bundle it into a single package price for the client. For portrait and wedding work, this means skin retouching, removing distractions from backgrounds, color grading, and anything else your style demands. On a wedding with hundreds of final deliverables, this can easily run fifteen to thirty hours of post-production.
Discussing retouching and editing as a distinct pricing factor
Editing is its own line item in your cost of service, even if you bundle it into a single package price for the client. For portrait and wedding work, this means skin retouching, removing distractions from backgrounds, color grading, and anything else your style demands. On a wedding with hundreds of final deliverables, this can easily run fifteen to thirty hours of post-production.
Know your editing pace. If you process forty images per hour on a standard portrait session, and your session produces 100 final images, that is two and a half hours minimum. Multiply by your editing hourly rate. Add it to your shooting time and your culling time. Now you are looking at the true cost of delivering one job, before you have even talked about profit.
Step 4: Decide on Your Deliverable Format
 Explaining digital files versus prints as deliverable options
You have two main options for what you hand the client at the end: digital files or physical prints. Jessica’s preference is digital delivery, and honestly, from a business operations standpoint, it is the cleaner model. No printing costs, no album assembly, no shipping logistics. You finish editing, drop files into a shared link, and delivery is done.
Explaining digital files versus prints as deliverable options
You have two main options for what you hand the client at the end: digital files or physical prints. Jessica’s preference is digital delivery, and honestly, from a business operations standpoint, it is the cleaner model. No printing costs, no album assembly, no shipping logistics. You finish editing, drop files into a shared link, and delivery is done.
Some photographers still prefer print-based packages, and there is a legitimate argument for controlling how your work is reproduced. But if you go digital, be clear in your contract about file resolution, usage rights, and what the client can and cannot do with the images commercially. That clarity protects you and sets professional expectations from the start.
Step 5: Set Your Photo Delivery Count by Package Tier
 Explaining minimum and maximum photo counts for wedding packages
Once you know your format, pin down exactly how many images each package includes. This is not a minor detail. The number of deliverables directly affects your editing time, which affects your cost, which affects your price. Vague promises like “all the best photos” lead to scope creep and client disappointment.
Explaining minimum and maximum photo counts for wedding packages
Once you know your format, pin down exactly how many images each package includes. This is not a minor detail. The number of deliverables directly affects your editing time, which affects your cost, which affects your price. Vague promises like “all the best photos” lead to scope creep and client disappointment.
Jessica’s structure for weddings uses a floor of around 100 images and a ceiling of around 300, with packages organized in between. For portrait work, your numbers will be smaller, but the logic is identical. Define the count, communicate it clearly before booking, and stick to it. If a client wants more images, that is an add-on with a price attached.
Step 6: Build Packages Around the Numbers, Not the Other Way Around
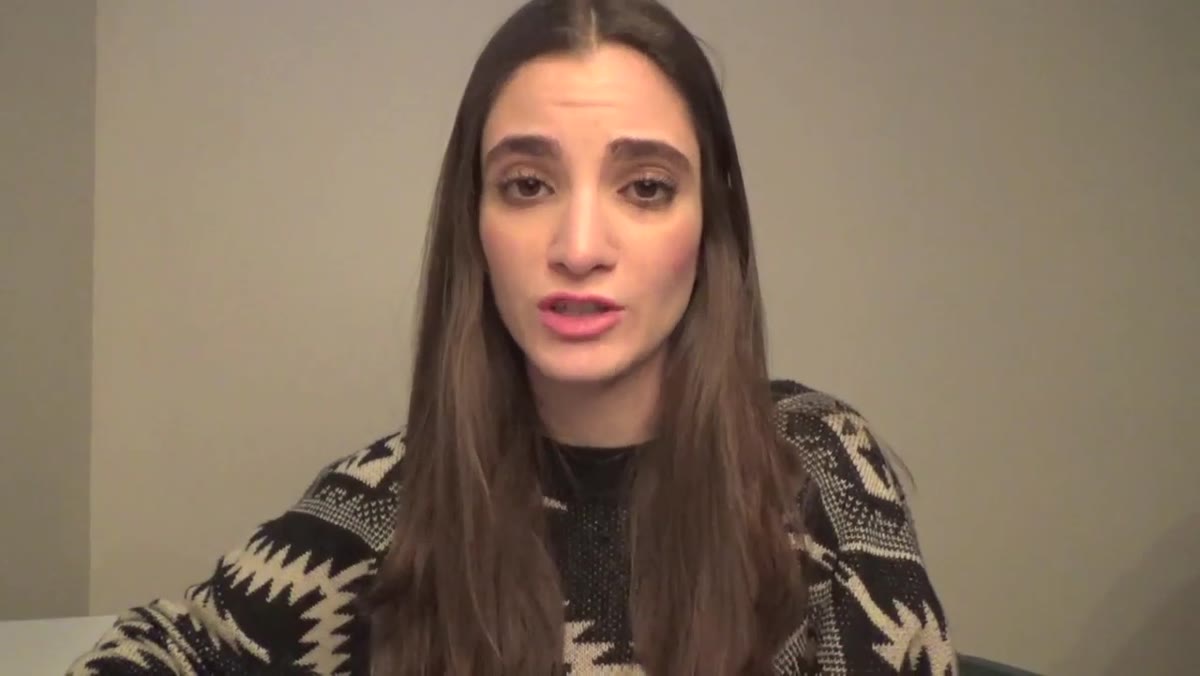 Describing how packages are structured with specific photo counts
Once you have run the math on each component, stop treating your price as a number you feel comfortable saying out loud and start treating it as the sum of real costs plus a margin that reflects your skill level and market position. Build two or three packages from the bottom up, each one layering in more shooting time, more images, or more retouching depth.
Describing how packages are structured with specific photo counts
Once you have run the math on each component, stop treating your price as a number you feel comfortable saying out loud and start treating it as the sum of real costs plus a margin that reflects your skill level and market position. Build two or three packages from the bottom up, each one layering in more shooting time, more images, or more retouching depth.
Label them simply. Bronze, Silver, Gold. Essentials, Classic, Premium. Whatever language fits your brand. The point is to give clients a choice that guides them rather than a single quote that leaves them comparing you to a random number they found online.
What I’d Add From My Own Experience
Running a portrait studio in Miami has taught me that the math only works if you revisit it regularly. I review my pricing every six months, minimum. I track my actual time on every job in a simple spreadsheet and compare it against what I quoted. More often than not, I find I am spending more time on editing than I priced for, especially during busy season when I am rushing through culling.
One adjustment that made a significant difference for me: I stopped pricing editing time at the same rate as shooting time and started pricing it slightly higher. Editing requires sustained concentration and technical skill that many clients do not see. Invisible work still costs you time. Build that reality into your numbers.
The single most important thing to take away from this framework is that your price needs to be built from evidence, not instinct. Time yourself. Track your costs. Run the math. Then charge what the math tells you to charge, with enough confidence to hold the number when a client pushes back.
For the full walkthrough in Jessica’s own words, Watch the full tutorial on YouTube. It is worth watching start to finish, especially if you are setting up your packages for the first time or realizing your current prices do not actually reflect what your time is worth.
Comments
Leave a Comment