I grew up watching my parents run a photography business on pure passion and zero financial structure. They were talented. They were booked. And they were quietly drowning because they hadn’t raised their prices in four years. By the time they finally did, they’d lost years of income they couldn’t get back. That experience is a big part of why I obsess over the business side of this craft the way I do, and why I stop cold whenever I find a resource that teaches photographers to think like owners instead of just artists.
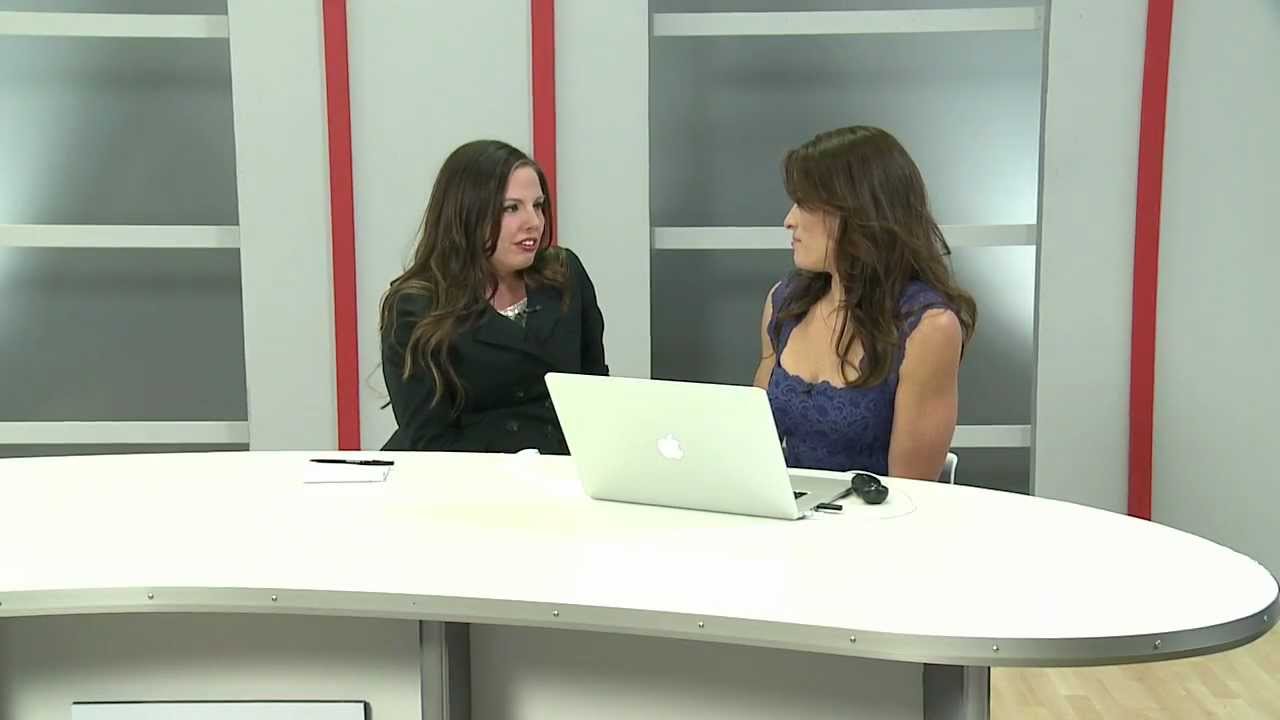
In this CreativeLive tutorial from the Restart: A Photography Business Makeover series, instructor and photographer Jasmine Star works directly with three photographers who are trying to transition into full-time photography. The format is part coaching session, part live makeover, and it is dense with practical takeaways. Watch the full tutorial on YouTube if you want the full context, but below I’ve broken down the core steps in the order they appear so you can apply them without sitting through the whole video.
Step 1: Commit to Real Change Before You Optimize Anything
 Instructor addressing three photographers about making big changes
The tutorial opens with a direct challenge to the three photographers: if you want to leave your day job, you have to be willing to make significant changes now, not eventually. This is not motivational filler. It is a prerequisite. A lot of photographers come to business coaching looking for a shortcut or a template, when what they actually need is to dismantle habits that are keeping them stuck.
Instructor addressing three photographers about making big changes
The tutorial opens with a direct challenge to the three photographers: if you want to leave your day job, you have to be willing to make significant changes now, not eventually. This is not motivational filler. It is a prerequisite. A lot of photographers come to business coaching looking for a shortcut or a template, when what they actually need is to dismantle habits that are keeping them stuck.
Before you touch your website, your pricing, or your marketing, ask yourself whether you are genuinely willing to do things differently. If you are still attached to your current prices because they feel safe, or your current client experience because it is familiar, the tactical steps below will not save you. The mindset shift has to come first.
Step 2: Define Your Branding Words Before You Touch Your Visuals
 Participants sharing their branding word boards with the instructor
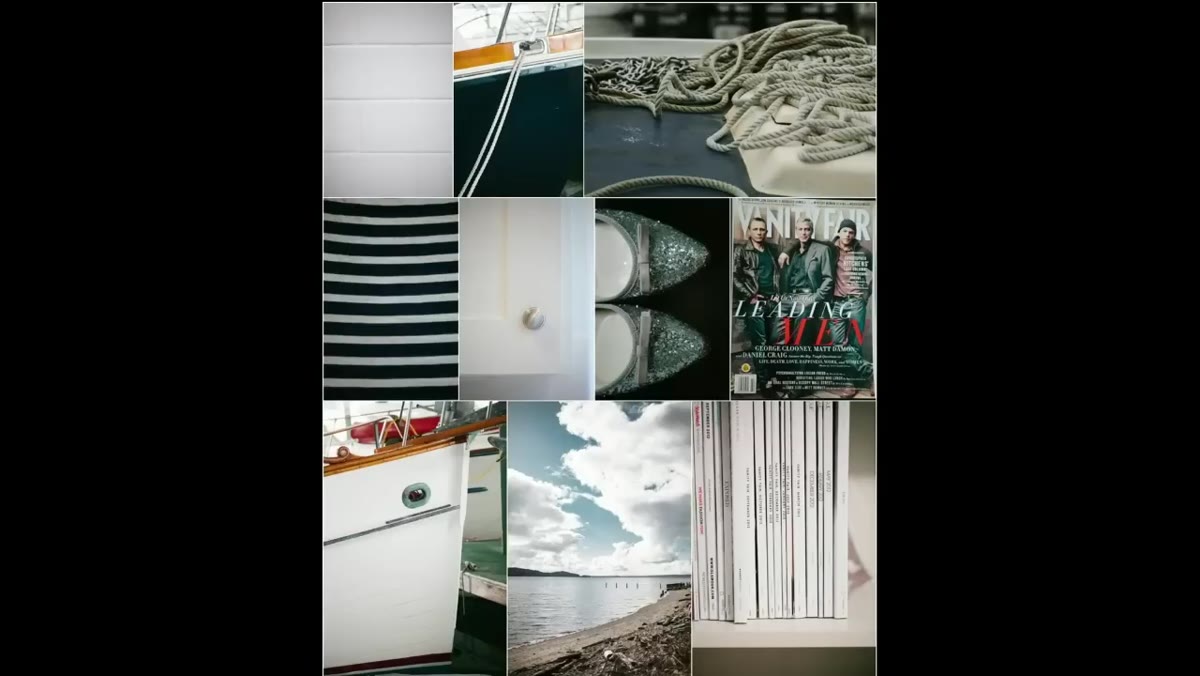
The three photographers each came in with a homework assignment completed: an inspiration board built around three to four branding words. One photographer’s words were chic, connected, and classic. Another landed on creative, fun, and real. The third chose romantic, chic, creative, and airy. These were not just descriptors. They became filters for every business decision that followed.
Participants sharing their branding word boards with the instructor
The three photographers each came in with a homework assignment completed: an inspiration board built around three to four branding words. One photographer’s words were chic, connected, and classic. Another landed on creative, fun, and real. The third chose romantic, chic, creative, and airy. These were not just descriptors. They became filters for every business decision that followed.
Your branding words should guide what you shoot, how you pose clients, what fonts you use, and what language you put on your website. If one of your words is “real” but your website is full of stiff, over-posed portraits, there is a disconnect your potential clients will feel even if they cannot name it. Pick three to five words, post them somewhere visible, and run every creative and marketing decision through them before you publish or send anything.
Step 3: Audit Your Client Consultation Process
 Live client consultation role-play revealing communication gaps
The tutorial includes a surprise live consultation exercise where one of the photographers handles an inquiry from a prospective client. The instructor points out that when the client asked about collections, the photographer jumped to ballpark pricing without first asking what the client actually needed. Did they want an album? Did they want digital files only? Did they even know the difference?
Live client consultation role-play revealing communication gaps
The tutorial includes a surprise live consultation exercise where one of the photographers handles an inquiry from a prospective client. The instructor points out that when the client asked about collections, the photographer jumped to ballpark pricing without first asking what the client actually needed. Did they want an album? Did they want digital files only? Did they even know the difference?
Your consultation is not a price sheet delivery. It is a discovery conversation. Before you quote anything, ask what the client is hoping to walk away with. Ask how they plan to display or share their images. Ask what their timeline looks like. When you understand their actual need, your package recommendation feels tailored rather than generic, and your close rate will reflect that.
Step 4: Learn Your Numbers Before You Set a Single Price
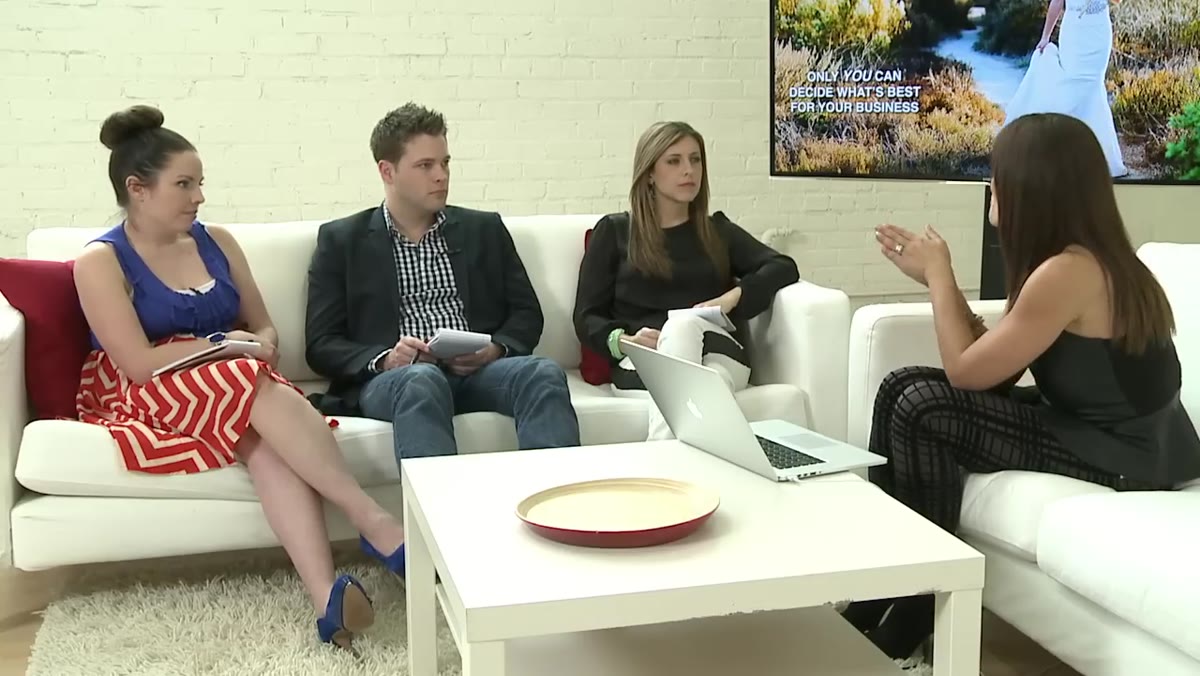 Instructor explaining fixed costs and profitability modeling with the group
This is the step most photographers skip and the one that costs them the most. The tutorial walks through the concept of understanding your fixed costs first, then building a profitability model around them. The example used is straightforward: if you know your fixed costs and you calculate that you are making $25 an hour, you can decide whether that is acceptable for now, and you can set a concrete goal, like raising prices after your next three bookings.
Instructor explaining fixed costs and profitability modeling with the group
This is the step most photographers skip and the one that costs them the most. The tutorial walks through the concept of understanding your fixed costs first, then building a profitability model around them. The example used is straightforward: if you know your fixed costs and you calculate that you are making $25 an hour, you can decide whether that is acceptable for now, and you can set a concrete goal, like raising prices after your next three bookings.
Pull out a spreadsheet. List every business expense: software subscriptions, equipment payments, insurance, marketing costs, education. Then calculate how many sessions or weddings you need to book each month to cover those costs before you pay yourself anything. Once you know that number, your pricing stops being emotional and starts being mathematical. I doubled my own income in a single year not by getting more clients but by finally understanding what I needed each booking to generate.
Step 5: Build Your Website Around a Kit of Parts
 Side-by-side comparison of two custom websites built from the same layout system
The tutorial shows two photographers’ websites that look completely different but were built from the same foundational layout. The instructor calls this a “kit of parts” approach: a consistent set of fonts, structural elements, and design logic that gets customized with each photographer’s specific branding words, images, and tone.
Side-by-side comparison of two custom websites built from the same layout system
The tutorial shows two photographers’ websites that look completely different but were built from the same foundational layout. The instructor calls this a “kit of parts” approach: a consistent set of fonts, structural elements, and design logic that gets customized with each photographer’s specific branding words, images, and tone.
You do not need a fully custom website to look distinctive. You need clear brand elements applied consistently. Choose two fonts and use only those. Choose a color palette of three colors maximum. Build every page with the same structural logic: headline, supporting image, call to action. When your kit of parts is locked in, you can update and expand your site without it ever looking pieced together.
Step 6: Posing Instruction Is a Skill You Can Script
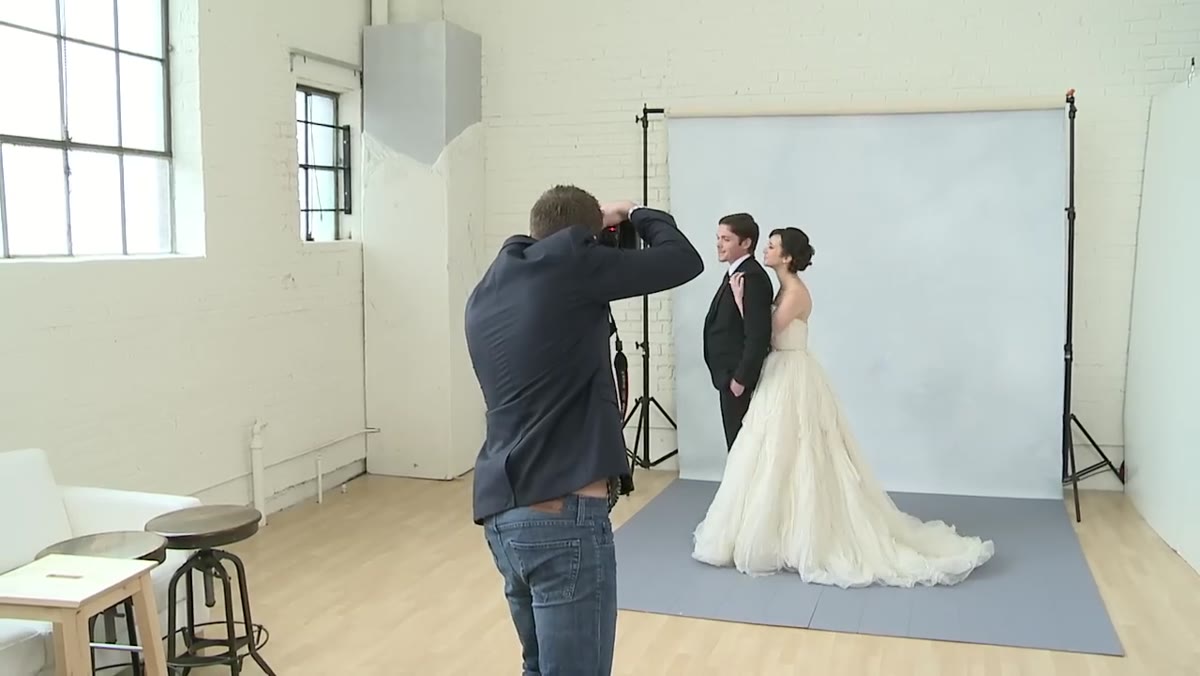 Instructor demonstrating a separation-to-connection posing sequence with a couple
The tutorial includes a live posing demonstration where the photographer is guided to first separate the couple, then instruct them to fall into a connected pose together. The movement itself creates a natural, unforced moment rather than a static arrangement. The instructor emphasizes that the photographer should be giving clear, sequential verbal instructions, not just adjusting people with their hands.
Instructor demonstrating a separation-to-connection posing sequence with a couple
The tutorial includes a live posing demonstration where the photographer is guided to first separate the couple, then instruct them to fall into a connected pose together. The movement itself creates a natural, unforced moment rather than a static arrangement. The instructor emphasizes that the photographer should be giving clear, sequential verbal instructions, not just adjusting people with their hands.
Write out a posing sequence for your most common scenarios, couples, families, individuals, and practice saying the instructions out loud until they feel natural. When your verbal cues are confident and specific, clients relax because they feel guided. Hesitation from the photographer transfers directly to tension in the image.
What I’d Add From My Own Experience
The tutorial covers a lot of ground quickly, and one thing it does not slow down on is the emotional cost of staying underpriced. One of the participants mentions how clarifying the process has been, and that she now knows what she wants after something that could have taken her years to figure out alone. That hit me hard, because I know exactly what those lost years feel like.
If you are still charging what you charged two years ago, sit with that number seriously. Calculate what you actually earned per hour on your last five jobs after editing time, communication, and travel. Most photographers I work with find that number is lower than their barista’s wage. The fix is not just raising prices. It is understanding your value well enough to defend your new price with confidence when a client pushes back.
The single most important takeaway from this tutorial is that a photography business transformation is not about finding the right tool or template. It is about doing the foundational work in the right order: clarity on brand, understanding of numbers, a consultation process that serves the client, and a visual identity that reflects all of it consistently. Everything else is execution.
Watch the full tutorial on YouTube and use this breakdown as your companion guide while you do.
Comments (4)
Great breakdown. The step-by-step approach really helps.
I've been looking for exactly this kind of tutorial. Perfect timing.
This saved me so much time on my last edit. Wish I'd found this sooner.
Simple but effective. Sometimes that's all you need.
Leave a Comment